

Think your street- or recreational shoulder pads will save you in a checking league?
They often won’t, because lighter foam and loose fits can leave your collarbone, sternum, ribs, and spine exposed when you take a hit.
This guide cuts through brand hype and shows what actually matters for checking and explains correct measurements, reinforced shoulder caps, multi-density foam, and the right fit profile so pads stay put during contact.
Read on to learn how to pick pads that protect hard hits without killing your mobility.
Core Requirements for Choosing Hockey Shoulder Pads Built for Checking
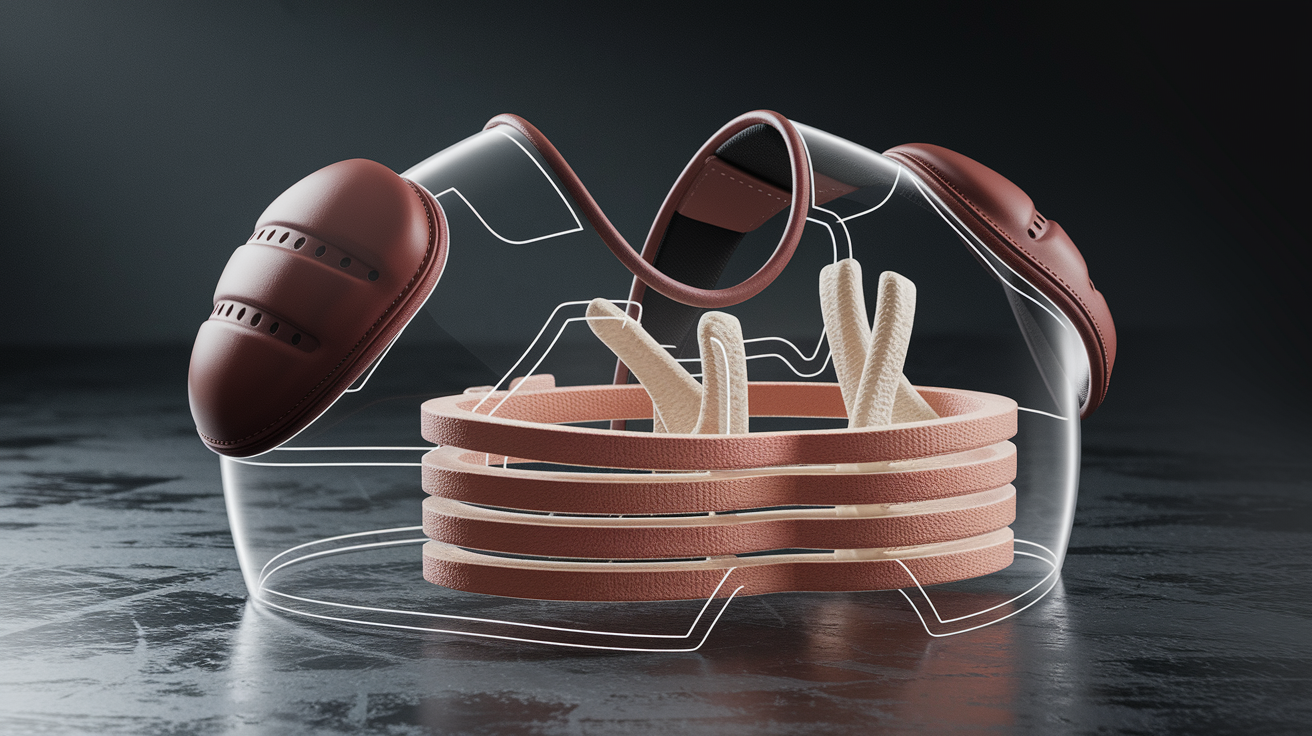
Checking-level hockey demands shoulder pads that protect your collarbone, sternum, shoulders, upper back, and ribs while still letting you skate fast and move freely. Recreational pads? They’re built for non-contact skating. Single-density foam, basic nylon shells. Cheaper, lighter, fine for stick-and-puck. But they shift too easily and don’t absorb impact from bodychecks or board play.
If you’re playing in a contact or checking league, you need Performance or Elite-level pads. Performance pads step up to multi-density foam, reinforced shoulder caps, and two or three-piece panel construction that wraps tighter and reduces coverage gaps. Elite pads add floating sternum guards, segmented spine plates, composite inserts, and advanced moisture-resistant foams that keep weight down without sacrificing impact protection.
The difference between a recreational pad and a checking pad shows up immediately when you take a hit. Checking pads use layered foam densities. Softer on the outside to catch the initial contact, firmer closer to your body to spread the force across a wider area. The shoulder caps sit directly over your shoulder joint and extend down toward your biceps so glancing checks don’t slide the pad off and leave your collarbone exposed. The sternum guard must cover the center of your chest without riding up when you reach forward. The spine plate needs to extend down between your shoulder blades to protect against checks from behind or falls into the boards.
When you’re choosing pads for checking, you need two measurements: chest circumference in inches (measured around the widest part of your chest, just under your arms) and your height. Match both numbers to the manufacturer’s sizing chart. Sizes vary between Bauer, CCM, and Warrior, so a medium in one brand might fit like a large in another. Always try pads on with your elbow pads and a base layer so you can test whether the bicep guards overlap cleanly with your elbow caps and whether the shoulder caps stay in place when you move through a full skating stride.
Checking pads must deliver these six protections:
Reinforced shoulder caps that sit directly over the joint and resist rotation or sliding during contact
Floating sternum guard that moves independently from the chest plate to absorb direct frontal hits without transferring force straight to your ribs
Extended rib wrap with segmented foam panels that follow your torso shape and don’t leave gaps at your sides
Adjustable bicep guards (ideally dual-adjustable) to lock coverage down to your elbow pads and prevent exposure during board battles
Reinforced spine guard that runs from the base of your neck down past your shoulder blades to protect against checks from behind
Multi-density foam layers throughout the pad to manage force from different angles and impact speeds
Measuring Shoulder Pads for Checking-Level Fit and Protection

Proper measurement starts with chest circumference and height because those two inputs determine whether you’re shopping youth, junior, or senior sizes and which size within that category fits your build. Stand upright in a thin base layer or T-shirt, wrap a flexible fabric tape measure around the widest part of your chest (usually just below your armpits), and make sure the tape passes evenly around your back. Record the measurement in inches. Then record your height in feet and inches.
Those two numbers go into the manufacturer’s sizing chart. Not a generic one, but the specific chart for the brand you’re trying. A 38-inch chest at 5’9″ might land you in a medium for Bauer but a large for CCM, and the difference matters because chest plate length, shoulder cap width, and bicep guard extension all change between sizes.
Brand variability is real. Bauer tends to run slightly narrower through the chest and longer in the torso. CCM often offers a wider wrap around the ribs. Warrior balances between the two but uses different strap anchor points that change how the pad sits on your shoulders. If you assume sizes match across brands, you’ll end up with pads that either ride up and expose your collarbone or sit too low and restrict your shoulder rotation. Always start with the brand chart, then confirm the fit by putting the pads on.
Follow these steps to measure and size checking shoulder pads correctly:
Measure your chest circumference in inches using a soft tape measure wrapped around the widest part of your chest, keeping the tape level across your back.
Record your height in feet and inches.
Locate the manufacturer-specific sizing chart for the exact model you’re considering. Charts vary even within the same brand’s product line.
Cross-reference your chest and height measurements on the chart to identify your recommended size (youth, junior, or senior, and the letter or number size within that category).
Try the pads on while wearing your elbow pads and a base layer, then check that the chest plate covers your sternum, the shoulder caps sit directly over your shoulder joints, the back plate rests between your shoulder blades, and the bicep guards meet your elbow caps without a gap or excessive overlap.
Checking-Focused Fit Profile and Mobility Considerations in Shoulder Pads
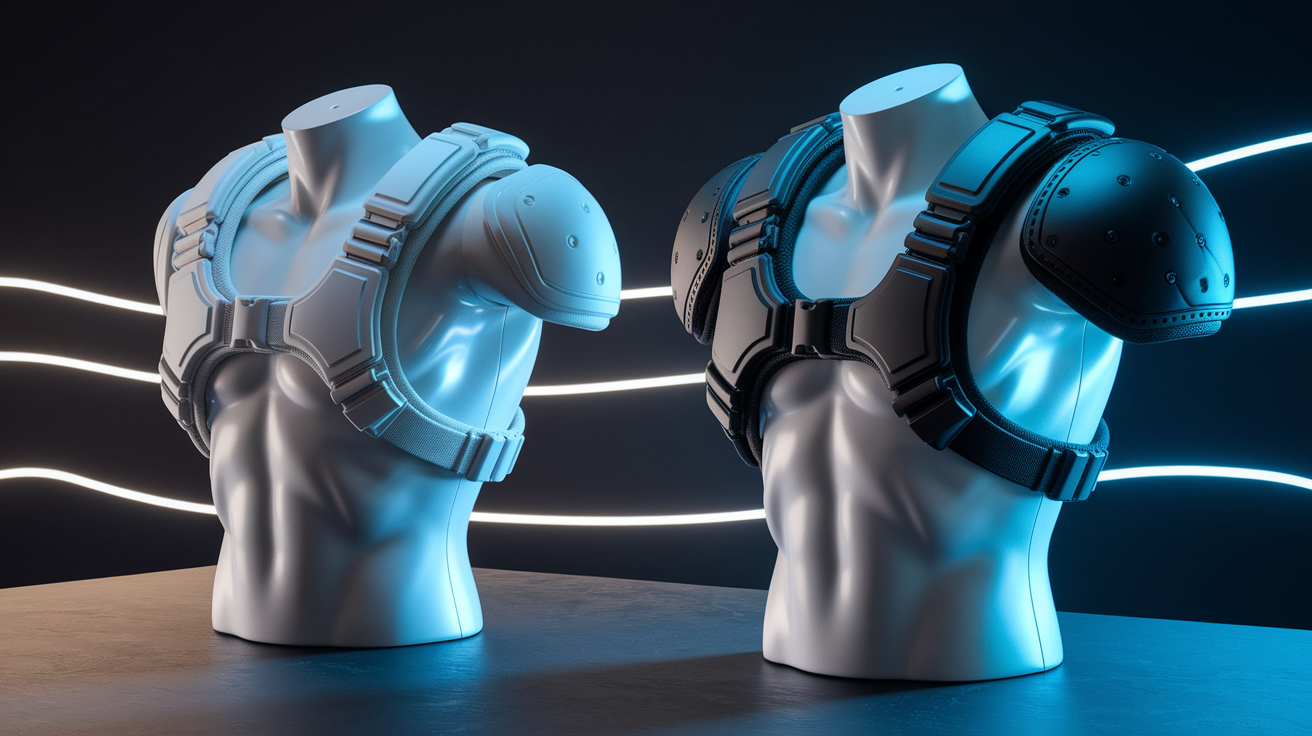
Shoulder pads for checking come in two fit profiles: Low Profile and High Profile. Low Profile pads prioritize mobility. They use thinner foam layers, tighter wraps, and reduced bulk across the chest and shoulders so you can rotate freely through crossovers, quick pivots, and stickhandling in tight spaces. High Profile pads add thickness and coverage at the shoulder caps, sternum, and spine, which increases protection during heavy contact but slightly reduces your range of motion and adds a small amount of weight.
If you’re a physical defenseman who plays the body in the corners or a checking-line forward who finishes hits along the boards, High Profile makes sense. If you’re a transition player who carries the puck up ice and needs to change directions fast, Low Profile Performance or Elite pads give you enough protection without slowing you down.
The tradeoff shows up when you move. High Profile pads feel more stable when you take a bodycheck because the extra foam and wider shoulder caps distribute force across a larger surface area, but that same bulk can limit how far you can reach overhead or how quickly you can snap a wrist shot. Low Profile pads let you move like you’re wearing almost nothing, but if the foam density isn’t high enough or the chest plate is too narrow, a hard check can drive the edge of the pad into your ribs or collarbone.
The best way to know which profile works is to simulate hockey motions while wearing the pads. Drop into a skating stance, reach both arms overhead like you’re tying up a stick in front of the net, rotate your torso left and right as if you’re passing cross-ice, and check whether the pads shift or pinch.
Pads that fit correctly for checking stay locked in place through every motion. The shoulder caps shouldn’t slide forward when you lean into a hit or backward when you reach for a puck. The sternum guard should cover the center of your chest without rising up toward your throat when you extend your arms. The bicep guards need to overlap cleanly with your elbow pads so there’s no exposed skin or underlayer when your arm is bent at 90 degrees.
If the pads feel loose or you notice gaps opening during movement, size down or tighten the adjustment straps. If they pinch your neck, restrict your shoulder roll, or press into your armpits, size up or switch to a Low Profile model with a narrower cut.
Advanced Material and Construction Technologies for Checking-Level Protection
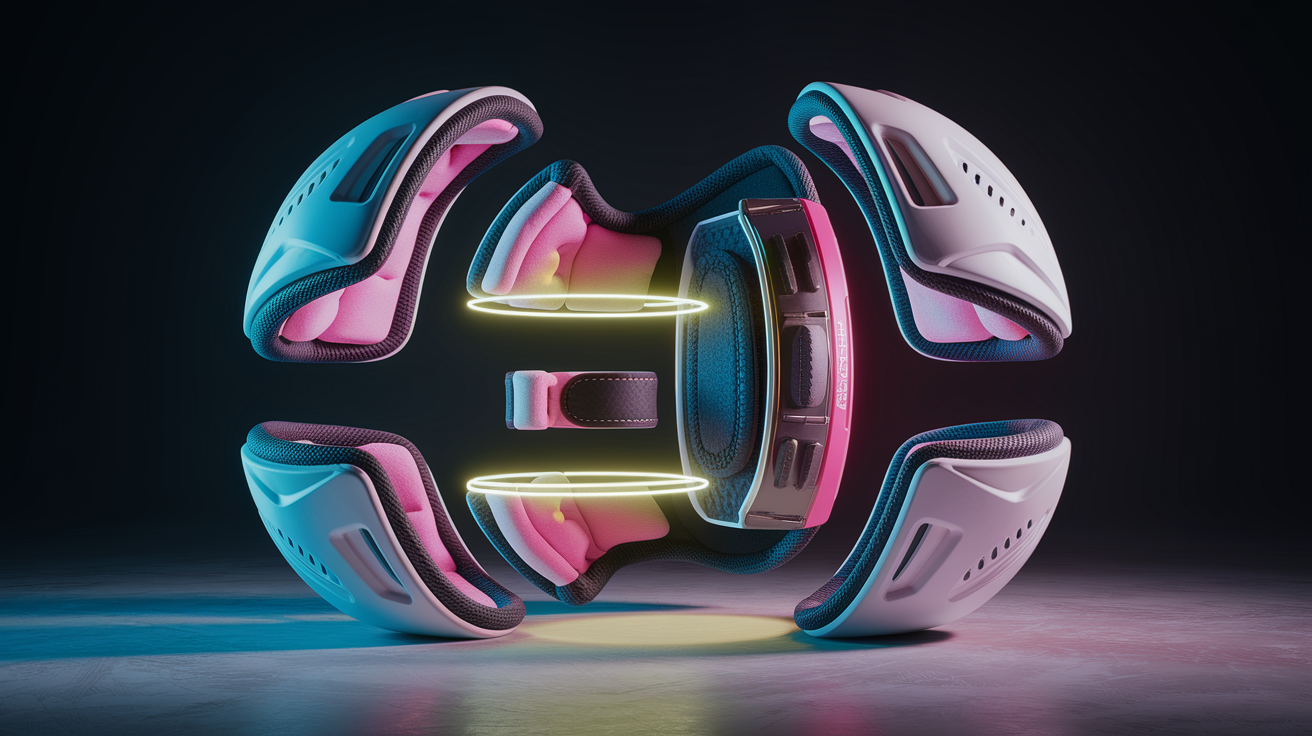
Modern checking pads use layered foam systems that manage impact forces differently depending on where the hit lands and how fast it arrives. Single-density foam (common in recreational pads) compresses uniformly across the entire surface, which makes it cheap and easy to mold but ineffective at dispersing energy from angled or high-speed checks. Multi-density foam stacks softer outer layers over firmer core layers so the pad absorbs initial contact without bottoming out, then spreads the remaining force across your chest or shoulders instead of concentrating it at one point.
Performance-level pads use two or three foam densities. Elite pads add smart foams that stiffen on impact and return to their original shape faster, which matters when you take multiple hits in one shift.
Composite materials like carbon fiber and reinforced plastics show up in Elite shoulder caps and sternum inserts because they’re lighter than traditional hard-shell plastics and better at dispersing force across curved surfaces. A composite cap flexes slightly on contact, which reduces the shock transferred to your collarbone, then springs back into shape. Floating sternum and spine guards take that concept further by attaching to the pad through flexible anchor points instead of rigid stitching. When you take a check to the chest, the sternum plate absorbs and redirects energy independently from the rib panels, so the impact doesn’t transfer through the entire pad and into your ribcage.
Advanced liners add another layer of performance: microfiber and mesh fabrics wick moisture faster than nylon, anti-microbial treatments reduce odor between washes, and water-resistant foam coatings keep the pads from soaking up sweat and adding weight during long games.
| Material Type | Protection Benefit | Common Use Tier |
|---|---|---|
| Single-density foam | Basic impact cushioning, uniform compression | Recreational |
| Multi-density foam (2–3 layers) | Absorbs initial hit and disperses remaining force across wider area | Performance |
| Composite inserts (carbon fiber, reinforced plastic) | Lightweight, flexes on impact to reduce shock transfer, returns to shape quickly | Elite |
| Floating sternum/spine guards | Independent movement isolates impact from rest of pad, prevents force transfer to ribs | Elite |
Dual-adjustable bicep guards let you dial in the length and tightness independently, which closes the gap between your shoulder pads and elbow pads and keeps coverage consistent when you extend your arms. Segmented foam panels across the chest and back flex with your torso instead of creating stiff pressure points, so the pads stay comfortable during a full 60-minute game without restricting your breathing or shoulder rotation. Water-resistant foams stay dry and light even after you sweat through a practice or game, which matters if you’re playing back-to-back weekend tournaments and don’t have time to fully dry your gear between sessions.
Choosing the Right Level of Shoulder Pad for Checking Leagues
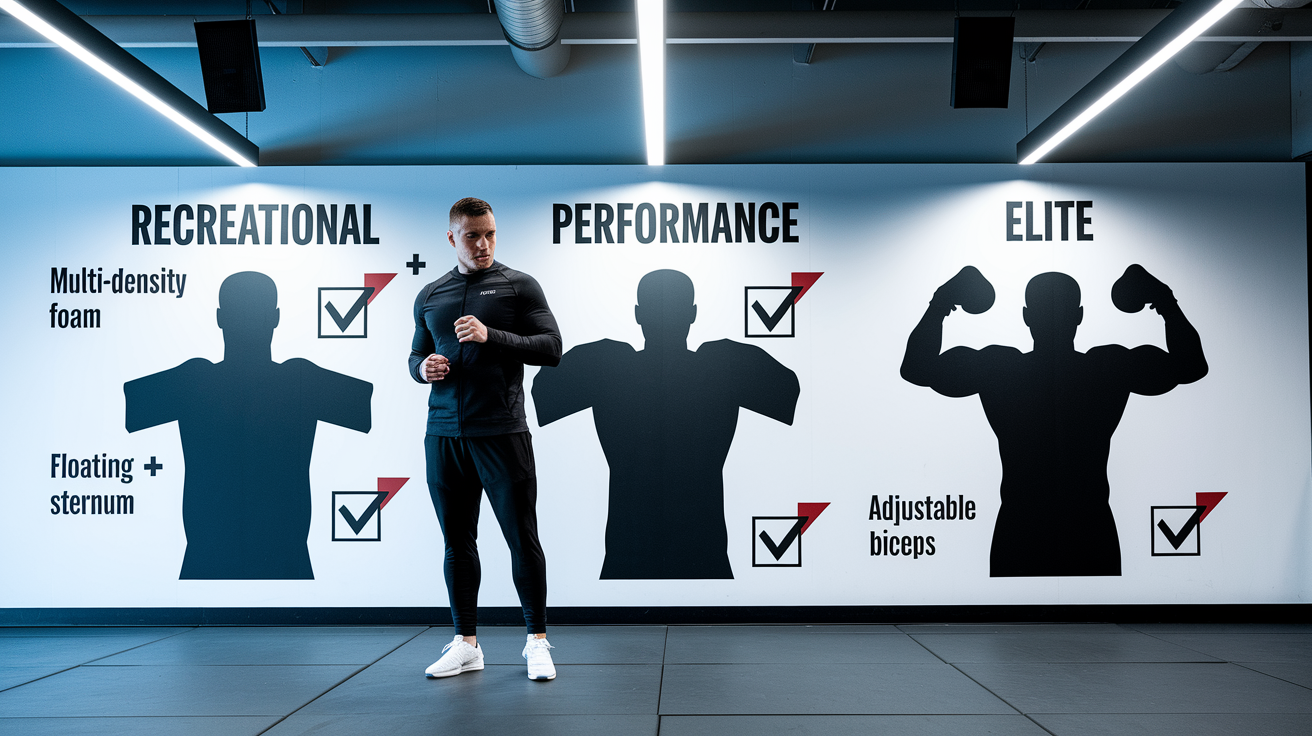
Recreational pads are not built for checking. They use lighter foam, simpler one-piece construction, and basic strap systems that work fine for non-contact adult leagues or beginner skates, but they shift too easily under contact and don’t cover enough of your collarbone, sternum, or spine to handle bodychecks.
If you’re playing in any league that allows checking (youth, junior, high school, club, or beer league with contact), start your search at Performance level or higher.
Performance pads are the minimum standard for checking hockey. They step up to multi-density foam, reinforced shoulder caps, two or three-piece panel designs that wrap your torso better, and adjustable bicep guards that lock down coverage at your arms. Performance models balance protection and mobility without the price or bulk of Elite pads, which makes them the right choice for most high school players, recreational checking leagues, and youth players moving into contact divisions for the first time.
Elite pads add composite inserts, floating sternum and spine guards, advanced moisture management, and the lightest, most durable foams available. They’re built for players who take heavy contact every shift: competitive junior, college, and pro players, plus adult league defensemen and physical forwards who finish checks in the corners and along the boards.
Youth players need pads that protect without weighing them down or restricting their skating development. Look for lightweight Performance pads with full chest and back coverage, adjustable straps that let the pads grow with the player, and foam that’s thick enough to handle contact but not so stiff it limits shoulder rotation. Junior and senior players have more options across the Performance and Elite range. Defensemen and physical forwards typically prefer High Profile pads with extra shoulder cap and sternum coverage, while skill forwards and transition players lean toward Low Profile Performance or Elite models that prioritize speed and stickhandling.
Youth/beginner checking players: Lightweight Performance pads with full torso coverage, adjustable biceps, and room to grow. Avoid Recreational models once contact starts.
High school and club checking forwards: Low or Mid Profile Performance pads that balance mobility and protection without excessive bulk.
Physical defensemen and checking-line forwards: High Profile Performance or Elite pads with reinforced caps, extended biceps, floating sternum, and thicker spine guards.
Elite-level competitive players (junior A, college, pro): Elite models with composite inserts, smart foams, dual-adjustable biceps, and advanced liners for maximum protection and durability under heavy, high-speed contact.
How to Test Checking Pads In-Store or At Home Before Buying
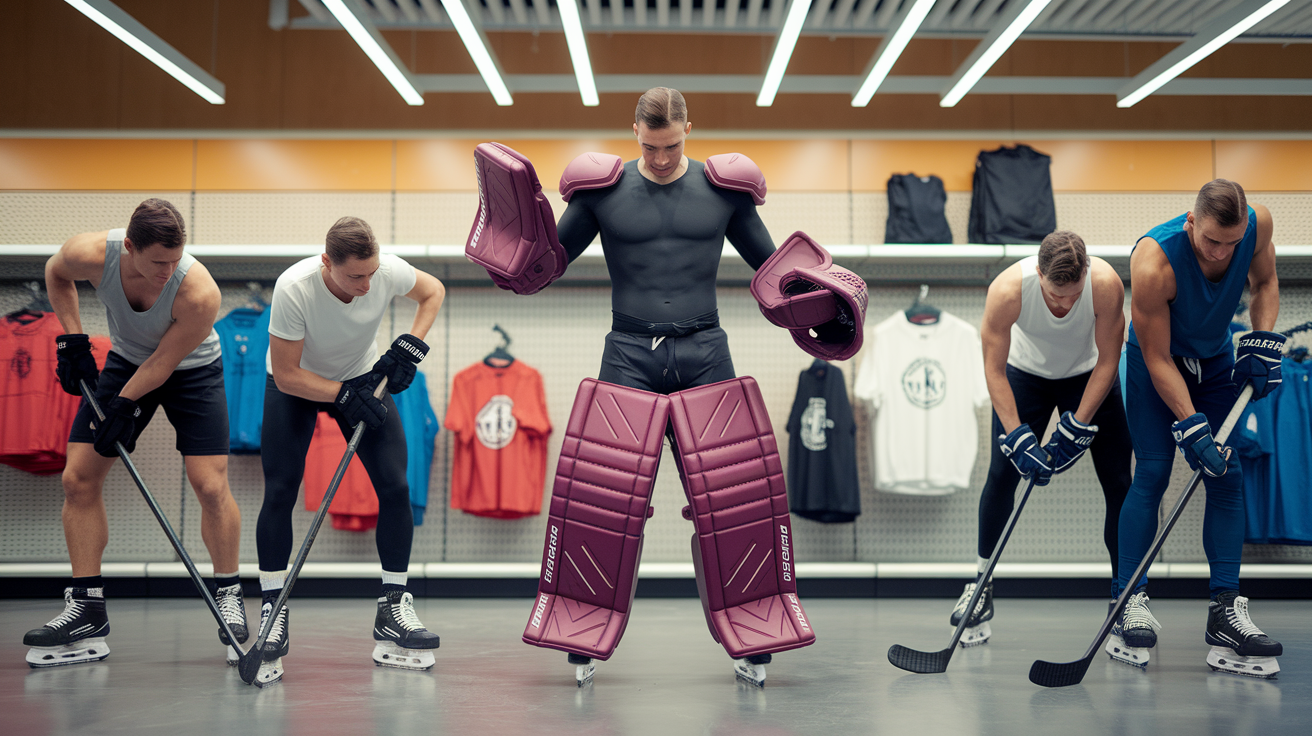
The only way to know if shoulder pads fit correctly for checking is to move in them. Put the pads on over a base layer or the shirt you’ll wear under your gear, then add your elbow pads so you can check for gaps or overlap at the biceps. Stand in a skating stance (knees bent, weight forward, stick in hand if possible) and run through the motions you’d use in a game. If the pads shift, pinch, or leave coverage gaps during these tests, they’re not ready for contact play.
Start by checking static alignment. The shoulder caps should sit directly over your shoulder joints, not forward toward your collarbone or back toward your shoulder blades. The chest plate must cover your sternum completely and sit flat against your chest without riding up when you stand upright. The back plate should rest between your shoulder blades and extend down far enough to protect your upper spine. The bicep guards need to meet the top of your elbow pads with no visible gap and no excessive overlap that bunches up when you bend your arms.
Once static alignment checks out, run through these six movement tests:
Drop into a deep skating stance and push off on one leg as if you’re taking your first stride. The pads should stay locked in place with no forward slide or shoulder cap rotation.
Reach both arms straight overhead like you’re tying up a stick in front of the net. The chest plate shouldn’t rise up toward your throat, and the shoulder caps should stay centered on your joints.
Rotate your torso left and right as if you’re passing cross-ice or looking over your shoulder for a backcheck. The pads should flex with you without creating pressure points at your armpits or ribs.
Simulate a stickhandling motion with quick side-to-side weight shifts. Check that the bicep guards don’t slide down your arms or bunch up against your elbows.
Lean forward into a checking position with one shoulder leading. The leading shoulder cap should stay over your joint and the sternum guard should remain flat against your chest without twisting.
Bend forward at the waist as if you’re picking up a puck off the ice. The back plate should stay between your shoulder blades and not ride up toward your neck or down past your mid-back.
If the pads pass all six tests without shifting, pinching, or leaving gaps, they fit. If anything feels off, adjust the straps first. Tighten the chest and back straps to pull the pads higher or lower, and dial in the bicep adjustments to close any elbow-pad gaps. If adjustments don’t fix the problem, try a different size or switch brands.
Buying Hockey Shoulder Pads for Checking: Budget, Durability, and Replacement Timing
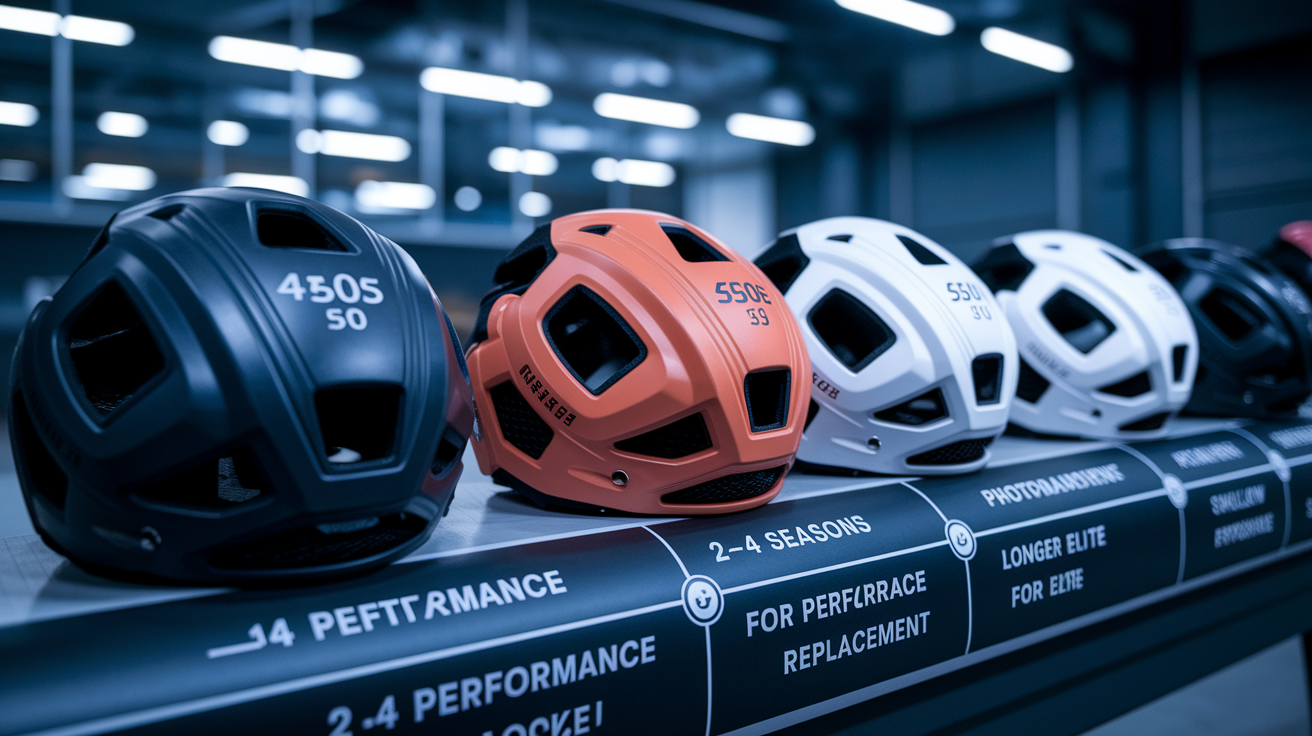
Checking pads range from around one hundred dollars for entry-level Performance models to over three hundred dollars for top-tier Elite pads, and the price reflects the materials, construction, and expected lifespan. Recreational pads cost less but aren’t safe for contact play, so don’t try to save money by buying a cheaper model if you’re skating in a checking league.
Performance pads sit in the middle of the price range and deliver solid protection, multi-density foams, and adjustable features that work for most high school, youth, and adult league players. Elite pads cost more upfront but use better materials (composite inserts, smart foams, floating guards, and advanced liners) that hold up longer under heavy contact and stay lighter through multiple seasons.
Durability depends on how often you play and how hard you get hit. Performance pads typically last two to four seasons of regular checking play before the foam starts compressing, the shoulder caps show wear, or the straps stretch out. Elite pads often last longer because the foams are denser and more resilient, and composite inserts don’t crack or deform as easily as standard plastics. If you’re playing three or four times a week in a competitive checking league, expect to replace pads on the shorter end of that range. If you’re skating once or twice a week in a recreational contact league, you’ll get more seasons out of the same pads.
You’ll know it’s time to replace your checking pads when protection starts to fail or fit becomes inconsistent. Don’t wait until a shoulder cap cracks during a game or a strap breaks and leaves you exposed mid-shift. Inspect your pads regularly and watch for these warning signs:
Visible foam compression: Press your thumb into the shoulder cap, sternum, or spine foam. If it stays compressed and doesn’t spring back, the foam has lost its ability to absorb impact.
Cracks or splits in shoulder caps or sternum inserts: Any visible damage to hard-shell components means the pad can’t distribute force properly and should be replaced immediately.
Strap failure or excessive stretching: If the chest, back, or bicep straps no longer hold the pads snug or if the adjustment holes are worn out, the pads will shift during contact and leave gaps.
Shifting during movement: If the pads slide forward, backward, or rotate off your shoulders during normal skating or stickhandling, they’re no longer providing reliable coverage.
Persistent odor or liner breakdown: While not a safety issue, a liner that’s falling apart or retaining odor even after washing usually signals that the pad is nearing the end of its usable life.
Compatibility: Ensuring Your Checking Shoulder Pads Work With the Rest of Your Gear
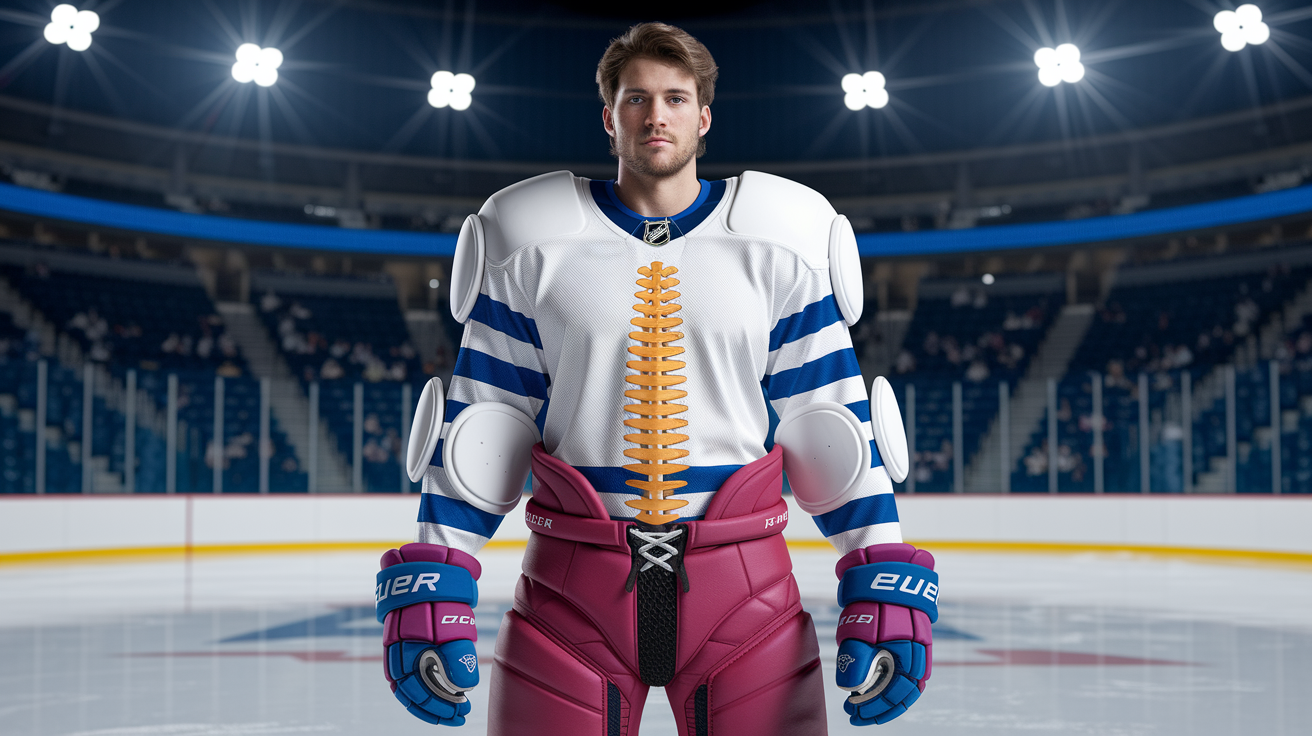
Shoulder pads don’t work in isolation. They need to fit cleanly with your elbow pads, hockey pants, base layers, and jersey without creating gaps, excessive overlap, or restricted movement. The most common compatibility issue is the bicep-to-elbow transition. If your shoulder pad bicep guards are too short or your elbow pads sit too low, you’ll have exposed skin or underlayer between the two, which leaves your upper arm vulnerable during board battles. If the bicep guards are too long or overlap too far down your elbow caps, the stacked padding will bunch up when you bend your arms and restrict your range of motion.
The fix is to try both pieces on together and adjust the bicep straps until the guards meet the top of your elbow caps with no gap and minimal overlap. Ideally just enough to ensure coverage when your arm is fully extended.
Jersey fit matters more than most players expect. If your shoulder pads are too bulky or the shoulder caps extend too far out from your body, your jersey will pull tight across the chest and shoulders, which restricts your movement and makes it harder to raise your arms or rotate your torso. High Profile pads and some Elite models with extended shoulder caps work best with looser-cut jerseys or one size up from your normal fit. Low Profile pads typically fit under standard jerseys without issue. Check that you can pull the jersey on and off easily over the pads and that the sleeves don’t bind when you raise your arms overhead.
Spine guard length is another compatibility checkpoint. The back plate on your shoulder pads should extend down far enough to meet the top of your hockey pants without leaving a gap at your lower back, but not so far that it overlaps and creates a stiff pressure point when you bend at the waist. Most Performance and Elite pads have adjustable back-plate positions or segmented spine designs that let you dial in the right length for your torso. Try the pads on with your pants and base layer, then bend forward and check that the spine guard stays between your shoulder blades and doesn’t ride up or push down into the waistband of your pants.
Final Words
Out on the ice, picking pads for checking comes down to protection zones, a stable fit, and the right mobility profile.
Measure chest and height, try pads on with base layers and elbow pads, and confirm sternum and spine coverage. Aim for Performance or Elite tiers with reinforced shoulder caps and multi-density foam.
Test skating strides and shoulder rolls. Replace pads when foam compresses, caps crack, or straps fail.
If you want one clear takeaway on how to choose the right hockey shoulder pads for checking, prioritize fit and protection over style, and you’ll stay safer and play with more confidence.
FAQ
Q: Where do you put your weakest player in hockey?
A: The weakest player should usually skate on the fourth line or a sheltered role with short minutes, defensive-zone starts, simple tasks, and matchups that limit exposure while focusing on confidence and development.
Q: How do you pick the right shoulder pads, pick the right size, and tell if hockey shoulder pads are too small?
A: To pick and size shoulder pads, measure chest circumference and height, check brand charts, try pads with a base layer and elbow pads, pick Performance/Elite for checking; they’re too small if they ride up, pinch, or gap at the biceps.