
Are your kid’s stickhandling drills actually slowing their progress?
Too many beginners chase flashy moves before nailing the basics, and coaches spend months fixing habits.
This post gives a clear, six-step progression for beginner stickhandling: grip and stance, stationary control, linear skating, multi-directional patterns, simple deception and protection, and small-game integration.
You’ll get checkpoints, drills, and simple tests that tell you when to move on.
Read on to stop wasting ice time and build a foundation that stacks like real building blocks.
Complete Beginner Stickhandling Roadmap

Most beginners jump into stickhandling with zero plan. They’ll try random drills without understanding how one skill connects to the next. A real progression gives players a foundation that stacks like building blocks, where each piece supports what comes after. Without that structure, young players waste time practicing moves they can’t actually control and skip the fundamentals that unlock everything else.
Skills don’t just appear. They build in order. Stationary control comes first because if you can’t cup the puck standing still, you won’t keep it on your blade at speed. Simple forward movement follows: skating straight while your hands stay soft and your wrists rotate. Multi-directional patterns arrive once you can control tempo and blade position through turns and lateral crossovers. Early advanced elements like weight shifts, deception, and puck protection close out the beginner phase and set you up for intermediate work.
Here’s the six-step roadmap structuring the rest of this guide:
- Grip and stance fundamentals – Hand placement, knee bend, blade contact with the ice, and relaxed wrists.
- Stationary puck control – Wrist rolls, forehand/backhand touches, and soft-hands drills without any skating.
- Linear forward movement – Skating straight while keeping the puck in the blade’s sweet spot.
- Multi-directional patterns – Lateral weaves, tight turns, figure-8s, and edge transitions with the puck.
- Simple deception and protection – Basic weight shifts, body shields, and beginner-friendly dekes.
- Integration into small games – Applying what you’ve learned under light pressure in tight spaces.
This roadmap defines what to work on and when. Each stage unlocks specific drills and checkpoints that tell you when to move forward. The rest of the article breaks down mechanics, practice prescriptions, and common mistakes at each level so parents and coaches know exactly what to teach and when it’s time to advance.
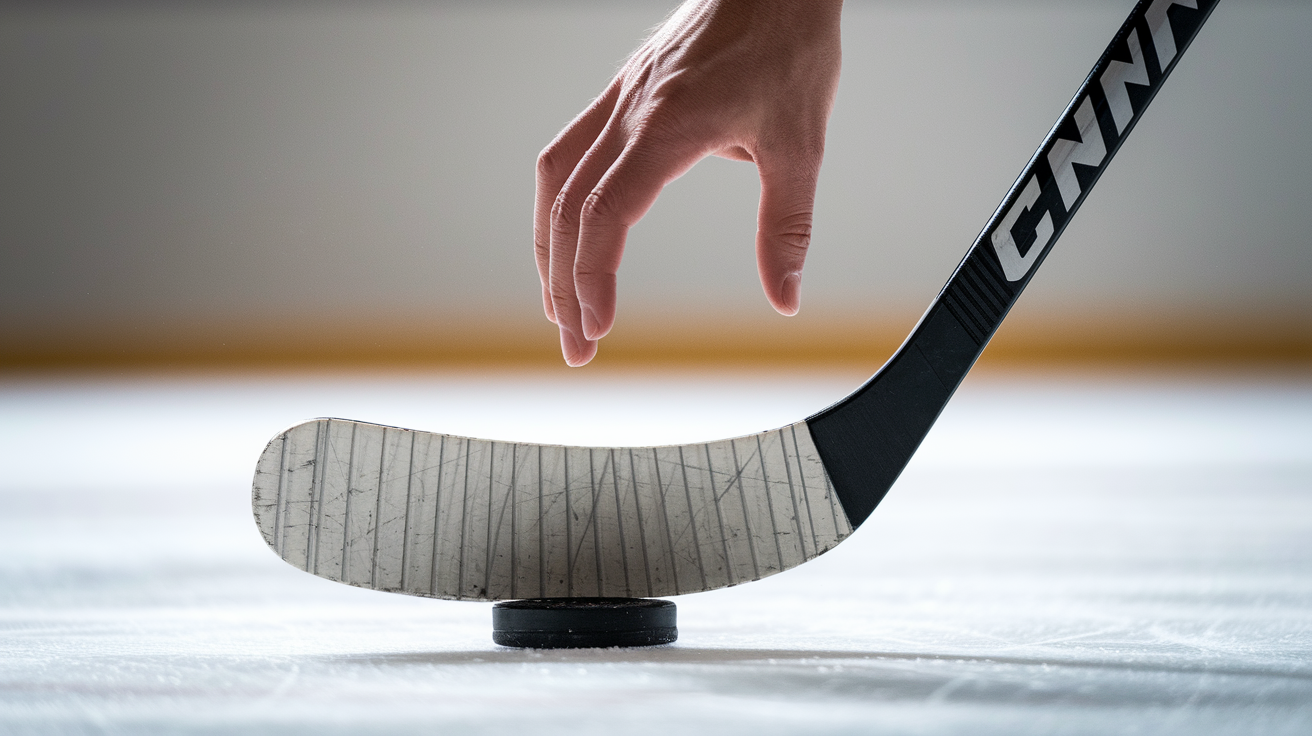
Foundation: Grip, Stance, and Basic Control
Every stickhandling progression starts with how you hold the stick and position your body over the puck. Top hand goes at the very top of the shaft. Little finger touches the end cap, palm faces down, thumb and fingers wrap over the top. That placement lets your wrist roll and cup the puck side to side. Beginners who grip palm-up or slide that top hand down the shaft lose wrist mobility and can’t control tight touches. Bottom hand sits roughly body-width down the shaft. To find that spacing, hold the stick horizontal at waist height with hands on hips. That distance is your starting point. Bottom hand stays firm but loose enough to slide up or down when you need more reach.
Stance matters just as much as grip. Knees bend, weight sits centered on the balls of your feet, and the blade heel stays flat on the surface. If the heel lifts, your top hand’s too high or you’re standing too upright. A low, balanced stance lets you shift weight quickly and keeps the puck within the blade’s control zone directly in front of your skates. Head position should be neutral. Eyes up, using peripheral vision to track the puck instead of staring straight down. Beginners will look down at first. That’s normal. The goal is gradually reducing how often you drop your eyes as your touch improves.
Before advancing to any drill progression, you need to meet these five foundational checkpoints:
- Top hand placed at the shaft’s end, palm down, with a relaxed but firm grip.
- Bottom hand spaced body-width down, able to slide freely for reach.
- Knees bent, weight on balls of feet, blade heel flat on the surface.
- Wrists can roll independently to move the puck side to side without big arm sweeps.
- You can hold the ready position for 30 to 45 seconds without fatigue or posture collapse.
Once these mechanics hold steady, stationary stickhandling drills become productive. Trying to practice advanced patterns without this foundation wastes time and builds bad habits that coaches spend months correcting later.
Stationary Stickhandling Development
Stationary drills teach soft hands, blade feel, and wrist rotation before skating speed adds complexity. Standing still, you can focus entirely on how the blade cups the puck, how your top hand rolls to change the blade angle, and how much pressure keeps the puck controlled without slapping it around. Stationary work isolates mechanics. It’s the only stage where you’ve got the attention bandwidth to notice if your wrists are stiff, your grip too tight, or your blade positioning inconsistent.
The key mechanics at this stage come down to the top hand and wrists. Bottom hand stays quiet. It stabilizes the shaft but doesn’t drive movement. Top hand rolls palm-down to forehand, palm-sideways to backhand, using small wrist rotations to guide the blade. The puck should stay on the heel of the blade during most touches because the heel provides the best cupping surface and spin control. Beginners often push the puck with the toe, which reduces control and makes passing or shooting setups harder. Coaches should watch for excessive arm motion. If a player’s elbows flap wide or their shoulders twist dramatically, they’re compensating for locked wrists.
Common errors include gripping too hard with the bottom hand, which limits mobility. Looking straight down instead of using peripheral vision. And moving the puck too far from the body, forcing recovery reaches that break rhythm. Fixing these early prevents plateaus later. A beginner who practices stationary touches for two weeks with correct wrist action will move faster through later stages than someone who rushes into skating drills with stiff hands.
Here are four core stationary drills every beginner should complete before moving to linear skating patterns:
- Forehand/backhand quick touches – Move the puck side to side in front of your body using only wrist rolls. Start at 40 touches per minute, progress to 60. Practice 3 sets of 30 to 45 seconds.
- Soft-touch puck taps – Light taps alternating forehand and backhand without the puck leaving a small zone. Focus on blade control and relaxed grip. 4 sets of 30 seconds.
- Toe-drag repetitions – Pull the puck from extended reach back toward your body using the toe of the blade, then push it out again. 3 sets of 10 to 20 reps per side.
- Figure-8 around two cones – Place two cones or objects 0.8 to 1.5 meters apart. Move the puck in a figure-8 pattern around them while stationary, cupping on turns. 3 sets of 6 to 10 complete loops.
You’re ready to add skating movement when you can complete 30 seconds of clean alternating touches on both forehand and backhand without looking down, and when you can execute 10 consecutive figure-8 loops without the puck leaving the blade or requiring a reset. That consistency signals your wrists and hands have developed enough touch to handle the added complexity of forward motion.
Linear Movement Stickhandling
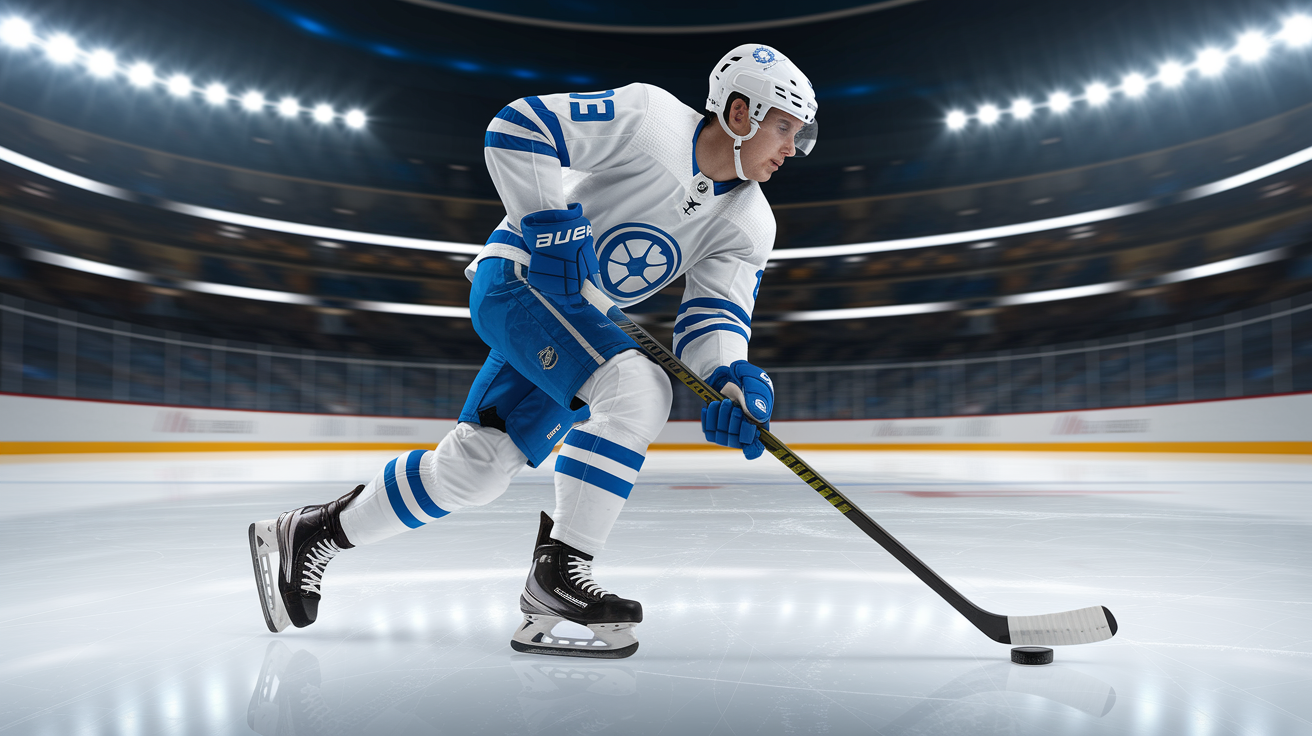
Introducing skating movement changes everything. A player who handles the puck smoothly while standing still often loses control the moment they start gliding forward. The puck drifts ahead, the blade chases it, and the rhythm falls apart. That’s normal. Linear movement stickhandling teaches timing. The blade must contact the puck at the right moment in the stride cycle, and you need to learn to carry the puck directly in front of your skates where peripheral vision works and quick corrections stay possible.
The biggest challenge is syncing wrist action with skating tempo. Standing still, you can move the puck whenever you want. Skating forward, each stride creates a small shift in body position and weight distribution. The blade has to stay active, rolling and cupping with small wrist adjustments, while your legs generate speed. Beginners often freeze their hands or start using big arm sweeps to compensate for losing the puck’s position. The fix is simple but takes repetition: keep the puck on the blade’s heel, in front of the lead skate, and use wrist rolls (not elbow motion) to make touch corrections.
Weight transfer becomes critical. When the puck drifts to the forehand side, your weight should shift slightly onto that skate to extend reach and maintain balance. Same applies to the backhand. Players who keep their weight centered while reaching wide lose power and control. Coaches can watch for this: if a beginner’s upper body leans dramatically or their free leg kicks out for balance, their weight transfer timing’s off.
Here’s a four-step progression for training linear movement stickhandling:
- Slow glide with stationary blade – Push off, glide in a straight line, and hold the puck on the blade without any side-to-side movement. Focus on keeping the puck centered in front. 8 reps of 20 to 30 meters.
- Slow skating with controlled touches – Skate forward at 50 to 60% speed, adding gentle forehand-backhand touches every 2 to 3 strides. The puck should never leave a narrow lane in front of your skates. 8 to 10 reps of 30 to 40 meters.
- Moderate speed with rhythm – Increase skating speed to 70 to 80% and sync puck touches to stride rhythm. One touch per stride cycle. 10 reps of 30 to 50 meters.
- Full-speed straightaway – Skate at near-full speed while maintaining puck control in front. Accept some puck drift but practice recovering with quick wrist corrections or a skate-kick back to the blade. 8 to 12 reps of 40 to 50 meters.
You’re ready for multi-directional patterns when you complete 10 out of 12 straight-line runs at moderate speed (step 3) without losing the puck or needing to stop and reset. That 80% success rate shows your hands and skating legs are working together well enough to handle turns, crossovers, and lateral movement.
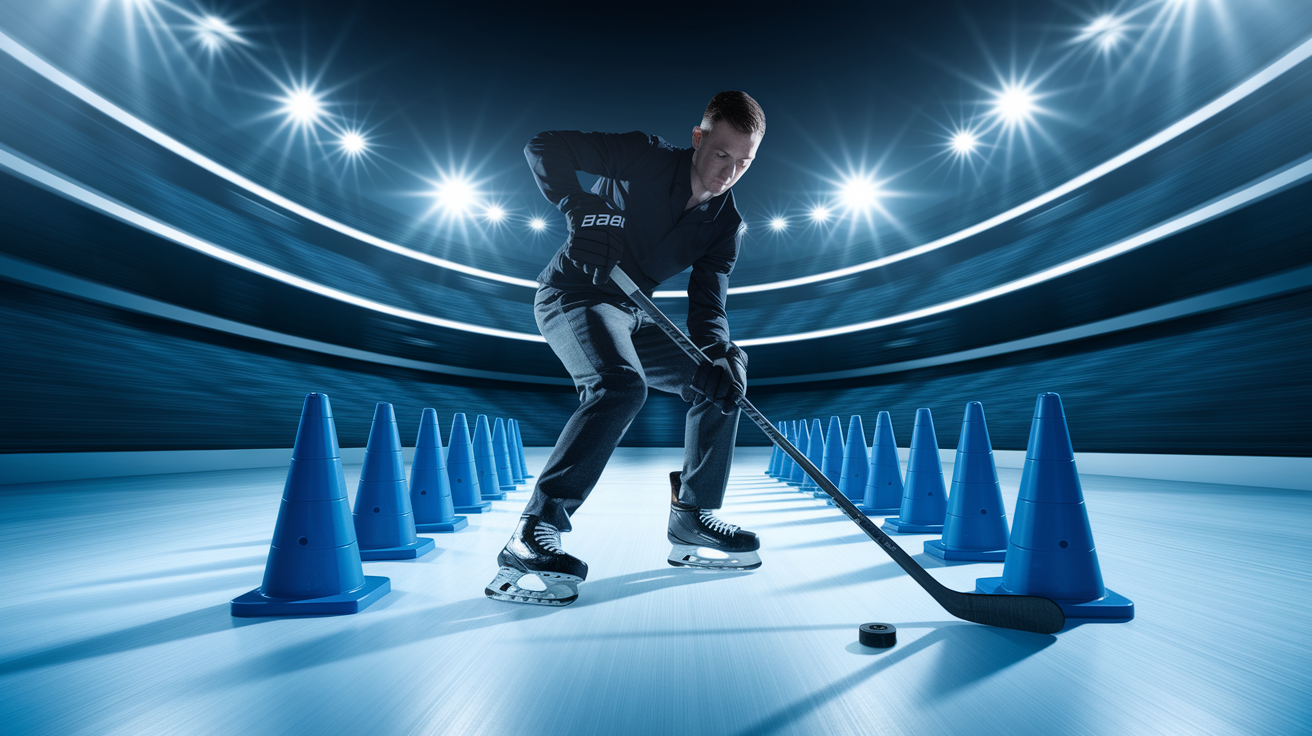
Multi-Directional Movement Patterns
Once you control the puck skating straight, the next challenge is keeping it during direction changes, lateral crossovers, and tight-radius turns. Multi-directional stickhandling forces you to coordinate edge work, weight shifts, and blade positioning all at once. A crossover to the left requires leaning into the turn, shifting weight onto the inside edge of the outside skate, and adjusting the blade angle so the puck stays cupped through the arc. Beginners often lose the puck on the first crossover step because their hands stay in a straight-line position while their body rotates.
Lateral mechanics differ from linear skating. Moving side to side, the puck must shift smoothly from forehand to backhand as your hips and shoulders rotate. The top hand still drives the motion, but now the bottom hand has to slide up or down the shaft to maintain reach and leverage through different body angles. Moving laterally to your forehand side, you’ll extend the bottom hand slightly. Moving to the backhand, you pull it closer and rotate the upper body to get the blade across the body line. Timing those adjustments while maintaining edge control and speed is the leap from beginner to intermediate handling.
Transition timing is the third variable. A direction change starts with the feet (edge change, weight shift) and the hands must follow immediately to keep the puck in the control zone. If the hands lag even half a second, the puck drifts out of reach and you have to stop, re-gather, and restart. Smooth transitions happen when you anticipate the turn, position the puck slightly inside the arc before the edge change, and cup it through the curve with continuous wrist action.
Here are three drills that develop multi-directional control:
- Lateral cone weave – Set 4 to 6 cones in a line, spaced 1.5 to 3 meters apart. Skate laterally (side to side) while weaving the puck around each cone, using crossovers and quick edge transitions. Start slow, focusing on keeping the puck on the blade through each direction change. 6 to 10 runs, reducing cone spacing as skill improves.
- Tight-turn puck protection – Skate forward, execute a sharp 180-degree turn while shielding the puck on the inside of the arc, then accelerate out. Practice both directions (forehand and backhand turns). 4 sets of 5 reps per side.
- Figure-8 with skating movement – Skate a figure-8 pattern around two markers (cones, tires, or lines) spaced 3 to 5 meters apart. Maintain puck control through crossovers and direction reversals. 3 sets of 6 to 8 complete figure-8s, increasing speed as consistency improves.
You’re ready for early advanced concepts when you can complete a lateral cone weave without losing the puck more than once per run, and when you can execute tight turns in both directions while keeping the puck protected and immediately accelerating out of the turn. Those milestones show your feet, edges, and hands are synchronized well enough to layer in deception and body positioning.
Early Advanced Concepts for Emerging Players
Beginners plateau when they master mechanical control but never learn how to use their body, change speeds, or deceive a defender. Early advanced concepts introduce those layers without requiring elite-level skill. Simple deception starts with a basic weight shift and a fake. Skating toward a cone (or defender), you shift your weight and stick to one side as if committing to that direction, then quickly pull the puck back to the other side and accelerate past. The fake doesn’t need to be dramatic. Just enough movement to create a reaction or hesitation. Practicing fakes against stationary objects (cones, tires) builds the timing and confidence to try them against a live opponent in small-area games.
Puck protection stance is another foundational advanced skill. A beginner who can stickhandle in open ice often loses the puck the moment someone applies pressure. Puck protection teaches you to use your body as a shield. The stance is simple: knees bent low, body between the defender and the puck, stick blade cupping the puck on the far side (away from pressure), and the off-arm (not holding the stick) positioned to maintain space without hooking or holding. Practice this by having a partner apply light stick checks or body contact while you move in a small area (3×3 meters). The goal is keeping the puck for 3 to 5 seconds under steady pressure. That’s long enough to scan for a passing option or find a shooting lane in a real game.
Hand-eye skill builders prepare you for one-touch plays, deflections, and quick puck receptions that define higher levels. Beginners can start with simple exercises: tossing a ball or puck in the air and catching it on the blade, bouncing a ball off a wall and controlling the rebound with one touch, or receiving a rolling puck and immediately transitioning into a shooting motion. These drills don’t look like traditional stickhandling, but they train the same soft hands, wrist mobility, and blade awareness that make advanced stickhandling possible.
Here are three simple early-advanced techniques suitable for improving beginners:
- Weight-shift deke drill – Skate toward a cone, shift weight and stick hard to one side (pause for a half-second), then pull the puck back across your body and accelerate past the cone on the opposite side. Practice 3 sets of 8 to 12 reps, alternating directions.
- Shield-and-turn with light contact – Partner applies light stick pressure or body position while you pivot, shield, and maintain possession in a 3×3 meter zone. 3 sets of 20 to 30 seconds per round.
- Blade-catch repetitions – Toss a tennis ball or light puck 1 to 2 feet in the air and catch it on the flat of the blade, absorbing the impact with wrist give. Progress to higher tosses and quicker catches. 3 sets of 10 to 15 reps per session.
When you can execute a weight-shift deke successfully in 6 out of 10 attempts against a cone and can protect the puck under light partner pressure for a full 20-second round without losing possession, you’ve crossed into intermediate territory. Those skills show you’re ready for structured small-area games, more complex skating patterns, and the next phase of stickhandling development that integrates everything under real defensive pressure.
Final Words
We started on the ice by locking down grip, stance, and soft hands, then built touch with stationary drills.
Next we added forward movement, lateral patterns, and small deception moves so handling works in real shifts.
The six-step roadmap and practical drills give a clear week-to-week path for steady improvement.
Follow this progression of stickhandling skills for beginner hockey players and you’ll see steady gains, practice smart, be patient, and enjoy the results.
FAQ
Q: What is the full beginner stickhandling progression?
A: The full beginner stickhandling progression is: start with grip, stance, and soft hands; master stationary puck control; add linear movement; train multi-directional patterns; then learn early advanced deception and puck protection.
Q: When should a beginner start stickhandling while skating?
A: A beginner should start stickhandling while skating once stationary control is consistent, adding slow forward motion focused on timing, weight transfer, and keeping the puck close to the blade.
Q: What core mechanics should beginners master first?
A: Beginners should first master grip, stance, and soft hands because balance, top-hand mobility, and a relaxed touch create reliable control for all future drills.
Q: What stationary drills should beginners do?
A: Key stationary drills are: toe drags in place, figure-eights around pucks, quick side-to-side taps, and top-hand puck rolls to build touch, wrist mobility, and blade feel.
Q: How do I progress to multi-directional stickhandling?
A: You progress to multi-directional drills by introducing lateral pushes, diagonal carries, and tight turns—start slow, prioritize edge control and puck protection, then add speed and reaction elements.
Q: How often should beginners practice stickhandling?
A: Beginners should practice stickhandling three to five times weekly in short blocks (10–20 minutes), focusing on quality reps; increase on-ice work once mechanics are reliable.
Q: What common mistakes slow stickhandling progress?
A: Common mistakes that slow progress include choking up on the stick, stiff wrists, narrow stance, and jumping to skating drills too soon; correct them with slow, focused repetitions.
Q: How do I know when to advance drills?
A: You should advance when you can execute stationary drills cleanly, keep the puck on your stick during slow skating, and change direction without losing control or balance.
Q: What simple early-advanced techniques should beginners learn?
A: Early-advanced techniques good for beginners include simple inside-out dekes, shoulder fakes, and basic body positioning to protect the puck while maintaining control.
Q: How do I train soft hands and wrist mobility?
A: Train soft hands and wrist mobility with slow puck rolls, quick wrist flicks, and ball or pylon drills; keep a relaxed top hand and small, fast wrist rotations.