

Think your pricey gloves keep you safe?
Think again – fit matters as much as padding.
When a 60 mph slap shot hits your hand, a gap or loose cuff turns good protection into a weak spot.
This guide explains how impact ratings are measured, what protection tech actually does on the ice, and how to measure for a fit that stays put so your hands stay working and whole.
Best Hockey Gloves for Protection and Fit: Quick Comparison
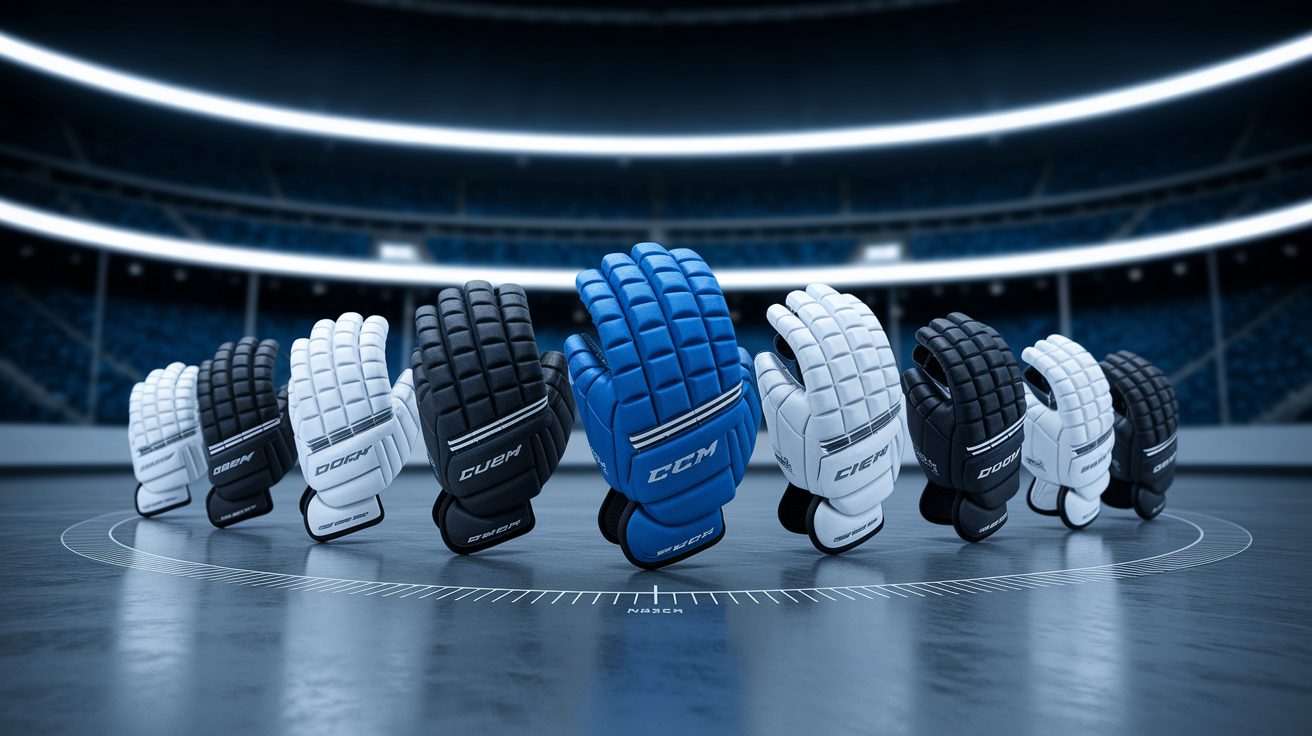
When a slap shot catches your fingers at sixty miles per hour, the difference between a bruise and a fractured bone comes down to the glove you chose months earlier. Protection and fit aren’t separate things. They work together to keep your hands safe and functional through a full shift. A glove that fits poorly shifts during contact, exposing gaps. A glove built for maximum protection but sized wrong limits stick control and hand speed. The chart below gives you a starting point for evaluating models that balance certified impact resistance with anatomical fit, so you can narrow your search before you step into a pro shop.
Use this comparison to identify which protection technologies match your exposure level and which fit profiles suit your hand shape. The protection rating reflects the manufacturer’s internal testing against impact forces, typically benchmarked to industrial standards like ANSI/ISEA 138. Key protection tech lists the specific materials (high-density foam, polyethylene inserts, viscoelastic polymers) that absorb and disperse energy. Fit profile tells you whether the glove runs snug through the fingers (anatomical), balanced between tight and roomy (tapered), or generous in volume (traditional). Price range helps you budget without sacrificing the protection features your position demands.
| Model | Protection Rating | Key Protection Tech | Fit Profile | Price Range |
|---|---|---|---|---|
| Bauer Supreme Mach | High | HD foam, PE backhand inserts, lock-thumb | Anatomical | $180–$280 |
| CCM Jetspeed FT6 Pro | High | D3O-style viscoelastic, segmented cuff | Tapered | $170–$260 |
| Warrior Covert QR6 | Medium-High | Multi-density foam, reinforced thumb spline | Tapered | $120–$180 |
| True Catalyst 9X | Medium | Thermoformed backhand, floating cuff | Anatomical | $140–$200 |
| Bauer Vapor 3X | Medium | Dual-density foam, split palm | Traditional | $90–$140 |
Understanding Hockey Glove Impact Protection Ratings
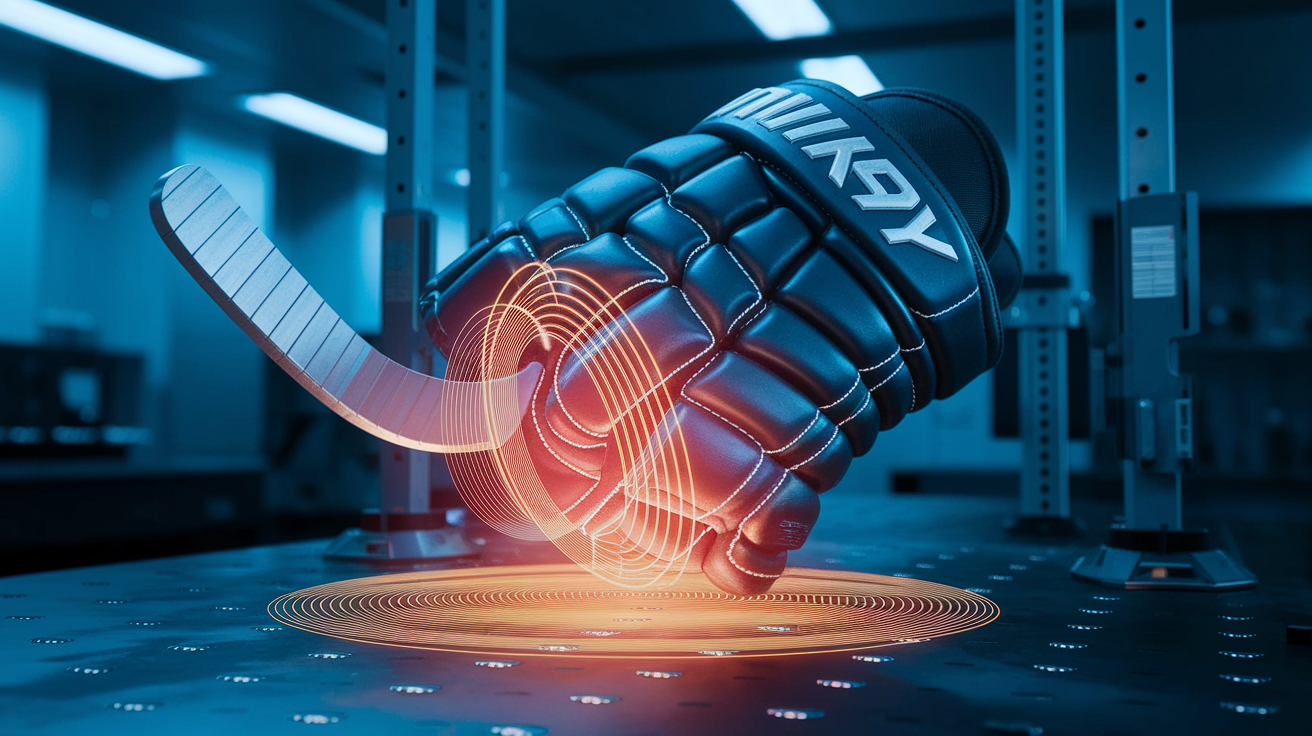
Hockey glove protection ratings measure how effectively padding and reinforcement reduce the force transmitted to your hand when struck by a puck, stick, or boards. Manufacturers pull these ratings from internal drop-tower or pendulum-impact tests that simulate common game scenarios. Slap shots to the backhand, cross-checks to the fingers, boards contact on the cuff. The test typically uses a fixed-weight striker (often 5.5 pounds, matching industrial PPE standards) dropped from a controlled height onto critical glove zones: knuckles, fingers, thumb, and backhand. Sensors embedded in a test hand measure peak force penetration. Lower penetration numbers indicate better energy dissipation, which translates to higher protection ratings.
Unlike helmets or visors, hockey gloves don’t have a single universal certification body. Brands reference industrial standards like ANSI/ISEA 138 (published 2019 for impact-resistant work gloves) as a design benchmark, then apply their own scales. Level 1 through 3, or descriptors like “maximum,” “elite,” and “performance.” CCM might label a glove “Level 2 finger protection,” while Bauer uses terms like “pro-level impact resistance.” Both could offer similar real-world protection, but direct numeric comparison across brands is impossible. When evaluating gloves, focus on the specific technologies listed (PE inserts, D3O foam, segmented shells) and cross-reference independent reviews or player feedback rather than relying solely on marketing claims.
To compare protection without a universal standard, examine the construction details and material density. A glove with thermoformed plastic backhand plates and high-density polyethylene (HD PE) knuckle inserts will outperform one using only standard foam, regardless of how each brand rates it. Look for segmented finger construction that prevents compression and allows foam to recover between impacts. Check for floating cuff designs that maintain coverage during wrist flexion. If two models list similar tech but different price points, the higher-cost glove usually features thicker foam layers, more coverage zones, or viscoelastic inserts that stiffen on impact and soften during normal movement.
Factors that increase impact protection:
Multi-layer foam systems combining soft comfort foam with high-density impact foam in strike zones. Hard inserts made from polyethylene, thermoplastic rubber, or injection-molded plastic on backhand and knuckles. Viscoelastic materials (D3O, XRD-style polymers) that absorb energy by transitioning from flexible to rigid under sudden force. Lock-thumb or stabilization features that prevent hyperextension and distribute impact across the thumb joint. Extended cuff designs with reinforced plastic or foam rolls that protect the wrist and lower forearm.
Key Protective Design Elements in Hockey Gloves
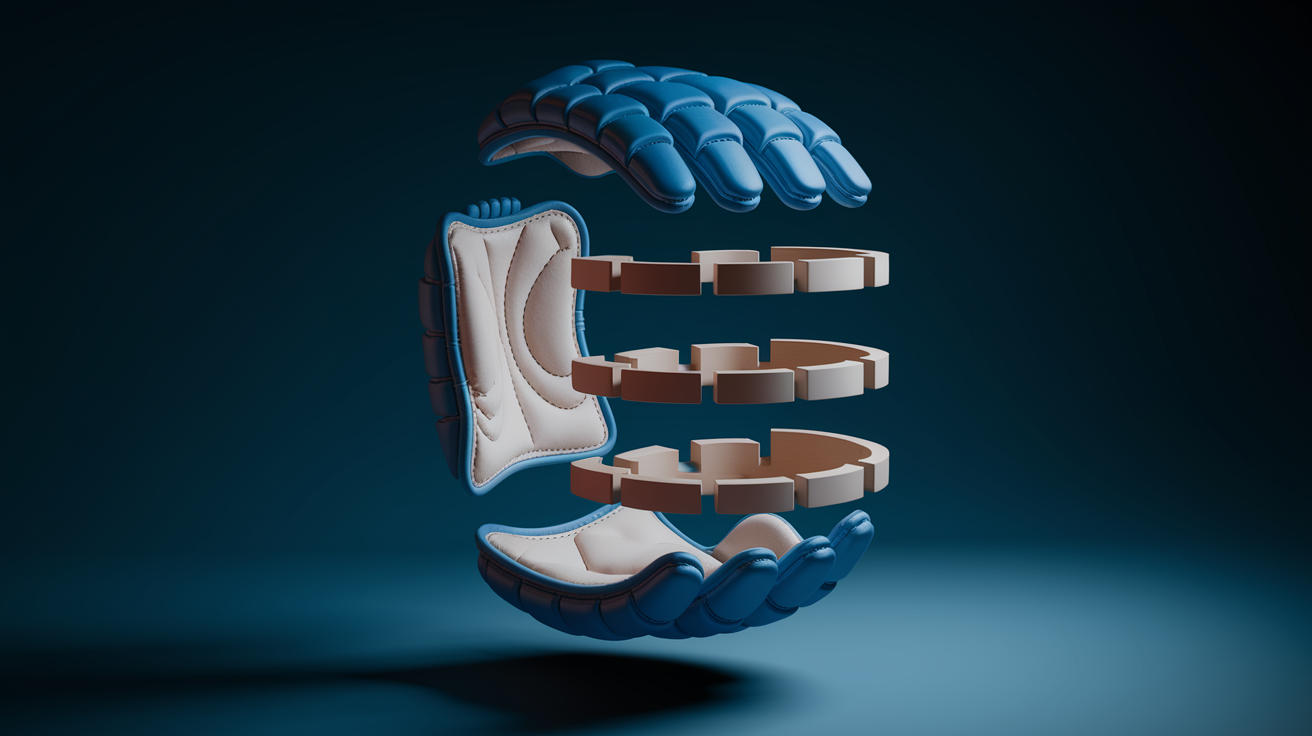
Padding systems form the first layer of defense against pucks, sticks, and boards. Most gloves use a dual-density approach: a soft, comfort foam sits against your skin to wick moisture and cushion vibration, while a firmer, high-density foam layer on top absorbs and disperses impact energy. Premium models add a third layer of viscoelastic polymer (material that stays flexible during skating but hardens instantly when struck, then returns to its original state). Manufacturers segment the foam into independent zones across the backhand, letting each finger and knuckle section compress independently without transferring force to neighboring areas. This segmentation keeps protection in place even when your hand flexes around a stick or when impact arrives at an oblique angle.
Finger protection relies on hard inserts positioned over the knuckles and along the top of each finger segment. Polyethylene and injection-molded thermoplastic shells cover the high-risk zones where slap shots and stick slashes land most often. These inserts are either bonded to the foam or sewn into pockets so they float slightly, allowing natural finger movement without creating pressure points. Split-finger designs separate the index and middle fingers from the ring and pinky, giving you better stick feel while maintaining coverage. Some high-end models include reinforced sidewall ridges that deflect stick blades away from the vulnerable spaces between fingers, reducing the chance of a slash finding a gap.
Thumb stabilization addresses the most common hand injury in hockey: hyperextension and lateral bending of the thumb joint. Lock-thumb systems use a plastic or composite spline that runs along the inside edge of the thumb, limiting how far it can bend backward when you take a cross-check or absorb a fall. The spline is typically embedded in foam and covered with a moisture-wicking liner, so you feel support without stiffness during normal grip. Floating-thumb designs allow slight forward movement for stick control while blocking rearward motion. Not all players prefer locked thumbs. Some find it restricts wrist rotation. But defensemen and physical forwards usually benefit from the added stability during board battles and shot blocking.
Cuff and cuff-roll design extends protection past the wrist and into the gap between your glove and elbow pad. Traditional cuffs use a single foam roll covered in nylon or reinforced mesh. Extended cuffs add a second roll or a molded plastic extension that overlaps with the elbow pad’s lower edge. Floating cuffs attach to the glove body with elastic or mesh gussets, allowing full wrist flexion without pulling the cuff away from your forearm. Some models integrate a hard plastic shield on the outside edge of the cuff to deflect stick checks. When trying on gloves, flex your wrist forward and backward. If you see a gap open between the cuff and your forearm, size up or choose a model with a longer cuff profile.
How to Measure Your Hand for Proper Hockey Glove Fit
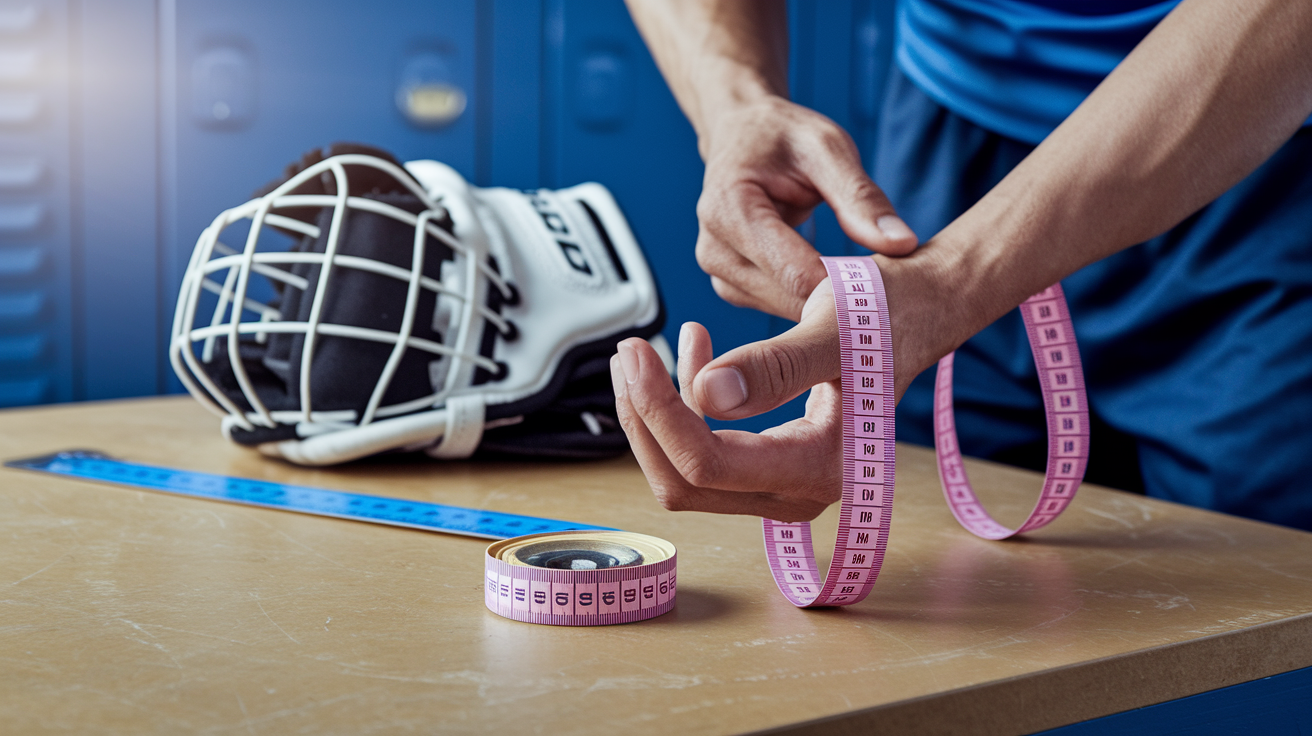
Start by finding a soft measuring tape. The flexible fabric kind used for sewing works best. If you only have a metal tape, wrap a thin string around your hand, mark the length, then measure the string against a ruler. You need two measurements: palm circumference and hand length. Palm circumference tells you whether a glove’s internal volume will accommodate your hand width without pinching. Hand length helps you select the correct glove size in inches, which corresponds to the distance from your fingertips to your elbow crease in most sizing systems.
Wrap the tape around the widest part of your dominant hand’s palm, just below the knuckles, excluding the thumb. Pull the tape snug but not tight. Your hand should be relaxed, fingers slightly apart. Record the measurement in both centimeters and inches for cross-reference with brand charts. Measure from the base of your palm (wrist crease) to the tip of your middle finger, keeping your hand flat and fingers extended. Record this second measurement in inches. It approximates the glove length you’ll need. Measure your thumb from base to tip separately if you’re considering gloves with adjustable thumb locks.
These measurements give you a baseline, but glove length (the number printed on the sizing chart: 8″, 10″, 13″, 15″) isn’t the same as your hand length. Glove length refers to the total coverage from fingertip to the point where the cuff meets your forearm, which includes several inches of cuff extension. A player with a 7.5-inch hand length typically wears a 13″ or 14″ glove, depending on age category and fit preference. Use the hand-length number to place yourself in the correct size range (youth, junior, intermediate, senior), then use palm circumference to decide between a snug anatomical fit and a roomier traditional cut.
After measuring, compare your numbers to the charts below. Small palms (18–20 cm / 7–8 inches circumference) usually pair with narrower fit profiles. Medium palms (20–23 cm / 8–9 inches) fit most standard anatomical and tapered gloves. Large palms (23–25 cm / 9–10 inches) often require traditional-fit models or sizing up one increment to avoid pinching across the backhand. If your fingers are longer than average relative to your palm width, size up one glove length to prevent your fingertips from jamming into the glove’s end cap. If your palm is wide but fingers are average, prioritize fit profile over raw size. Choose a wider-cut model in your measured length rather than jumping to the next size up.
Hockey Glove Fit Profiles Explained
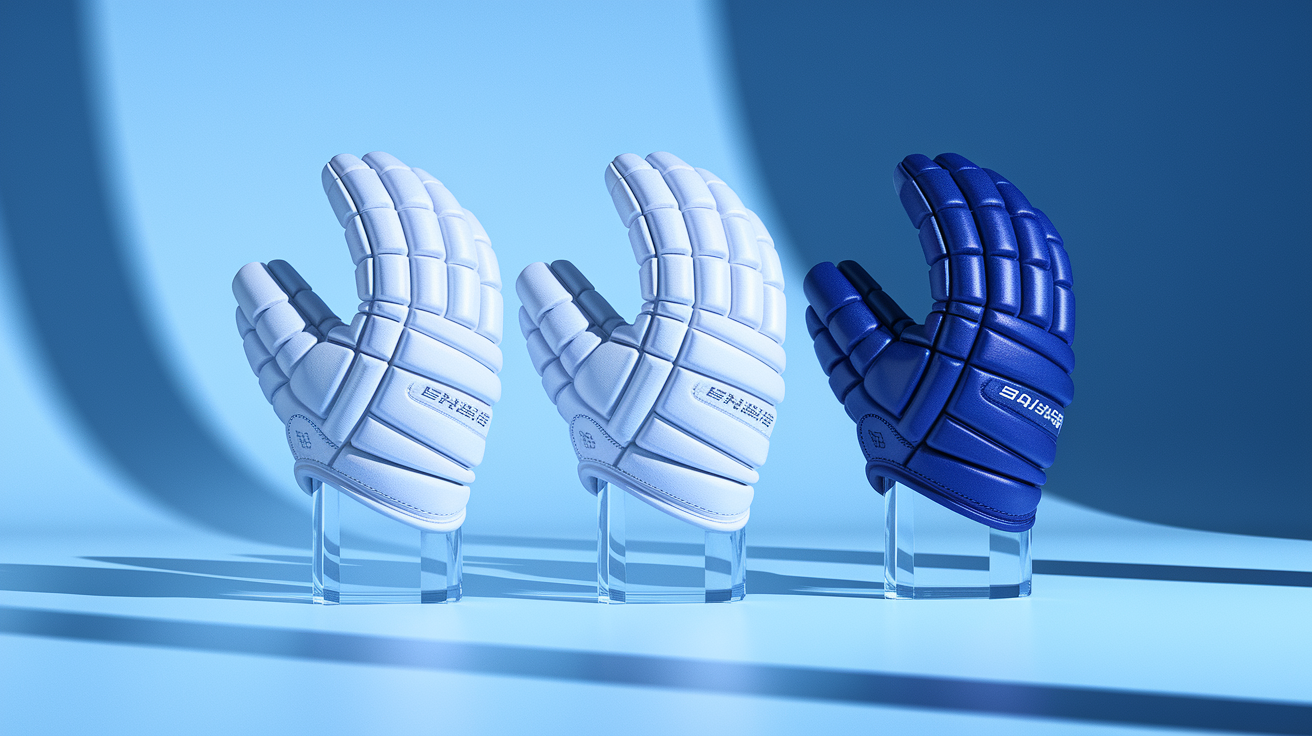
Anatomical fit follows the natural taper of your hand. Snug backhand, contoured fingers, minimal extra volume. The glove wraps tightly around your knuckles and fingers, eliminating dead space that can shift during play and expose unprotected zones. Manufacturers achieve this by pre-curving the fingers in a stick-grip position and using stretch materials in the gussets between fingers. The result is maximum dexterity and stick feel. Your hand moves inside the glove as one unit, with no lag between your grip adjustment and the glove’s response. Anatomical gloves usually feature shorter cuffs and split-palm construction to maintain that close, responsive fit. If you have narrow hands, long fingers, or prioritize quick hands over comfort, anatomical profiles deliver the tightest control. The tradeoff is a longer break-in period and less forgiveness if you’re between sizes.
Tapered fit balances tight finger pockets with a slightly roomier backhand and palm. The glove still follows your hand’s shape but allows a few millimeters of space for airflow and comfort. Finger segments remain pre-curved, but the backhand volume accommodates players who prefer a less restrictive feel when opening and closing their hand. Tapered gloves often include segmented foam that compresses to fit your hand shape over the first 10 to 15 hours of use, creating a semi-custom feel without the initial stiffness of a true anatomical design. This profile works well for players who want good stick control but also need to wear the gloves for full practices and games without hand fatigue. Most mid-to-high-end gloves default to a tapered profile, making it the most common fit on retail shelves.
Traditional fit provides the most interior volume. Straight backhand, wider finger pockets, generous palm space. These gloves prioritize comfort and ease of movement over precision fit. The extra room allows your hand to shift slightly inside the glove during play, which some players find more natural, especially if they’re used to older equipment or prefer a looser feel. Traditional-fit gloves typically feature thicker padding and longer cuffs, adding bulk but also maximizing protection for defensemen and physical forwards. The larger internal volume can reduce stick feel and delay response time when adjusting your grip, but it accommodates wider palms and allows for thicker liner gloves in cold rinks. If you’re new to hockey or prioritize protection and comfort over elite-level control, traditional fit is the safest starting point.
Brand-to-Brand Sizing Differences
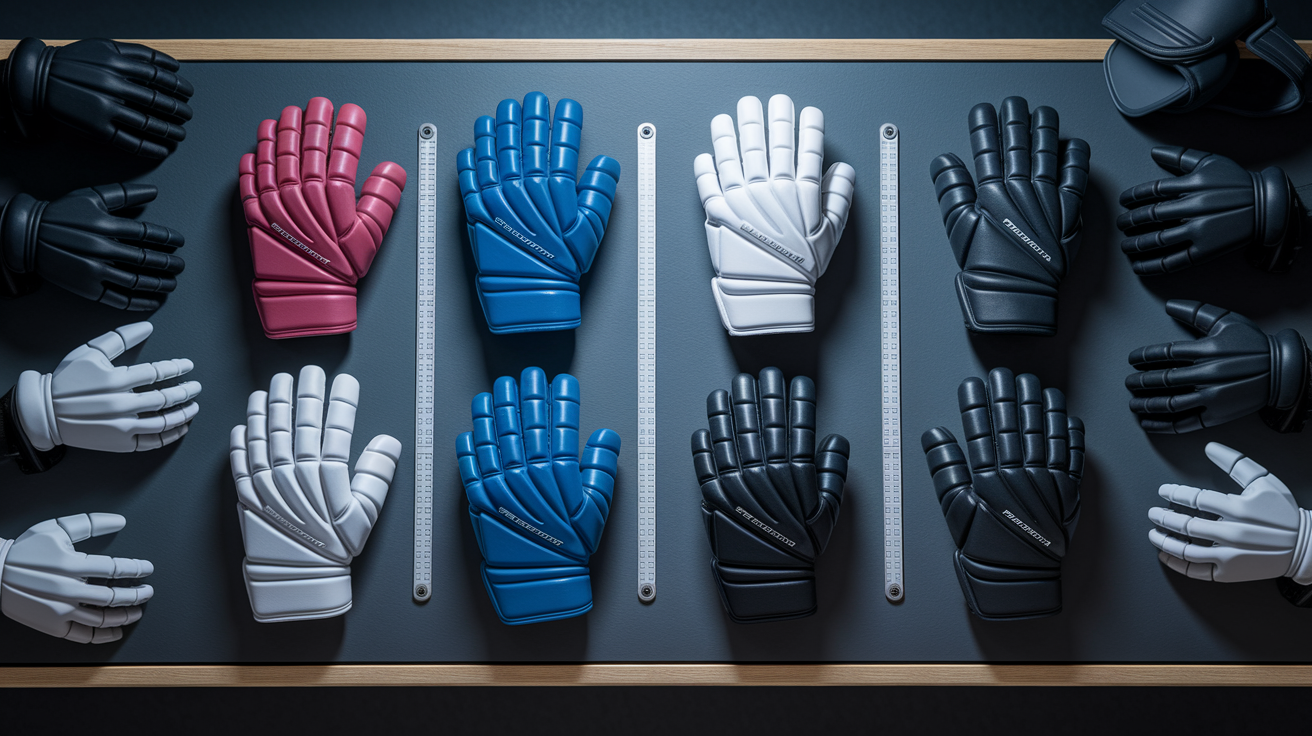
Brands build gloves on different hand forms, so a 14″ glove from Bauer won’t fit identically to a 14″ glove from CCM or Warrior. Bauer gloves, especially in the Vapor line, tend to run narrow through the fingers and backhand, with a shorter cuff that sits closer to the wrist. Players with slim hands and average-length fingers find Bauer sizes true to chart, but those with wide palms or long fingers often need to size up. CCM gloves generally offer more backhand volume and a slightly longer cuff, particularly in the Jetspeed and Tacks families. The extra room makes CCM a better fit for players transitioning from traditional-profile gloves or those who layer thick liner gloves in winter. Warrior gloves split the difference, with a tapered fit that accommodates medium-width hands and fingers but doesn’t run as roomy as CCM’s traditional models.
Even within a single brand, fit varies by product line and price tier. Bauer’s Supreme line uses an anatomical fit with a contoured backhand, while the Nexus line (now discontinued in newer models but still in circulation) offered a traditional fit with maximum volume. CCM’s Ribcor gloves feature a snug, responsive taper, whereas the Tacks series leans traditional. When comparing models, check the manufacturer’s fit descriptor (usually labeled anatomical, tapered, or traditional) and cross-reference online fit reviews from players with similar hand measurements. Retailers sometimes stock “wide” or “narrow” versions of popular models, but these are less common than in skate sizing.
Finger length and cuff shape are the two dimensions where brands diverge most. True and Warrior gloves often feature longer finger segments relative to overall glove length, which benefits players with long, narrow hands. Bauer and CCM gloves typically balance finger length and palm width more evenly. Cuff height and stiffness also differ. Bauer cuffs tend to be shorter and more mobile. CCM cuffs extend further up the forearm and use stiffer materials for added protection. If you’re switching brands, expect to spend extra time checking fingertip placement and cuff overlap with your elbow pads.
| Brand | Fit Notes | Typical Sizing Tendencies |
|---|---|---|
| Bauer | Narrow fingers, short cuff, snug backhand | Runs small; size up if between measurements |
| CCM | Roomy backhand, longer cuff, medium taper | Runs true to size; accommodates wider palms |
| Warrior | Balanced taper, longer fingers, mid-length cuff | Runs true to size; good for long, narrow hands |
| True | Anatomical through fingers, extended fingertips | Runs narrow; best for slim hands and long fingers |
Break-In Expectations and Glove Feel Over Time
New hockey gloves arrive stiff, especially in the cuff and backhand, because the foam layers and plastic inserts haven’t compressed to match your hand’s shape yet. Expect five to fifteen hours of on-ice use (roughly two to three weeks of regular practice) before the glove softens enough to feel natural. During break-in, the comfort foam against your palm will compact slightly, the backhand padding will conform to your knuckles, and the finger segments will begin to hold a pre-curved grip position even when you’re not holding a stick. Leather and synthetic palms also relax, improving stick feel and reducing the effort needed to close your hand fully. You can speed up the process by flexing the glove repeatedly off-ice, working each finger joint and the wrist hinge, but don’t soak or microwave the glove. Both methods damage foam structure and liners.
Once broken in, gloves typically maintain their protective performance for 100 to 300 hours of play, depending on how often you take impacts and how well you dry them between uses. Foam compression is the first sign of aging. When you press the backhand padding and it doesn’t spring back quickly, the impact-absorbing layer has lost density. Liners will show wear (pilling, thinning, or separating from the shell) around the palm and finger pockets where friction is highest. Stitching along the cuff and thumb may loosen, and hard inserts can shift inside their pockets if the adhesive or stitching fails. None of these issues appear suddenly. You’ll notice gradual changes in comfort and protection over months.
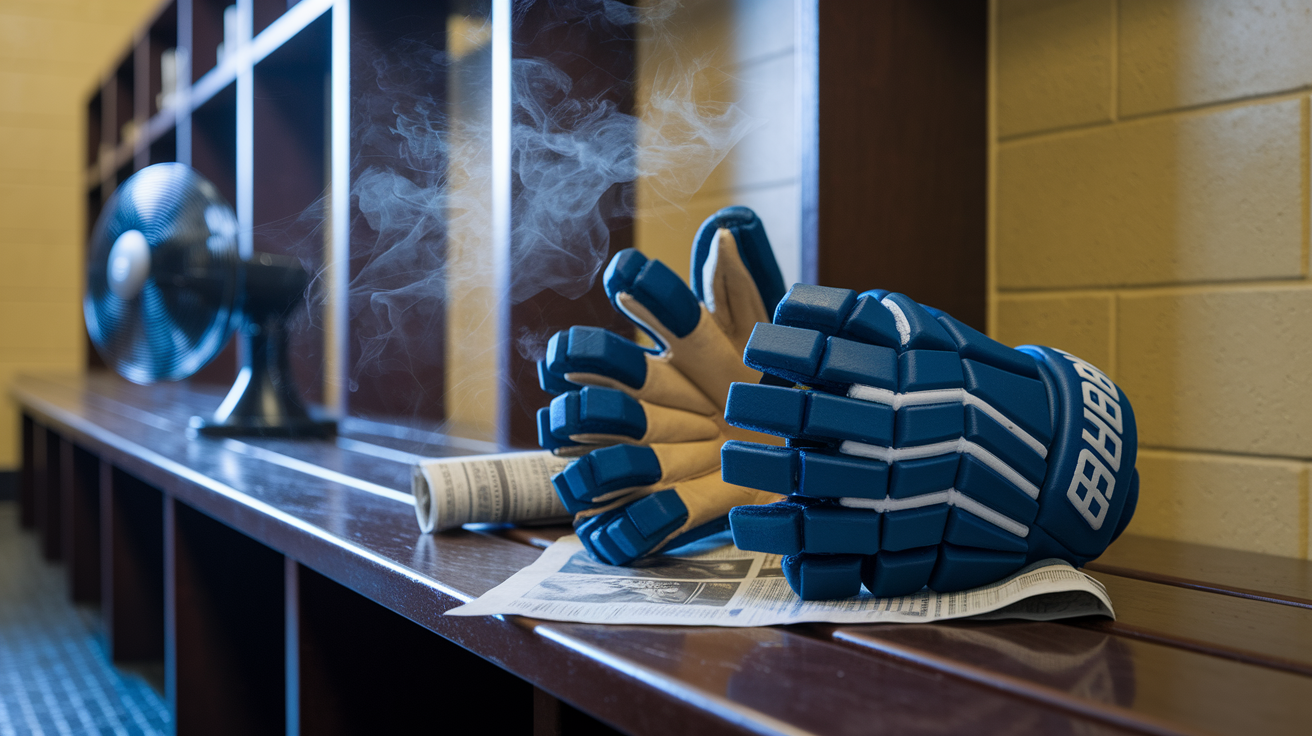
Proper drying extends glove lifespan significantly. After each use, open the glove fully, pull the fingers apart, and place them in a ventilated area. Never inside a closed gear bag. Direct heat from radiators or dryers will warp plastic inserts and crack foam, reducing impact resistance. If gloves get soaked from snow or a wet rink, stuff them loosely with newspaper to wick moisture, then let them air-dry for 24 hours. Inspect the foam and stitching every six to twelve months for frequent players. Replace gloves when backhand padding no longer rebounds after compression, when finger inserts rattle or move out of position, or when palm material develops holes that expose foam. A compromised glove won’t protect your hand during the hit that matters.
Position and Play‑Style‑Specific Recommendations
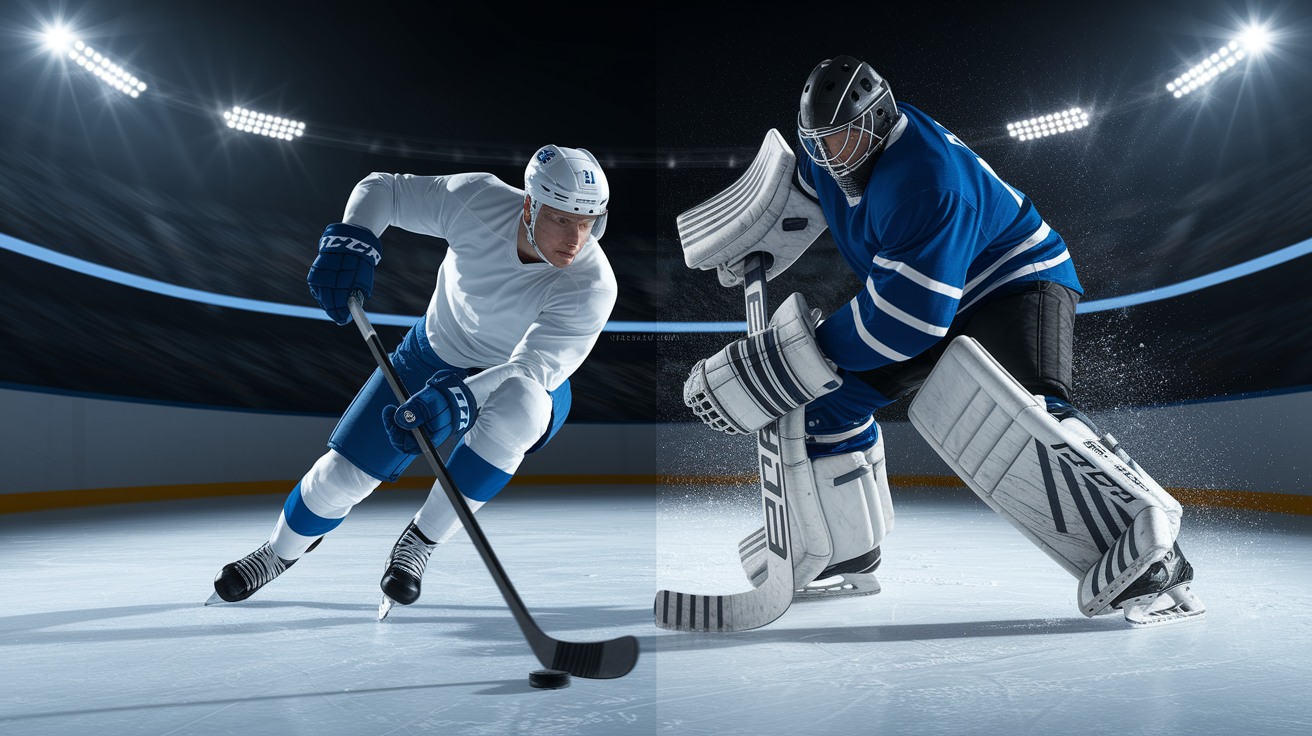
Forwards prioritize stick control and hand speed, so gloves with lighter construction, split palms, and thinner backhand profiles tend to work best. Look for models in the 350 to 450-gram range per glove (senior 14″ size) with segmented finger foams that allow independent movement. Anatomical or tapered fit profiles keep the glove tight to your hand, reducing lag when you adjust your grip for a quick release or a toe drag. Split palms (where the thumb-side and pinky-side sections are separated by a stretch gusset) improve stick feel by letting your hand close more naturally around the shaft. Many forwards choose gloves with medium protection ratings and shorter cuffs to maximize wrist mobility, accepting slightly less coverage in exchange for faster hands. If you play a skill-forward role and rarely block shots, this tradeoff makes sense.
Defensemen need higher backhand and cuff protection to handle shot blocking, cross-checks along the boards, and stick battles in front of the net. Gloves in the 450 to 550-gram range (senior 14″) with thermoformed backhand plates, reinforced cuff rolls, and lock-thumb systems provide the durability and coverage required for a full season of physical play. Tapered or traditional fit profiles offer more interior volume, which accommodates the thicker padding without restricting blood flow during extended shifts. Longer cuffs that overlap with elbow pads by at least one inch prevent gaps when you extend your arms to poke-check or when you take a wrist shot. Many defensive-minded gloves include extra sidewall reinforcement between fingers and extended thumb splines to reduce hyperextension injuries during board battles.
Specialized needs vary by player tendencies and league rules. Enforcers and physical forwards benefit from maximum-protection gloves with dual-layer viscoelastic inserts and extended cuff designs, even if those features add weight and reduce stick feel. Skilled players in non-contact or lower-contact leagues can opt for lightweight gloves with minimal padding, trading protection for speed and precision. Goalies require entirely different glove construction. Blockers use dense foam and rigid plastic to deflect pucks, while trappers prioritize wrist mobility and catch-pocket depth. Standard player-glove guidance doesn’t apply there. If you play multiple positions, prioritize the role where you take the most hand impacts and accept slight compromises in the secondary role.
Feature preferences by playing style:
Skill forwards: anatomical fit, split palm, lightweight foam, short cuff, medium protection. Power forwards: tapered fit, reinforced backhand, lock-thumb, medium-high protection. Defensemen: traditional or tapered fit, extended cuff, thermoformed inserts, high protection, thumb stabilization. Physical/enforcer role: maximum padding, dual-density foam, viscoelastic inserts, traditional fit, extended cuff and sidewalls.
Final Words
In game-speed contact, protection and fit are the differences between staying in the play or ending your shift early. This post ran through a quick comparison of top models, how protection ratings work, key padding and thumb systems, measuring for size, fit profiles, brand sizing quirks, break-in expectations, and position-focused picks.
Use the chart, measure your hand, and favor the fit profile that matches your role and style.
Use this hockey glove impact protection ratings and fit guide to choose confidently and enjoy safer shifts on the ice.
FAQ
Q: What are the ratings for impact gloves?
A: The ratings for impact gloves are brand-specific scores showing relative protection levels. Higher ratings usually mean layered HD foams, PE inserts, reinforced thumbs, and cuff-roll designs, but there’s no single industry standard, so compare tech and tests.
Q: What are the different types of hockey glove fit? Should hockey gloves be tighter or looser?
A: The different types of hockey glove fit are anatomical, tapered, and traditional. Anatomical is snug, tapered balances tight and loose zones, and traditional is roomier. Gloves should be snug on fingers and backhand, with some cuff room for mobility.
Q: Where do you put your weakest player in hockey?
A: You put your weakest player in sheltered roles, like third defensive pairing or fourth-line minutes, usually on the wing rather than center, off the penalty kill, and away from net-front matchups to lower risk.