

Controversial take: great hands won’t save you if your body lets the puck get exposed.
Keeping possession under pressure comes down to stance, puck distance, and how you shield the puck with hips and shoulders.
This post shows practical stickhandling tied to body positioning, like cup-and-shield, mohawk turns, inside/outside rolls, toe drags, short touches, and head-up drills, so you can hold the puck, escape checks, and make the right play.
Train these together and you stop giving the puck away in tight spots.
Core Stickhandling Principles for Keeping Possession Under Pressure
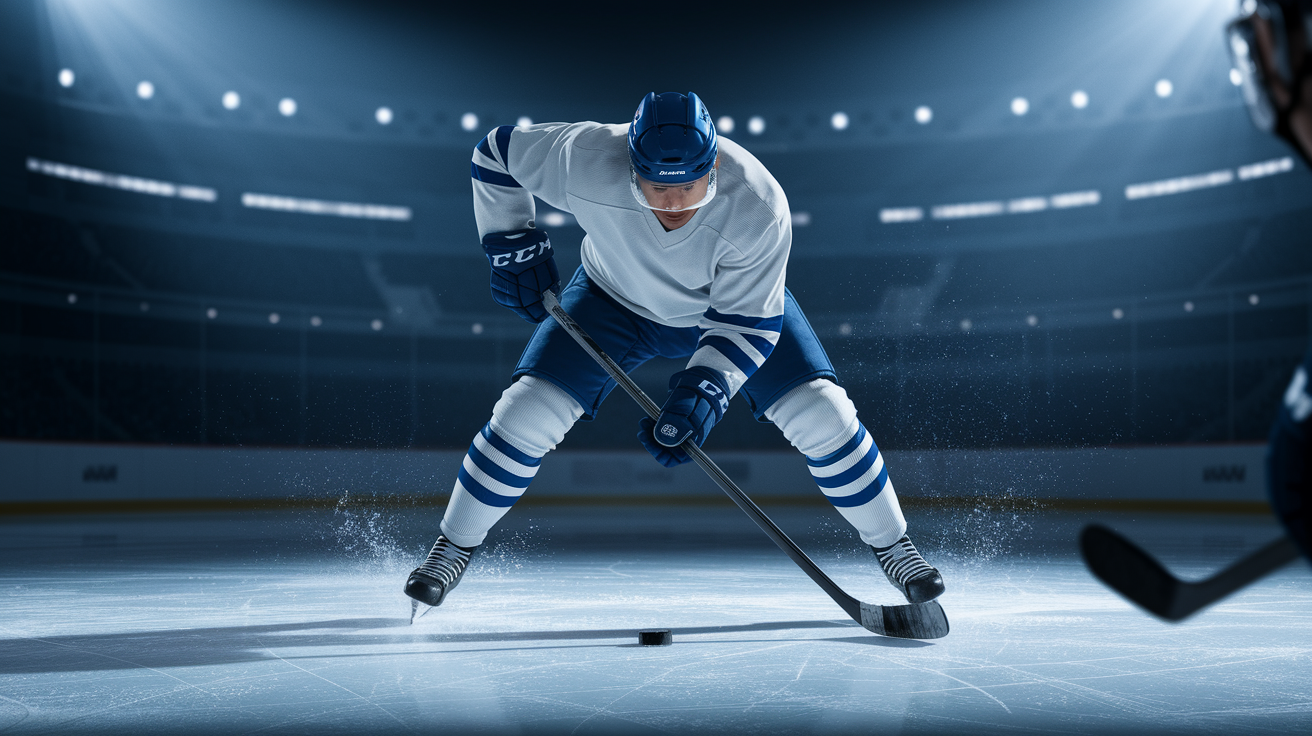
Keeping the puck when someone’s closing hard on you isn’t just about quick hands. It’s about how you stand and where you hold the puck. Players who keep it tight and stay low create a natural barrier that makes it way harder for defenders to get a stick on it or knock you around.
Balance and puck feel decide whether you keep possession or cough it up. Knees bent around 30 to 45 degrees, weight centered. You can absorb contact without tipping. Inside and outside edges let you lean without falling, and the puck needs to stay within 6 to 12 inches of your body. Close enough to protect, far enough to move.
Quick touches and lifting your eyes separate players who survive pressure from those who panic. Staring at the puck kills your ability to read the forecheck, find open teammates, or see what’s coming next. Short touches keep things moving without exposing the puck to poke checks. Lift your head for even one second per touch and you’ll build the awareness you need to make the right play before you’re forced into a bad one.
- Stance and balance – knees bent 30 to 45 degrees, wide base, weight over your skates, hips low so you can push back against contact.
- Puck distance – 6 to 12 inches from your body. Closer when pressure’s heavy, slightly farther when you’ve got space.
- Shield positioning – body between the puck and the defender. Hip, shoulder, inside leg all act as barriers.
- Head-up scanning – eyes up every one or two touches. Train your peripheral vision to track pressure without staring down.
- Short-touch control – quick taps instead of long drags. Blade stays in contact with the puck for maximum control.
- Continuous foot movement – never stop your feet under pressure. Small pivots, crossovers, edge shifts keep you mobile and prevent getting pinned.
Body Positioning and Puck Shielding Mechanics for Stickhandling Under Pressure

Your hips and shoulders create the wall that keeps defenders from reaching the puck. When pressure arrives, turn your hips so the puck sits on the far side of your body. Inside shoulder drops a bit to form a barrier, inside leg anchors balance, outside leg drives through contact. The defender has to go through your frame to get the puck. If your posture’s right, that’s nearly impossible without a penalty.
Edge control lets you lean into pressure without losing balance. Inside edge when turning away from a checker, outside edge when driving through a stick check. Small weight shifts from heel to toe let you absorb contact, redirect momentum, create separation. On cutbacks along the boards, using the defender’s momentum against them can get you 2 to 4 feet of space in the first three crossovers after your pivot.
Your shoulder line has to stay between the puck and the defender. If they can see the puck over your shoulder, they can reach it. Angle your body so your shoulder faces the pressure, not your back. Keep your head moving to track where the next wave is coming from.
- Hip turn – rotate hips to position the puck on the far side. Puck stays on your back hip when skating with pressure on your inside shoulder.
- Shoulder placement – inside shoulder drops and angles toward the defender. Acts as the primary contact surface and shields the puck.
- Knee flexion – 30 to 45 degree bend. Deeper flex lowers your center of gravity, increases stability under contact.
- Edge engagement – inside edge for turns away from pressure, outside edge for driving through checks. Small weight transfers keep you mobile.
Protective Stickhandling Techniques and Escape Moves

Cup-and-Shield Execution
The cup-and-shield is what you use when a defender’s within stick-check range. Angle your blade between the puck and the pressure, creating a “cup” that keeps the puck on the far side of your body. Hips turn away from the checker, inside shoulder and leg form a barrier that forces the defender to reach around you. Use this when skating the boards, taking a pass under pressure, or holding the puck in traffic while you scan for an outlet.
- Read where the pressure’s coming from and immediately turn your hips so the puck moves to your far hip.
- Angle your blade to “cup” the puck. Blade stays between the defender’s stick and the puck.
- Drop your inside shoulder slightly, plant your inside skate to anchor balance. Short taps keep the puck moving inside your shield.
Mohawk Turn Escape
The mohawk turn lets you change direction fast while keeping your body between the defender and the puck. Works when a defender commits to an angle and you need to reverse without exposing anything. Plant your inside skate, rotate your hips 180 degrees, drag the puck under your body as you push off the new direction. Timing’s everything. Start the turn just before contact so their momentum carries them past your new path.
- Plant your inside skate and start rotating your hips while keeping shoulders square to the puck.
- Drag the puck under your body with a quick forehand or backhand pull. Puck moves with your hips, not ahead.
- Explode out with 2 to 3 hard crossovers. Separation happens in the first three strides after the pivot.
Inside/Outside Roll + Toe Drag Combos
Inside and outside rolls combined with toe drags create instant lateral separation when a defender closes your space. Inside roll pulls the puck across your body from forehand to backhand (or the other way) while your feet pivot in the same direction, opening a lane. Outside roll keeps the puck on the same side but uses a tight curl to change your skating angle. Toe drags add a vertical element. Pull the puck back toward your body with the toe of your blade, then push it forward or laterally in one motion to freeze the defender’s feet.
- Inside roll – drag puck from strong side to weak side in one motion while stepping laterally. Puck and feet move together to create a new angle.
- Outside roll – keep puck on the same side but curl your body around it with a tight turn. Defender overcommits to the original line and you skate past their outside shoulder.
- Toe drag escape – pull puck back 6 to 12 inches with the toe of your blade, read the defender’s weight shift, then push the puck laterally or forward into open ice.
- Combo finish – pair any roll or drag with an immediate lateral step and a quick glance up to find your next play. Hesitation kills the advantage.
Head-Up Stickhandling and Peripheral Vision for Tight-Space Possession

Head-up stickhandling stops blind turnovers and improves decision-making under pressure. Players who stare at the puck lose the ability to read forecheck angles, spot open passing lanes, or see what’s coming next. Peripheral vision training teaches you to feel where the puck is using touch and blade angle instead of constant visual confirmation. Faster reads, better exits, fewer panic plays when a defender closes hard.
Drills that force scanning while you maintain control build the habit of lifting your eyes without losing puck feel. Counting drills make you call out numbers on cones or teammates while stickhandling through a pattern. Read-and-react cues use coach signals (hand gestures, color calls, directional points) that you have to respond to while keeping control. These create cognitive load that mirrors game pressure and train your brain to process multiple inputs without freezing or locking onto the puck.
- Counting drill – stickhandle through a cone grid while counting aloud how many cones are a specific color. Forces eyes up and brain active.
- Directional cue response – coach points left, right, or center while you stickhandle. You skate in the called direction within 1 second without losing the puck.
- Scanning target drill – place numbered targets around the rink. Call out target numbers in sequence while maintaining puck control through traffic.
- Color-call reaction – coach holds up colored objects. You call the color within 0.5 seconds while executing a specific move (inside roll on red, toe drag on blue, etc.).
Stationary Stickhandling Drills to Build Soft Hands for Pressure Situations
Stationary drills develop the fine motor control and puck feel you need to handle tight spaces before adding skating or defensive pressure. Daily sessions of 10 to 15 minutes build “soft hands,” the ability to make micro-adjustments to stick angle, blade pressure, puck placement without thinking. Three to five drills performed for 60 to 90 seconds each, repeated for three sets, create the muscle memory that lets you control the puck when a defender’s stick is inches away.
- Figure-8 stickhandling – move the puck in a figure-8 pattern around both feet using forehand and backhand sides. Smooth weight transfers and blade control.
- Toe-to-heel rolls – roll the puck from the toe of the blade to the heel and back in a continuous rhythm. Builds blade-angle awareness and touch sensitivity.
- One-hand control hold – remove bottom hand and control the puck using only the top hand for 60 seconds. Alternate hands each set to build symmetry.
- Quick-touch ladder – tap the puck side-to-side as fast as possible while keeping it within a 12-inch box. Trains fast hands and tight-space corrections.
- Puck-pull triangle – pull the puck back, then push it forward and laterally in a triangle pattern. Simulates escape-move mechanics in a controlled environment.
Track progression by measuring how many clean touches you complete in 60 seconds or how tight you can keep the pattern without the puck leaving the designated box. Increase speed and reduce the size of your control area as your hands improve. When you can execute each drill smoothly without looking at the puck, you’re ready to add skating and live pressure.
Skating Stickhandling Drills for Game-Speed Puck Control
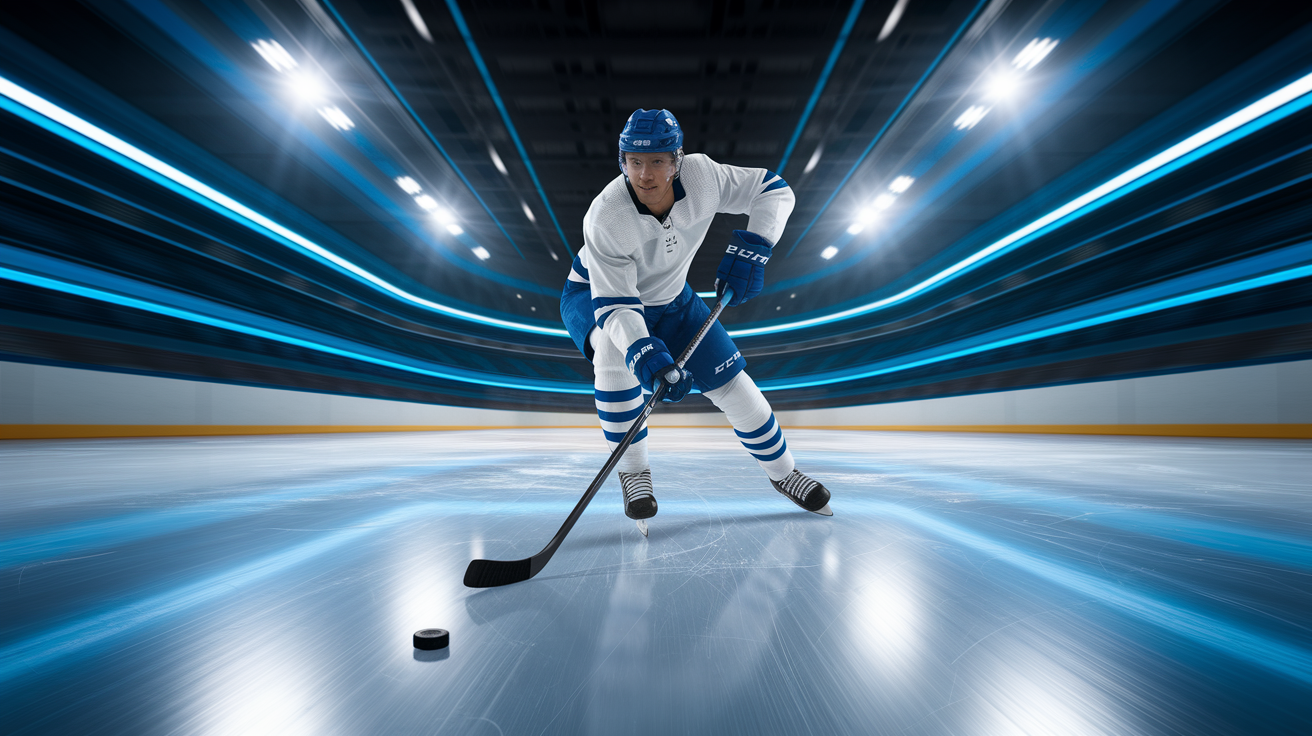
Stride-sync drills improve the rhythm between skating mechanics and puck control so you can keep possession at top speed without losing touch or balance. 4 to 6 laps around the rink, alternating between full-speed sprints and controlled tempo skating. During each lap, sync your stick movements with your stride. One touch per stride on straightaways, quicker touches through turns and crossovers. Builds the automatic coordination you need to handle the puck in open ice and transition zones.
Adding crossovers, edge-control progressions, tight turns into your skating stickhandling routine simulates the pressure and space constraints of live games. Crossover drills force you to maintain puck control while shifting your weight from inside to outside edges. Tight-turn drills around cones or faceoff circles teach you to protect the puck through changes of direction. Escape-pivot laps combine forward skating, pivots to backward, quick transitions back to forward, all while keeping the puck under control.
| Drill Name | Focus | Rep Count |
|---|---|---|
| Stride-Sync Laps | Sync puck touches with skating rhythm. One touch per stride on straightaways, faster through turns | 4 to 6 laps alternating tempo |
| Crossover Control Circuit | Keep possession through crossovers. Inside and outside edge engagement while stickhandling | 8 to 10 crossovers per direction, 3 sets |
| Tight-Turn Possession | Protect puck through tight turns around cones or circles. Cup-and-shield positioning during direction changes | 6 turns per cone layout, 2 to 3 layouts |
| Escape Pivot Laps | Forward skating to backward pivot to forward transition. Keep puck control through all three phases | 4 laps with 3 pivots per lap |
Small-Area and Traffic Drills for Handling Pressure in Tight Spaces
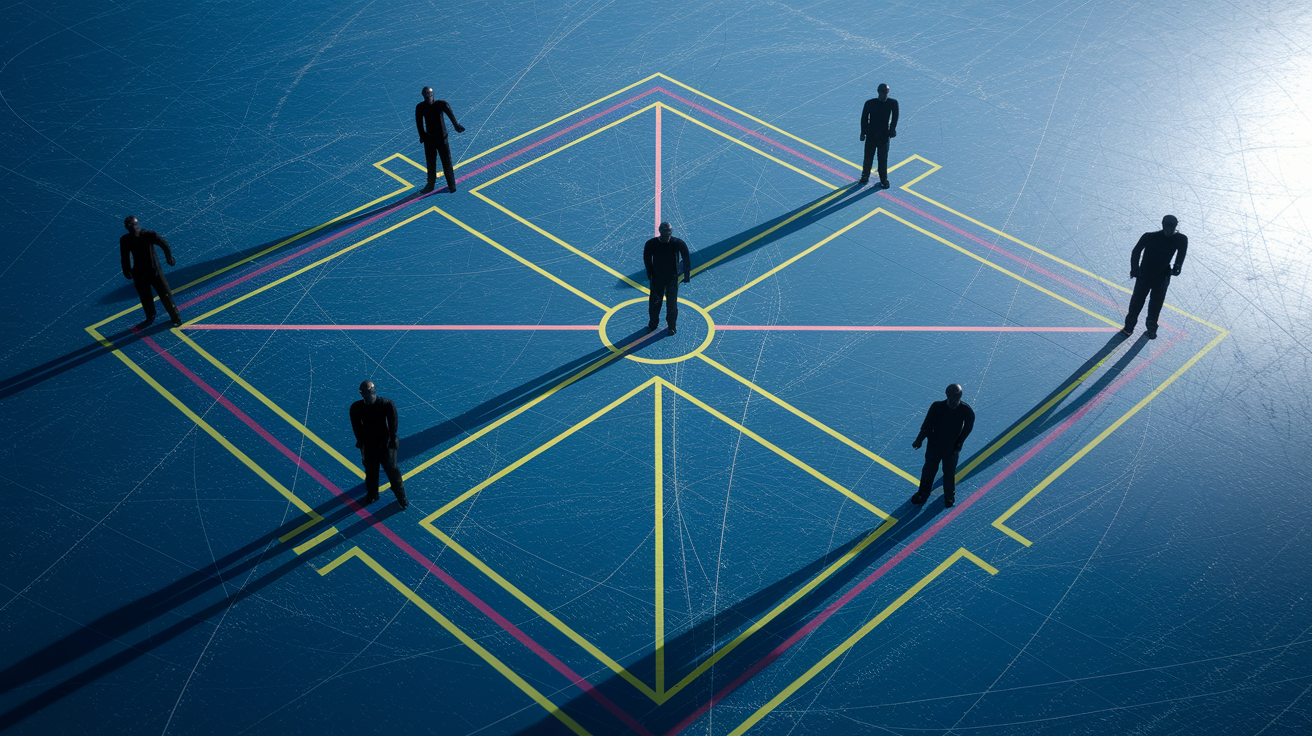
Small-area drills replicate the confined spaces and unpredictable obstacles you face during board battles, slot plays, neutral-zone congestion. Set up cone grids with spacing of 3 to 5 meters (10 to 16 feet) and perform 8 to 12 reps per configuration. Tighter spacing increases difficulty and forces quicker decisions, shorter touches, faster weight transfers. Vary cone layouts to simulate different game scenarios: straight-line pressure, lateral escapes, multi-directional changes.
Adding defender mannequins or stationary obstacles raises the drill’s realism by forcing you to read angles and adjust puck placement in real time. Position mannequins to replicate stick-check angles, body positioning, lane closures. You have to identify the open side, shield the puck using body positioning, execute the right escape move (inside roll, outside roll, toe drag) to clear the obstacle. Builds the visual processing and motor response you need to handle live defensive pressure.
Traffic drills that combine skating, obstacles, time pressure develop composure under chaos. Use a countdown timer or compete against a partner to add urgency. Require yourself to complete a set number of clean touches through the grid without losing the puck or hitting a cone. Mistakes cost time or reps, which trains focus and decision-making under stress.
- Cone weave with tight spacing – 5 cones spaced 3 meters apart. Execute forehand and backhand touches through the pattern. 10 clean runs per set.
- Mannequin dodge sequence – 4 mannequins positioned at different angles. Read the open lane, shield the puck, escape using the correct move. 8 reps per configuration.
- Box grid challenge – 4 cones forming a square, you have to complete 20 touches inside the box without leaving or losing control. Add a second puck or defender pressure to increase difficulty.
- Random-direction traffic drill – coach calls “left,” “right,” “forward,” or “back” while you stickhandle through cones. You react within 1 second. 12 directional calls per set.
- Timed possession circuit – complete a cone layout in under 15 seconds while maintaining clean puck control. Miss a cone or lose the puck, restart the timer. 6 successful runs required.
Live Pressure Drills and Battle Scenarios for Retaining Puck Possession
1v1 Circle Keep Away
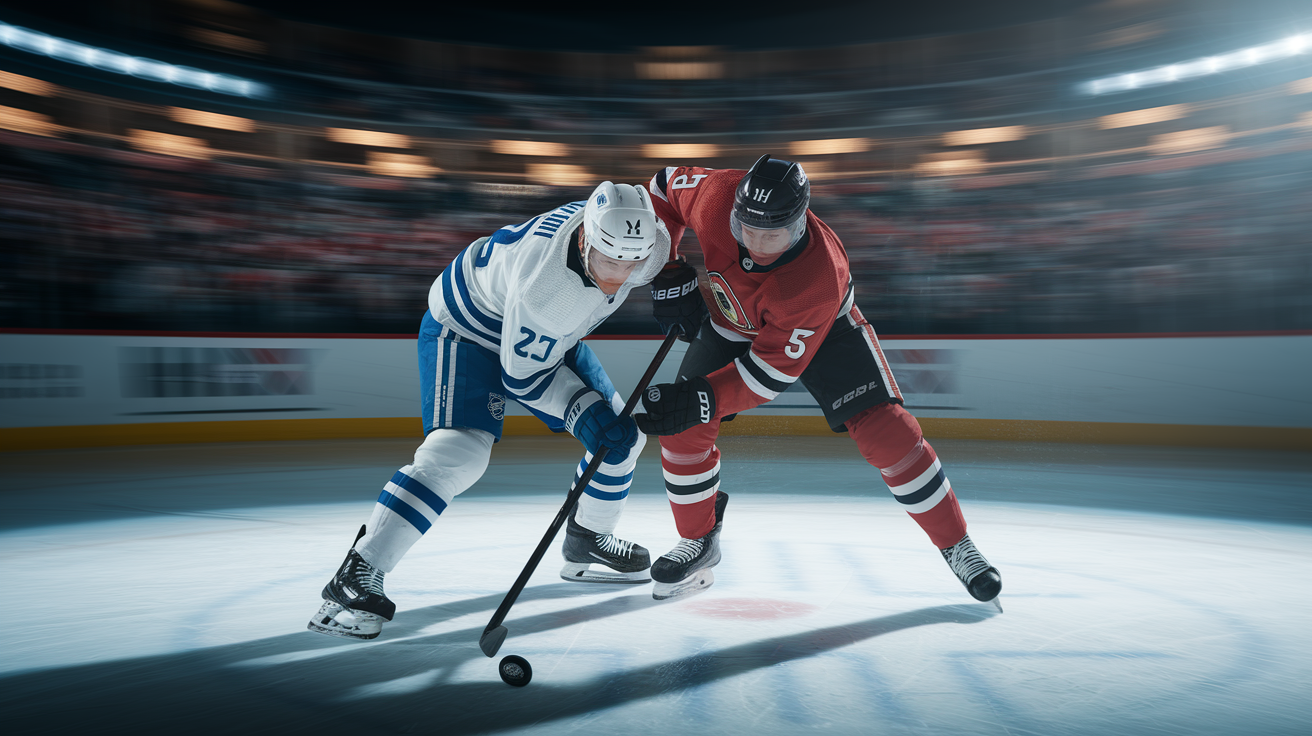
Two players start inside a faceoff circle. The puck carrier has to keep possession for 30 seconds without leaving the circle while the defender applies full pressure. Forces body shielding, low center of gravity, constant foot movement in a confined space. The defender learns to angle and apply stick pressure, and the puck carrier learns to use hips, shoulders, edges to keep control under sustained contact.
- Stay low and wide – knees bent, feet wider than shoulder width, weight centered. High posture makes you easy to knock off balance.
- Puck on the far hip – keep the puck on the side of your body opposite the defender’s pressure. Rotate hips as the defender moves.
- Feet always moving – small pivots, shuffles, edge shifts prevent the defender from pinning you. Stop your feet and you lose the puck.
Corner Cutback
Carry the puck into the corner with a defender on your inside hip. At the boards, execute a hard stop, turn back toward the boards, explode up the wall using crossovers. The defender’s momentum carries them past, creating 2 to 4 feet of separation. The first three crossovers after the cutback are critical. That’s where space opens for a pass or a controlled exit.
- Approach the corner at moderate speed with the defender on your inside shoulder. Protect the puck using cup-and-shield positioning.
- Execute a hard stop at the corner using inside edges. Immediately plant your inside foot and rotate your hips 180 degrees back toward the boards.
- Explode out of the stop with three powerful crossovers up the wall. Scan for an outlet pass or continue skating if the lane’s open.
Wall Board Battle Drill
A coach rims the puck hard along the boards. An offensive player and a defensive player race to it. The offensive player has to pin the puck against the wall using their stick or skate, absorb the incoming contact, kick or pass the puck to an open teammate. Body angle determines whether you protect yourself and win the battle. Never face the boards directly.
- Angle your body – turn so your shoulder takes the hit, not your back or head. Shoulders absorb contact better and protect your spine.
- Pin and protect – use your skate or stick to trap the puck against the boards, then shield it with your body while scanning for an outlet.
- Drive with your legs – push through the contact using leg drive and edge engagement. Passive players get pinned and lose possession.
Bottom Hand Release
While under stick pressure, remove your bottom hand from the stick and use that arm to establish space or gauge distance. Control the puck using only your top hand while the free arm acts as a spatial barrier. Legal as long as you don’t grab or hold the defender. Especially effective when a defender’s lunging with their stick or closing from the side.
- Top-hand control only – maintain puck control using the top hand. Keep short, controlled touches to prevent losing the puck while one-handed.
- Free arm as a barrier – extend the free arm slightly to create space or feel where the defender is. Don’t grab, hook, or push (penalty risk).
- Quick return to two hands – use the one-handed position only as long as necessary to create separation, then return to a two-handed grip for full control and power.
Weak-Side, One-Handed, and Outside-Hand Stickhandling Development
Weak-side development stops you from being predictable and makes you a threat from both sides. Commit 5 to 10 minutes daily to isolated weak-side reps: forehand and backhand touches, rolls, drags, escapes using only your non-dominant hand. Mirror drills help equalize control by forcing you to replicate every strong-side move on your weak side. Within 6 to 8 weeks of consistent daily work, your weak side should feel comfortable enough to use in live games.
One-handed drills prepare you to handle pressure while using your free arm to fend off defenders or protect your body. Practice controlling the puck with only your top hand for 30 to 60 seconds at a time, then switch to bottom-hand-only control. Builds the grip strength, blade awareness, touch sensitivity you need to keep possession when you can’t use both hands on your stick.
- Weak-side mirror drill – perform every strong-side stickhandling move on your weak side for equal reps. Match speed and precision as closely as possible.
- One-handed top-hand hold – control the puck using only the top hand for 60 seconds. Practice forehand and backhand touches, rolls, short drags.
- One-handed bottom-hand hold – remove top hand and control the puck using only the bottom hand. Focus on blade angle and small wrist movements.
- Weak-side escape sequence – execute 5 consecutive weak-side escape moves (inside roll, outside roll, toe drag, pullback, lateral push) without switching hands. Repeat until smooth.
Conditioning Stickhandling for Late-Game Pressure and Fatigue Scenarios
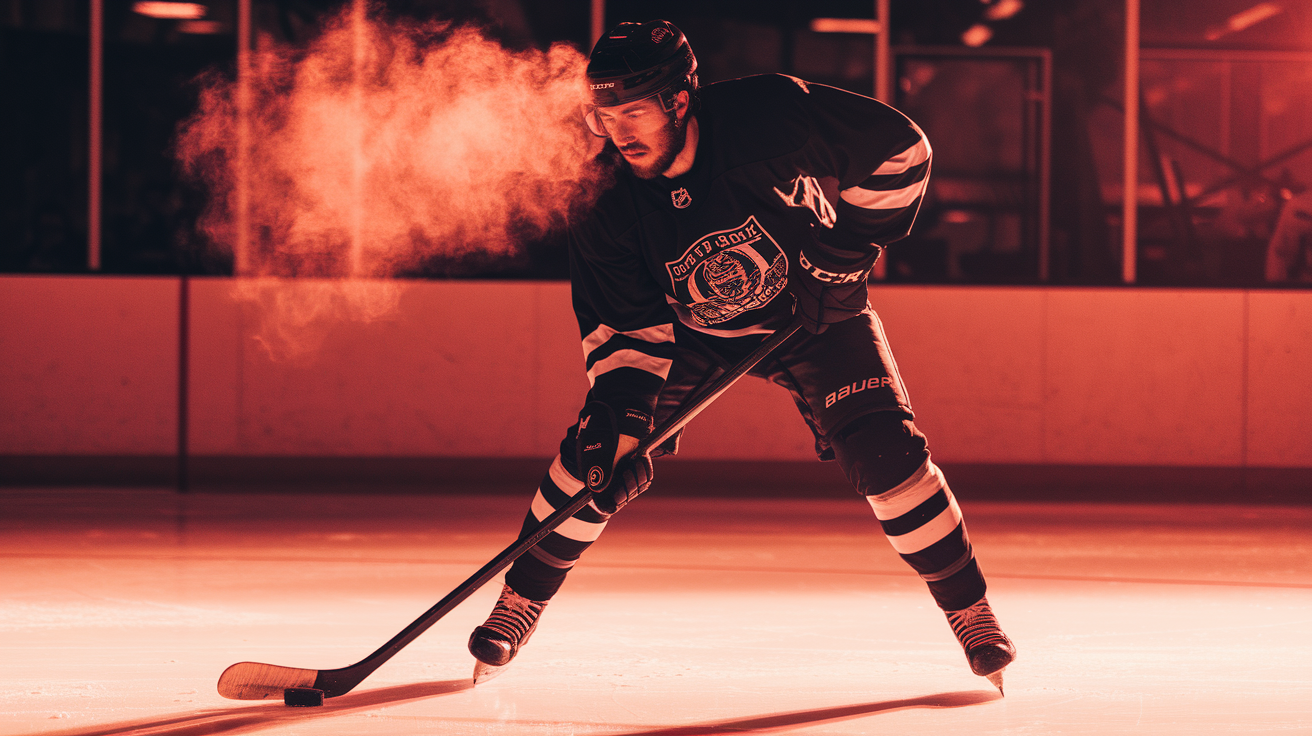
Conditioning stickhandling simulates the physical and mental fatigue you face in the third period or overtime when decisions slow and turnovers spike. Use an interval format: 30 to 45 seconds of high-intensity stickhandling under pressure followed immediately by a 30 to 60 second sprint or high-tempo skating drill. Repeat for 6 to 12 rounds. Trains your hands and brain to keep control when your legs are heavy and your focus is fading.
Add contact-ready elements by including light stick checks, angling pressure, or board-battle finishes at the end of each stickhandling interval. The goal is to replicate the chaos of a late-game shift when you’re exhausted, the forecheck is aggressive, and you need to protect the puck long enough to find an outlet or clear the zone.
- Interval 1: Tight-grid stickhandling under fatigue – 40 seconds of stickhandling through a cone grid while a coach applies light stick pressure, immediately followed by a 50-second sprint down the ice and back. Repeat 8 rounds.
- Interval 2: Board-battle conditioning – 35 seconds of 1v1 board battles with continuous puck protection, followed by 45 seconds of high-tempo skating with crossovers. Repeat 10 rounds.
- Interval 3: Escape-move circuit – 30 seconds of continuous escape moves (inside roll, outside roll, toe drag) while skating at moderate speed, followed by 60 seconds of full-speed laps. Repeat 6 rounds.
- Interval 4: Circle possession under pressure – 45 seconds of keeping possession inside a faceoff circle against a defender, followed by 40 seconds of sprint stops and starts. Repeat 12 rounds.
Game-Realistic Progression Plan for Pressure-Resistant Puck Possession
A structured 12-week progression takes you from foundational stickhandling mechanics to game-speed possession under full defensive pressure. Weeks 1 to 2 focus on stationary drills, hand positioning, basic protective moves. Weeks 3 to 6 introduce live resistance, skating stickhandling, small-area traffic drills. Weeks 7 to 12 emphasize game-speed scrimmage application, conditioning intervals, measurable performance tracking. Recommended training frequency is 3 to 5 sessions per week with 20 to 40 minutes of focused stickhandling work per session.
Track turnover reduction as a primary progress metric. Count how many times you lose the puck per 10 attempts in pressure drills during Week 1, then retest every two weeks. A 30 to 50 percent reduction in turnovers by Week 12 indicates significant improvement. Secondary metrics include successful escape-move execution rate, time to complete traffic drills, head-up scanning frequency during live play.
Building pressure-resistant possession requires consistent repetition, progressive resistance, honest self-assessment. Players who commit to the full progression and measure their improvement using objective data develop the composure and skill needed to dominate puck possession at every level of competitive hockey.
| Week Range | Focus | Key Drills | Session Duration |
|---|---|---|---|
| 1 to 2 | Foundational mechanics, hand positioning, stationary soft-hands work | Figure-8 stickhandling, toe-to-heel rolls, one-hand holds, puck-pull triangles, basic cup-and-shield without resistance | 20 to 25 minutes per session, 3 to 4 sessions per week |
| 3 to 6 | Skating stickhandling, small-area traffic, light defensive pressure, escape-move development | Stride-sync laps, cone weave grids, mannequin dodge sequences, 1v1 circle keep away (light pressure), corner cutback introductions | 30 to 35 minutes per session, 4 to 5 sessions per week |
| 7 to 12 | Game-speed application, full defensive pressure, conditioning intervals, scrimmage integration, performance tracking | Wall board battle drills, bottom hand release under full contact, conditioning stickhandling intervals, live scrimmage with turnover tracking, weak-side game application | 35 to 40 minutes per session, 4 to 5 sessions per week, plus in-game application |
Final Words
in the action we laid out the posture, puck placement, and shielding mechanics that keep the puck when contact closes fast. We broke down cup-and-shield, mohawk turns, toe drags, head-up scanning, stationary and skating drills, and live battle work so you can practice the right moves.
Start small: a daily 10–15 minute routine, add skating tempo, then live reps. Use the 12-week progression and track turnovers. With focused reps, these stickhandling techniques to maintain puck possession under pressure will become your game-day habit.
FAQ
Q: What is the ideal puck distance and stance to protect the puck under pressure?
A: The ideal puck distance and stance to protect the puck under pressure is keeping the puck 6–12 inches from your body, knees bent 30–45°, and a wide, balanced base for edge control.
Q: Which core stickhandling principles help keep possession under pressure?
A: Core stickhandling principles that help keep possession under pressure are stance, puck distance, shield positioning, head-up scanning, short-touch control, and continuous foot movement for balance and escape readiness.
Q: How should I use my hips, shoulders, and edges to shield the puck?
A: You should use your hips, shoulders, and edges to shield the puck by angling your shoulder line between puck and defender, protecting with the inside leg, and leaning on edges to absorb contact.
Q: What are the key escape moves to beat pressure and when should I use them?
A: Key escape moves to beat pressure are cup-and-shield, mohawk turns, inside/outside rolls, and toe drags; use them when a defender commits or to create a quick 2–4 foot separation.
Q: How can I train head-up stickhandling and peripheral vision?
A: You can train head-up stickhandling and peripheral vision by doing scanning drills like counting, directional cues, scanning targets, and color-call reactions while maintaining control to avoid tunnel vision.
Q: What stationary stickhandling routine builds soft hands for pressure situations?
A: A stationary stickhandling routine that builds soft hands for pressure situations is 10–15 minutes daily, 3–5 drills of 60–90 seconds, three sets, focusing on micro-movements and first-touch control.
Q: How do skating stickhandling drills improve game-speed puck control?
A: Skating stickhandling drills improve game-speed puck control by syncing strides with puck touches, doing 4–6 laps with tempo changes, plus crossovers, edge work, and tight turns for pressure simulation.
Q: What small-area drill setups simulate realistic pressure?
A: Small-area drill setups that simulate realistic pressure use cone spacing of 3–5 meters, 8–12 repetitions, and include traffic lanes, rondos, quick outlet drills, and stick-check obstacles.
Q: What live pressure drills help retain puck possession in battles?
A: Live pressure drills that help retain puck possession in battles include 1v1 circle keep away (30s retention), corner cutbacks, wall board battles, and bottom-hand release work to establish space under contact.
Q: How should I train weak-side and one-handed stickhandling?
A: You should train weak-side and one-handed stickhandling with 5–10 minutes daily, mirror drills, progressive one-hand reps, and partner resistance to equalize control and fend off checks.
Q: How do I condition stickhandling for late-game fatigue and pressure?
A: You can condition stickhandling for late-game fatigue and pressure with intervals: 30–45s high-intensity stickwork followed by 30–60s sprints, 6–12 rounds, adding contact-ready elements.
Q: What does a 12-week progression plan for pressure-resistant puck possession look like?
A: A 12-week progression plan for pressure-resistant puck possession looks like weeks 1–2 basics, 3–6 pressure work, 7–12 game-speed, 3–5 sessions weekly, 20–40 minutes, tracking turnover reduction.