

You don’t need ice time to build elite hands.
With just a stick, a ball or off-ice puck, and a few minutes in a garage or driveway, you can drill the exact moves that win puck battles and create scoring chances.
These eight at-home drills, like stationary stickhandling, toe pulls, figure-8s and one-handed work, cover the core movements you use every shift and include progressions and a weekly plan so practice actually transfers to games.
Read on to learn what to do, how to progress, and how to measure real improvement.
Essential At-Home Puck Control Drills
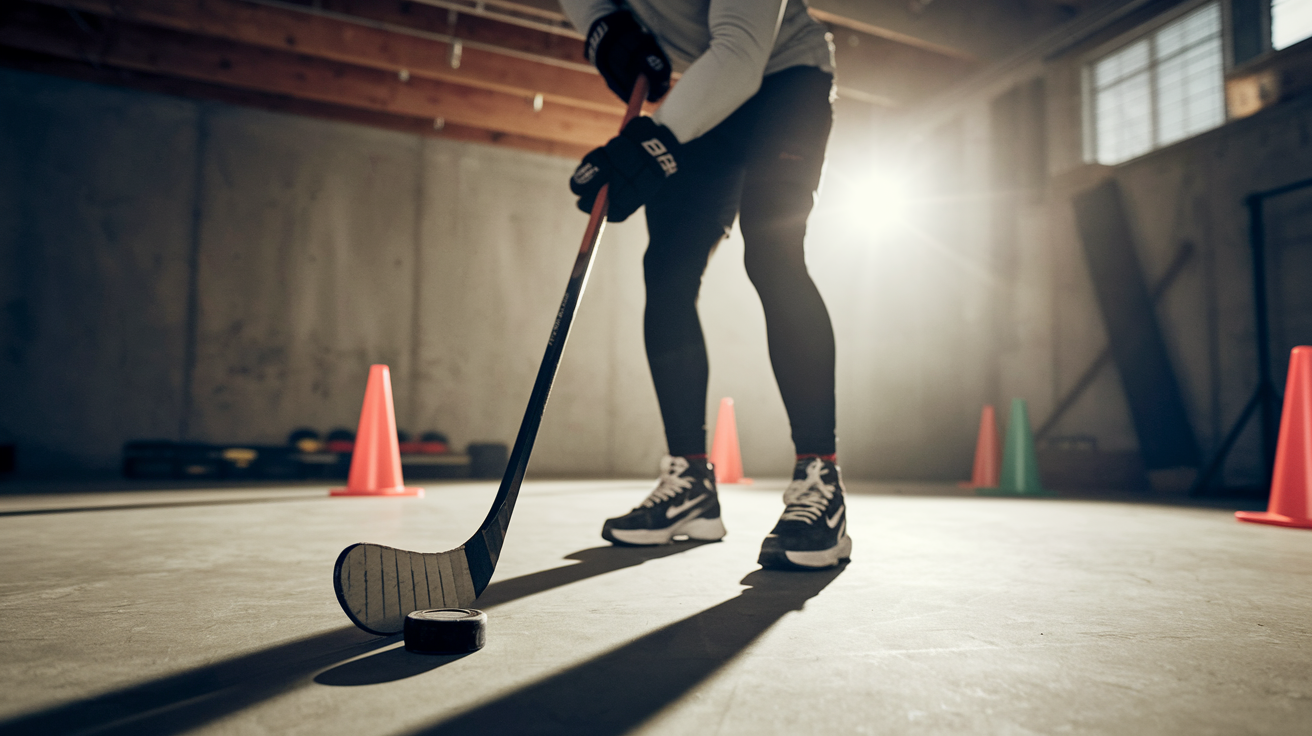
You want better hands. You want to move the puck faster and keep it glued to your blade when it matters. These eight drills form the foundation of every solid at-home puck control program. Run them in a basement, garage, or driveway with minimal gear and limited space.
- Stationary Stickhandling – Move the puck side to side in a controlled rhythm while standing in one spot.
- Wide-Narrow Dribble – Push the puck far to the forehand, pull it tight, repeat on the backhand.
- Toe Pulls – Drag the puck toward your body using the toe of the blade.
- Figure-8s – Weave the puck in a figure-8 pattern around two objects placed roughly a stick-length apart.
- One-Handed Control – Handle the puck with only your top hand on the stick, then switch to bottom hand only.
- Around-the-Body – Stickhandle the puck in a full circle around your body, transitioning forehand to backhand.
- Quick Touches – Rapid-fire side-to-side taps in a narrow zone, counting touches in 20 to 30 seconds.
- Forehand-Backhand Rolls – Roll the puck smoothly from forehand to backhand in a continuous motion, keeping the blade cupped over the puck.
These drills cover the core movements you use in every game shift. Lateral puck movement, deceptive pulls, quick releases, and tight-space control. The sections that follow break down execution cues, progression steps, and how to build weekly practice blocks that translate directly to on-ice play.
Beginner-Level Puck Control Foundations

Start with proper hand placement and blade positioning. Your top hand should sit comfortably near the top of the shaft with a loose grip. Your bottom hand rests six to ten inches below, guiding the stick without choking it. Keep your knees slightly bent, chest up, and weight balanced over the balls of your feet. The blade stays angled so the puck sits in the center of the curve, not riding the heel or toe.
Focus on controlled contact before you add speed. Every touch should be deliberate. You should feel the puck against the blade through the entire movement.
Four foundational beginner drills:
- Slow Dribble – Push the puck gently side to side at a walking pace, concentrating on soft hands and consistent contact.
- Forehand-Backhand Taps – Tap the puck from forehand to backhand and back, keeping the blade square and the puck centered.
- Soft-Touch Circles – Move the puck in small clockwise and counterclockwise circles on the same spot, practicing blade rotation.
- Anchor-Foot Stationary Drills – Plant one foot and pivot around it while handling the puck in a tight radius, simulating puck protection under pressure.
When the puck stays on your blade through every tap and you can complete ten clean reps without a bobble, you’re ready to increase tempo and add directional changes.
Intermediate Drills to Build Speed and Coordination
Once basic control feels automatic, the next step is adding tempo and directional deception. The goal? Handle the puck at a pace that mirrors real shifts. Fast enough to create separation, controlled enough to maintain possession when a defender closes the gap.
Rhythm matters as much as hand speed. Practice matching your stick movement to an internal count or a metronome set between 100 and 120 beats per minute. When you can keep time without losing control, your brain starts automating the coordination between hands, eyes, and footwork.
Five intermediate drills to build speed and coordination:
- Lateral Pull-Push – Pull the puck hard to your forehand side, then immediately push it across your body to the backhand. Repeat in a quick back-and-forth rhythm.
- Toe-Drag Progression – Drag the puck toward your body with the toe of the blade, then roll it to the side or behind you in one smooth motion.
- Fake-Shot Pullbacks – Wind up as if you’re shooting, then pull the puck sharply to the side instead. Practice both forehand and backhand fakes.
- Reach-Extension Touches – Extend the puck as far from your body as you can reach while maintaining control, then snap it back tight to your hip.
- Patterned Stickhandling Lanes – Set two lines of tape or markers 2 to 3 feet apart and stickhandle continuously between them, forcing tight lateral movements and quick transitions.
Time yourself on quick-touch sets. If you can hit 40 clean touches in 30 seconds within the lane drill, you’re operating at a functional intermediate pace.
Advanced Puck Control Challenges
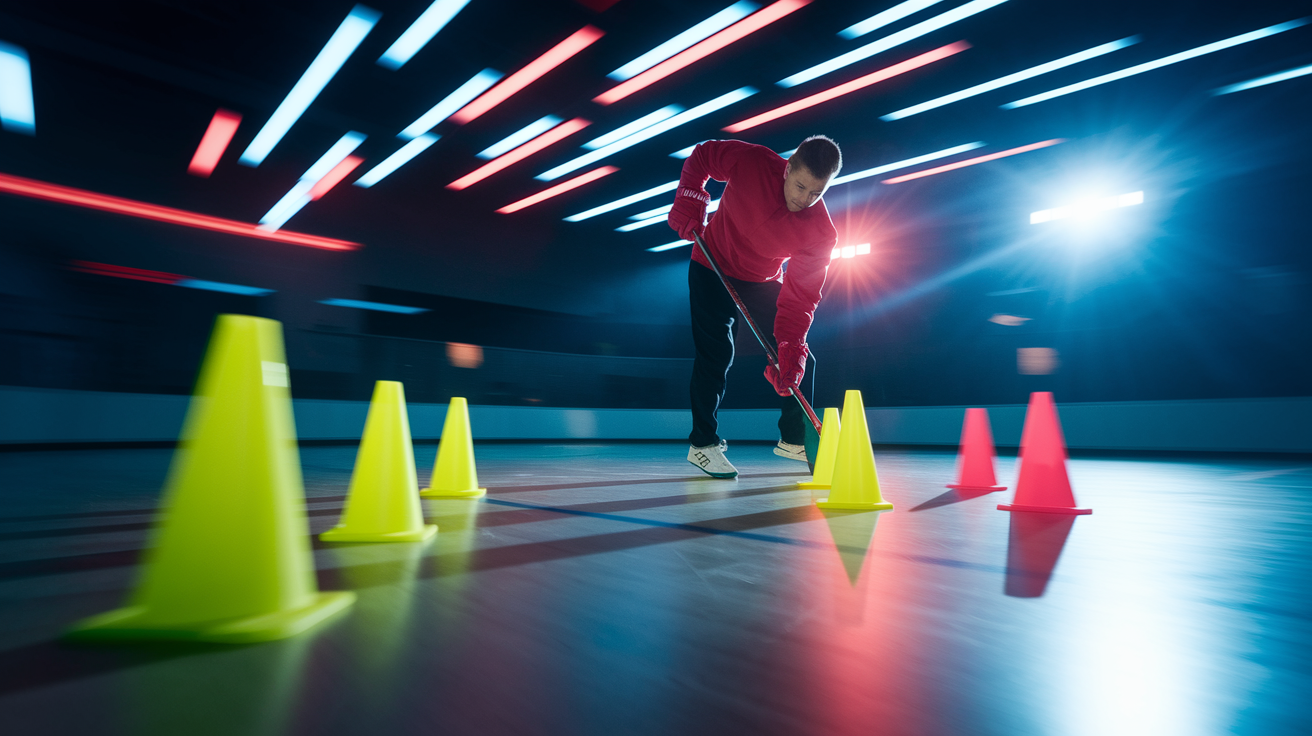
Advanced puck control is built on reaction speed, deception, and the ability to handle chaos without panic. These drills simulate the split-second decisions you face when a defender closes hard or when you need to freeze a goalie with a subtle fake before releasing a shot.
High-level drills force your hands to respond to unpredictable cues. Randomness trains your brain to process visual input and adjust blade angle, puck position, and hand speed in real time. The best players don’t plan every touch. They react to what the defense gives them and trust their hands to solve the problem instantly.
Five advanced drills for elite puck control:
- Chaos Touches – Stickhandle while a partner or app calls random commands: “forehand,” “backhand,” “pull,” “push,” “stop.” React immediately to each call.
- Multi-Ball Juggling Patterns – Use two or three balls and alternate control between them, forcing rapid hand transitions and split focus.
- Random-Call Reaction Movements – Set up four cones in a square. A partner calls a cone number, and you must stickhandle to that cone as fast as possible, changing direction mid-movement.
- Tight-Space Complex Shapes – Stickhandle the puck through patterns like stars, spirals, or overlapping circles in a confined 3-by-3-foot zone.
- One-Touch Misdirection Work – Handle the puck with one hand only and add head fakes, shoulder drops, or foot pivots to sell a direction you’re not actually taking.
If you can complete a 60-second chaos-touch drill without losing the puck and maintain control through three direction changes in the random-call drill, you’re operating at an advanced skill level.
At-Home Drill Progressions and Weekly Structure
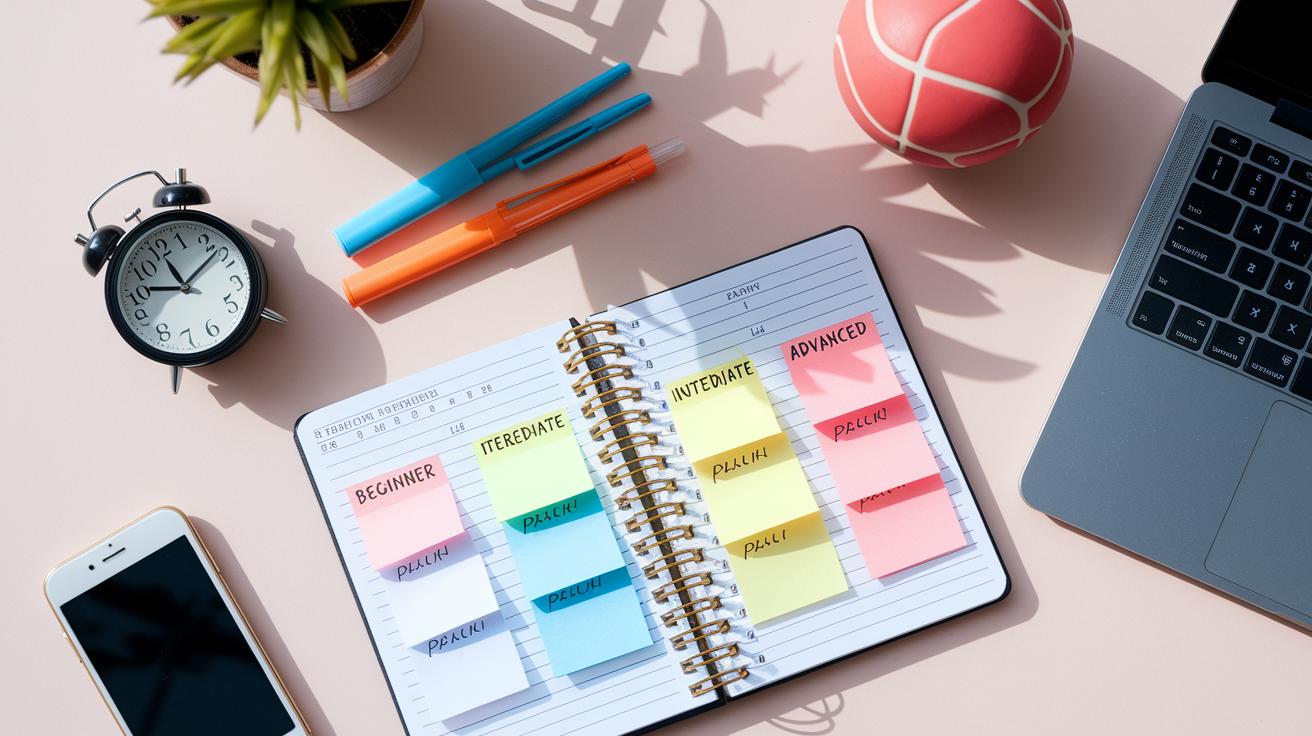
Skill improvement follows a predictable path. You master control at low speed, then you add tempo while maintaining precision, and finally you execute at game pace under reactive conditions. Trying to skip steps leads to sloppy habits that show up when you’re tired or under pressure on the ice.
Build your weekly structure around three phases. Start every session with two to three minutes of slow, controlled foundational work. Move into tempo-based drills for the middle segment, pushing hand speed while staying clean. Finish with one high-intensity challenge drill that tests reaction time and decision-making under fatigue.
Three-step progression model:
- Beginner foundation (weeks 1 to 3) – 10 to 15 minutes per session, three to four times per week. Focus on stationary control, forehand-backhand rolls, and soft-touch circles.
- Intermediate tempo building (weeks 4 to 8) – 15 to 20 minutes per session, four to five times per week. Add lateral pull-push, toe-drag progressions, and timed quick-touch sets.
- Advanced reaction training (week 9 and beyond) – 20 to 30 minutes per session, five to six times per week. Incorporate chaos touches, multi-directional courses, and one-handed misdirection drills.
A sample 20-minute home session might look like this: 3 minutes slow stationary stickhandling, 5 minutes lateral pull-push at increasing tempo, 4 minutes figure-8 patterns with two objects, 3 minutes timed quick-touch in a narrow lane, 3 minutes chaos-touch reaction drill, and 2 minutes cooldown with around-the-body handling.
Equipment Options and Space Requirements
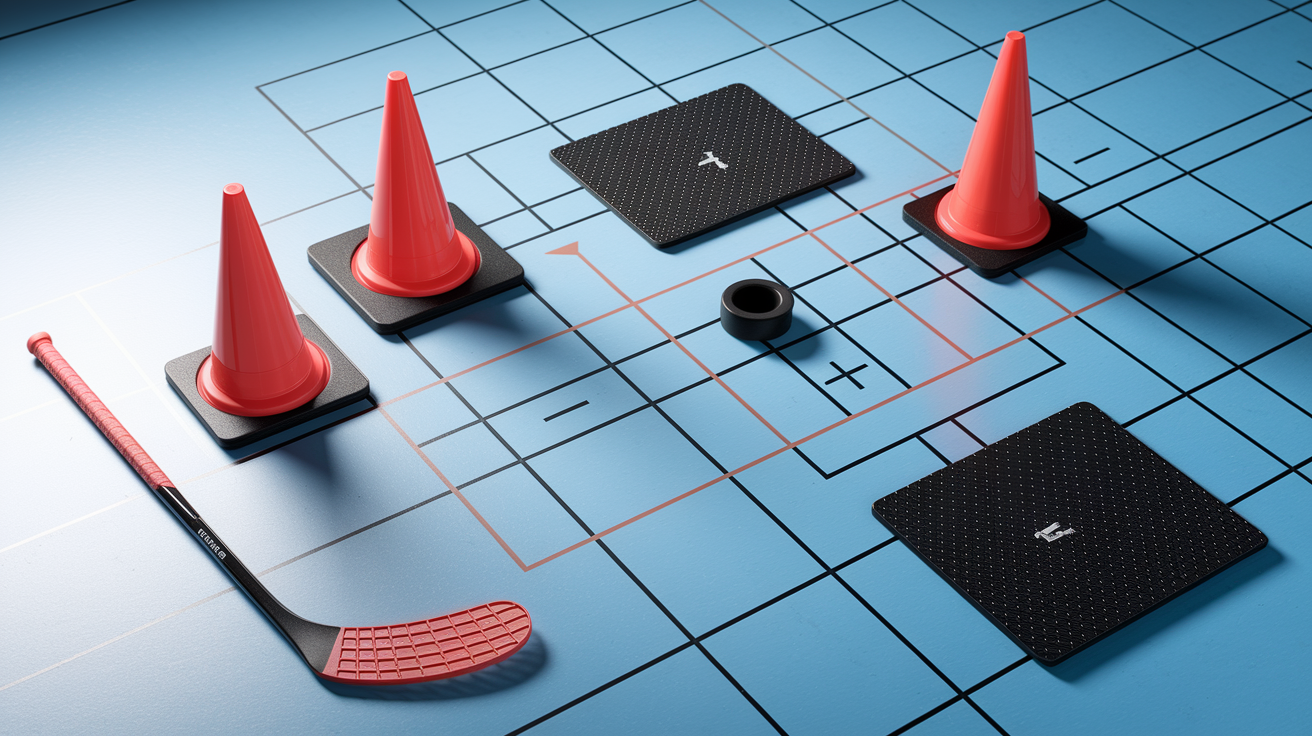
You don’t need a full rink setup to build elite hands. Most players start with a standard hockey stick, a stickhandling ball or off-ice puck, and a smooth surface like a garage floor, driveway, or basement. A 6-by-8-foot area is enough for stationary and short-pattern drills. If you have 10 to 15 feet of length, you can run figure-8s, obstacle courses, and timed lane work.
Optional upgrades improve the training experience but aren’t mandatory. Training tiles give you a slick surface that mimics ice glide. Cones or markers help structure patterns and spatial boundaries. Weighted balls add resistance for wrist and forearm strength. A phone timer or stopwatch lets you track intervals and measure progress across sessions.
| Equipment | Purpose |
|---|---|
| Stickhandling ball (golf ball, Swedish ball, or weighted ball) | Builds hand-eye precision and quick-touch control in tight spaces |
| Off-ice puck (Green Biscuit, street puck) | Simulates on-ice puck weight and glide on smooth surfaces |
| Cones or household markers (shoes, bottles, books) | Creates obstacles and spatial boundaries for pattern drills |
| Synthetic training tiles | Provides low-friction surface for realistic puck movement and blade feel |
If you’re training in a basement with a rough concrete floor, use a blade protector or stick to a stickhandling ball. If you have access to a sealed garage or driveway, an off-ice puck on tiles gives you the closest off-ice experience to real ice handling.
Common Mistakes and How to Fix Them
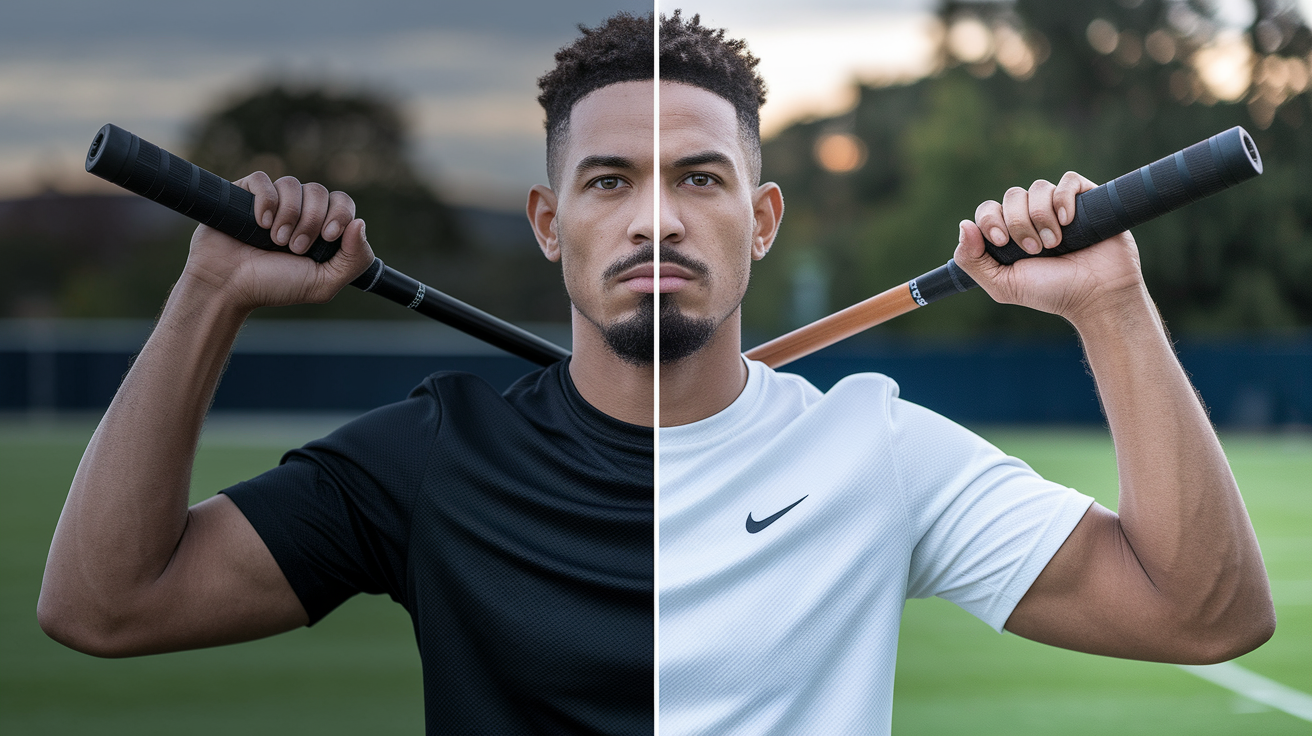
Most puck control breakdowns come from grip tension, head position, or inconsistent touch rhythm. Fixing these issues early prevents them from becoming ingrained patterns that hurt you during games.
Watch for these five errors and apply the corrections immediately:
- Rigid grip and stiff wrists – Loosen your top hand and let your wrists hinge naturally. If your forearms are tight after 30 seconds, you’re choking the stick.
- Slow reaction to direction changes – Practice random-call drills and force yourself to respond within one second. Hesitation means your brain is still processing instead of reacting.
- Wide stance that limits reach – Keep your feet shoulder-width apart or slightly narrower. A wide base feels stable but restricts lateral puck movement and limits your ability to protect the puck with your body.
- Inconsistent touch speed – Every tap should match the rhythm of the drill. If some touches are soft and others are hard slaps, you lose control under pressure.
- Excessive arm movement instead of wrist rotation – Your hands should stay relatively quiet while your wrists and blade do the work. Big arm swings telegraph your next move and slow your reaction time.
Record yourself on video every few weeks. Compare your form to the cues above and adjust one mistake at a time.
How Off-Ice Drills Improve On-Ice Performance
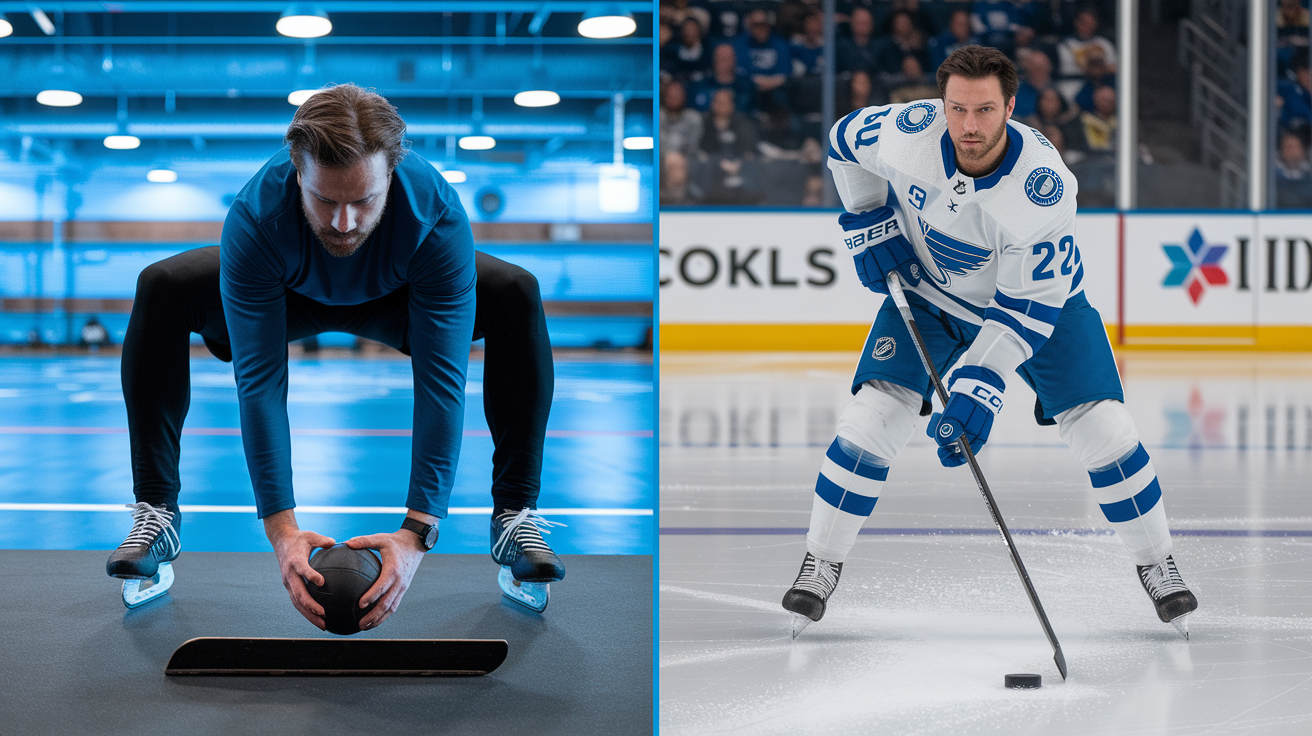
Off-ice puck control work builds the hand speed and muscle memory that let you execute moves instinctively when skating at full pace. The repetition ingrains blade angles, wrist positioning, and touch sensitivity so you don’t have to think through each movement during a live shift.
Deception improves because your hands learn to sell fakes while your eyes and body language stay neutral. Puck protection gets stronger because one-handed drills and reach-extension work teach you to shield the puck with your body and free arm while maintaining control with the blade. Transition speed increases because quick-touch and chaos drills train your brain to process defensive pressure and adjust your next move within a fraction of a second.
Players who log consistent off-ice minutes show up on the ice with tighter handling in traffic, faster release setups, and more confidence carrying the puck through the neutral zone. The transferable skills? Hand-eye coordination, reactive decision-making, and the ability to keep the puck on your blade while your attention shifts to reading lanes, locating teammates, or scanning for an open shooting angle. When your hands operate on autopilot, your brain is free to play the game at full speed.
Final Words
Start where it matters: the eight essential at-home drills, then the beginner, intermediate, and advanced progressions that build hand speed and deception.
We also covered stance and blade setup, weekly session structure, simple gear choices, and fixes for the common mistakes that steal reps and progress.
Use this plan to cycle drills, track tempo, and focus on transfer. These are the best off-ice puck control drills you can do at home. Do a little every day and you’ll see real game results.
FAQ
Q: How to practice puck control at home?
A: Practicing puck control at home means doing short, focused stickhandling sessions with a ball or training puck—stationary hands, figure‑8s, toe‑pulls, one‑hand drills, and quick‑touch reps to build wrist speed and puck feel.
Q: What is the best offseason hockey training?
A: The best offseason hockey training is a balanced plan: strength and mobility work, sprint conditioning, on‑ice skill time, and daily stickhandling. Progress intensity toward game speed and keep sessions consistent, 3–5 days weekly.
Q: How to practice hockey stops off ice?
A: Practicing hockey stops off ice is about training balance and deceleration: slideboard pushes, lateral lunges, skater squats, band resisted lateral steps, and quick plant‑and‑stop reps to rehearse edge feel and weight transfer.
Q: How to lift a puck off the ice?
A: Lifting a puck off the ice is done by angling the blade under the puck, using a quick upward flick with the wrists, spreading your hands for leverage, and finishing with a forward weight shift for clean elevation.