

Stand flat-footed on the boards and you’ll hand the puck over every time.
Protecting the puck along the boards and in corners comes down to three things: position, edges, and stick control.
This guide gives drill-ready cues: hips over the puck, elbow tight to your ribs, blade glued to the boards, so you can hold possession under pressure.
You’ll learn to absorb contact legally, read pressure before it hits, and escape or find a clean outlet.
Read this and your wall battles stop costing shifts and start creating chances.
Core Mechanics for Effective Board‑Side Puck Protection
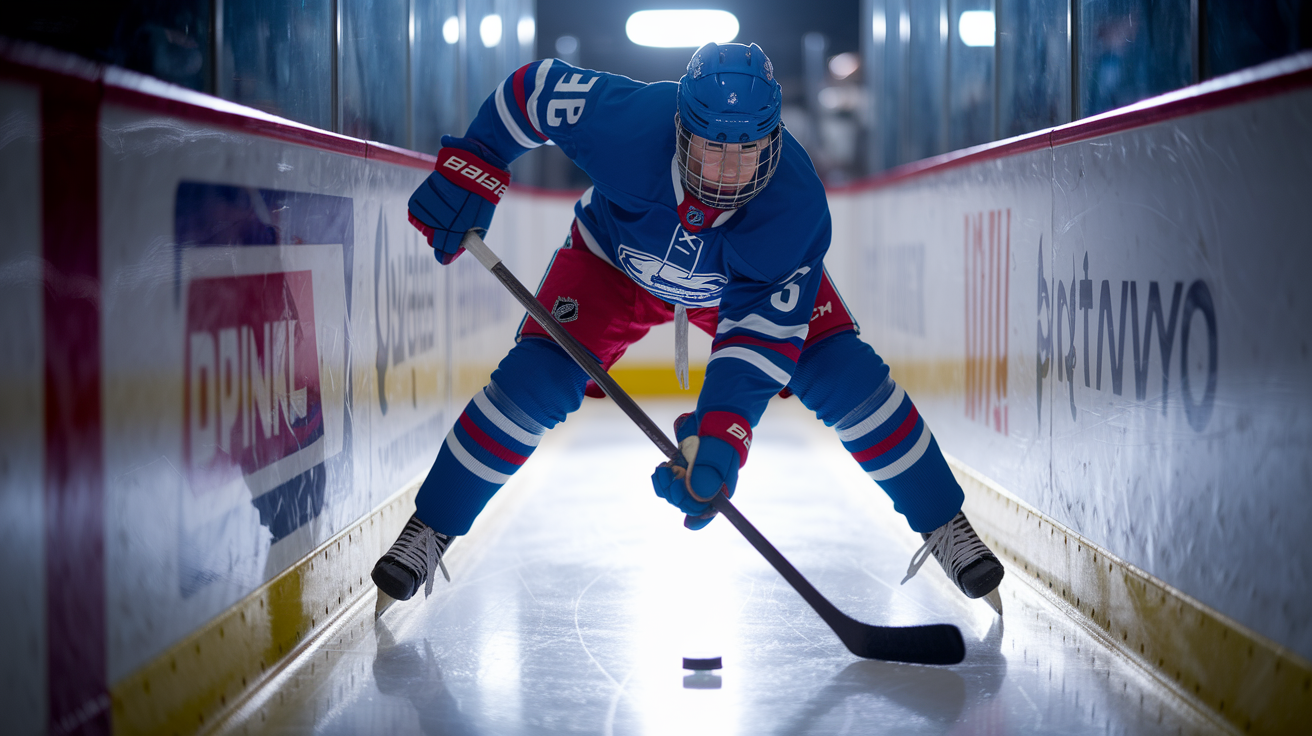
Your foundation starts here: feet shoulder width, knees bent somewhere between 30 and 45 degrees, weight sitting over your inside skate. Think of your center of gravity dropping low, like you’re about to sit down. The puck goes on the side farthest from whoever’s coming at you. Defender on your left? Puck lives on your right hip or just outside your right skate. Angle your inside shoulder (the one closest to the boards) slightly over the puck. Your torso becomes a wall between the defender and what they want.
Hips and shoulders do the real work here, not your stick. Square your hips between puck and opponent, then load that inside edge so you’re anchored when contact comes. Your outside leg and free arm build a buffer zone that’s legal. Forearm absorbs pressure and guides their momentum past you, but tuck that elbow in. Extended elbows get you two minutes every time. And don’t just stand there. Small crossovers (one to three quick steps) let you gain depth into the corner without giving up body position. Seal it with a hard inside-edge push, then hold.
Keep your head up the whole time. Scan before the puck even gets there so you already know where pressure’s coming from and where your outlet is. When contact arrives, brace through hips and forearms at around 45 degrees to the boards. This lets you absorb the hit without getting pancaked and redirect their momentum so you can step away clean. Legal contact comes from positioning and skating. Not reaching, not holding.
Six cues to drill until they’re automatic:
- Hips over puck, always
- Stick blade stays inside, between defender and puck
- Bottom-hand elbow locked tight to your ribs
- Knees bent, never tall
- Feet moving through every turn and seal
- Scan early so you know where pressure and outlets are before the puck touches your stick
Stick, Hand, and Blade Control for Corner Puck Shielding
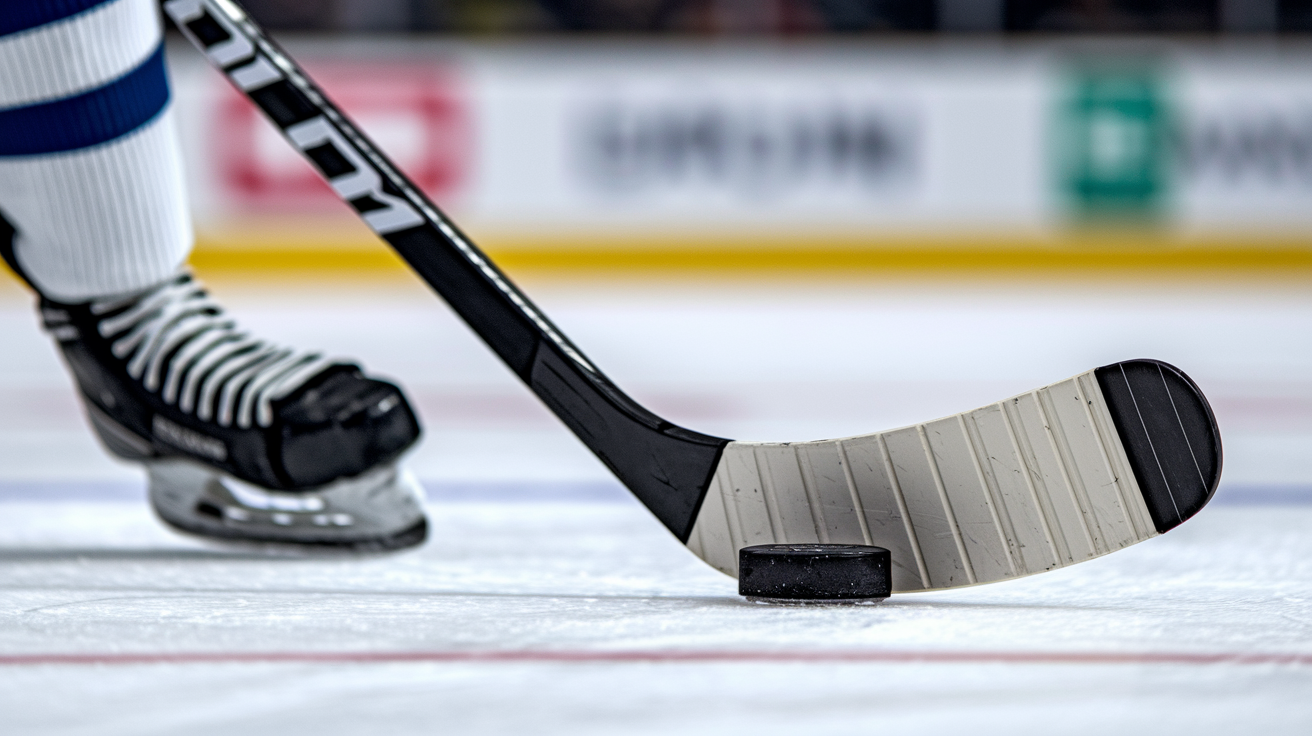
Blade sits between puck and defender. Every single time. Point the toe toward the puck so you can make quick micro-adjustments when they lunge or reach. Your bottom hand does most of the heavy lifting: elbow locked, tight to your body for stability and strength. Top hand extends a bit for reach and control, but don’t stretch too far. When you overextend, you lose leverage and open yourself up to stick lifts. Use your forearm to brace contact legally while your blade walls off their stick. Along the boards, backhand position is often strongest because it lets you pin the puck tight to the wall and prevents them from slipping a stick through your body.
The boards become your partner when you use them right. Press the puck gently into the wall with your backhand blade so there’s no gap for a poke check. Blade stays flat on the ice, heel pressure keeping the puck from sliding away. If you’re moving up or down the wall, keep your blade glued to the boards and “walk” the puck with small taps from toe to heel. This shuts down any angle for a stick lift or separation.
Four stick errors that lead to turnovers:
- Top hand reaching too far, losing leverage and inviting stick lifts
- Blade angled up off the ice, creating space underneath for poke checks
- Bottom elbow flaring out instead of staying locked to your ribs
- Only using the middle of the blade instead of toe and heel for puck control
Using Skating Mechanics & Edge Work to Sustain Possession in Tight Spaces
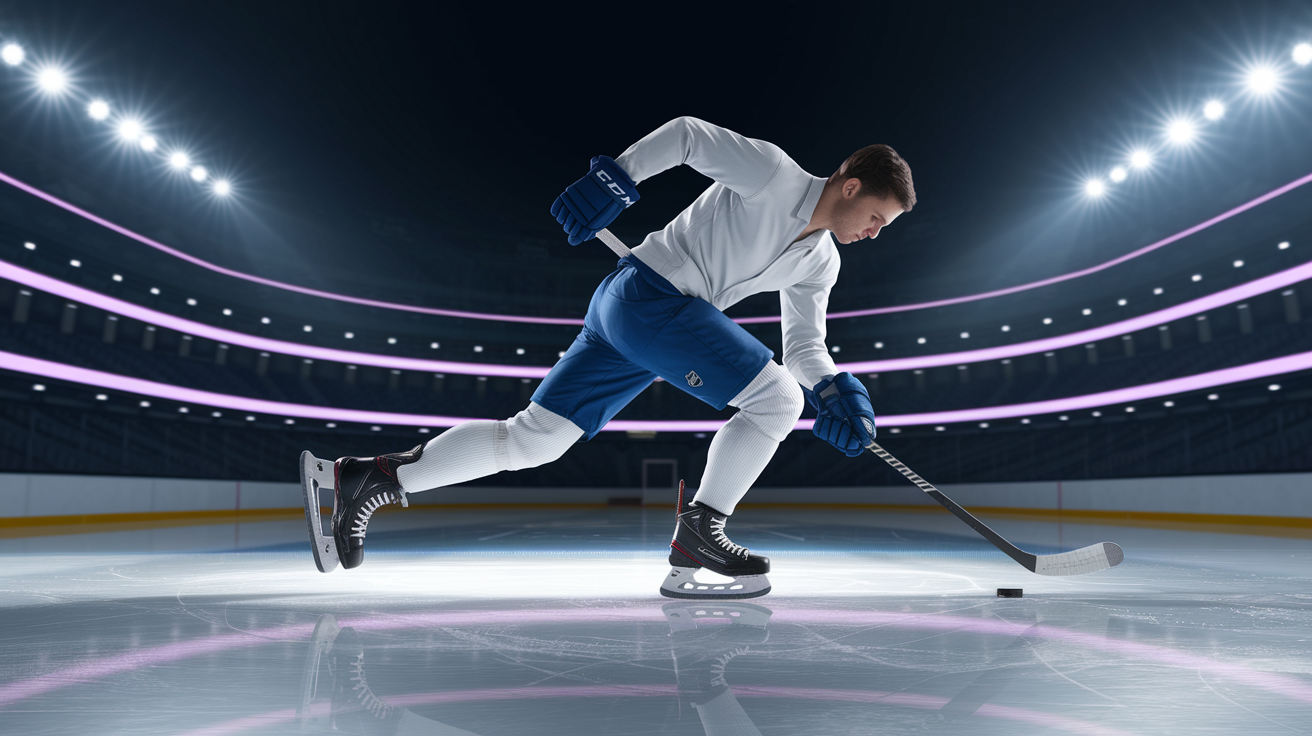
Edges keep you upright and mobile when someone’s draped all over you. Load your inside edge to seal against the boards and hold your ground. When you need to escape, snap to your outside edge and push hard in a new direction. Quick pivots (mohawks, heel to heel turns, full 180 spins) let you change your angle faster than they can adjust. The spin protect move works when the defender commits heavy to one side: rotate your body 180 degrees in half a second to a full second, using hips and edges to whip the puck to safety while your back absorbs contact. Pop and skate is even faster: a short, explosive step off your outside edge that takes two tenths to four tenths of a second and creates just enough separation to skate into open ice or fire a pass.
Skating rhythm matters as much as any single move. Small crossovers (one, two, maybe three steps) help you gain momentum into the corner or along the wall without losing body position. Once you’re set, a hard inside-edge push seals you in place. But never stop moving your feet completely. Shuffle steps, weight transfers, tiny edge adjustments keep you balanced and ready to react. If you plant both skates flat and still, you’re an easy target for a hard check or a perfectly timed poke.
Five skating cues to practice right away:
- Load inside edge to seal, snap to outside edge to escape
- Use small crossovers for momentum, seal with one hard push
- Practice 180 degree spins under light pressure until they take one second or less
- Work on pop and skate steps: explosive outside edge push, two to four tenths of a second
- Never let both feet sit flat and motionless. Always shuffle, transfer weight, or edge.
Reading Pressure & Anticipating Contact During Board Battles
Defenders give away their next move if you know what to watch. When a checker shifts weight onto their front foot and leans forward, expect a forehand check or a heavy bump. If their top hand extends and their stick blade rises, a stick lift is coming. Watch hips and shoulders, not eyes. Hips show where momentum’s headed, shoulders reveal whether they’re setting up to pin you or trying to reach around. Scan before the puck arrives so you already know the angle of attack and can adjust body position before contact. Moving the puck six to twelve inches closer to the boards or slightly up ice can kill a stick lift attempt before it happens.
When contact comes, absorb it through hips and forearms, not hands or elbows. Keep shoulders square to the pressure and brace at roughly 45 degrees to the boards. This lets you take the hit without getting crushed into the glass and gives you a clean angle to step away afterward. Knees stay bent, feet stay shoulder width, core stays tight. If you stand tall or lean back, contact knocks you off balance. Brace properly and you can redirect their momentum past you and step into space. Legal shielding means positioning your body between opponent and puck. Not extending arms or holding with your hands.
Timing your next move depends on the pressure you’re reading. If the defender’s still two strides away, you’ve got time to hold the puck, scan for an outlet, and make a clean decision. If they’re already on top of you, your window shrinks to two or three seconds. In that case, protect first, then release to a teammate or escape with a quick pivot and skate. Holding too long gets you crushed. Releasing too early gives up possession for nothing. Read the pressure, then decide.
Applying Board & Corner Shielding Techniques to Maintain Possession in Game Scenarios
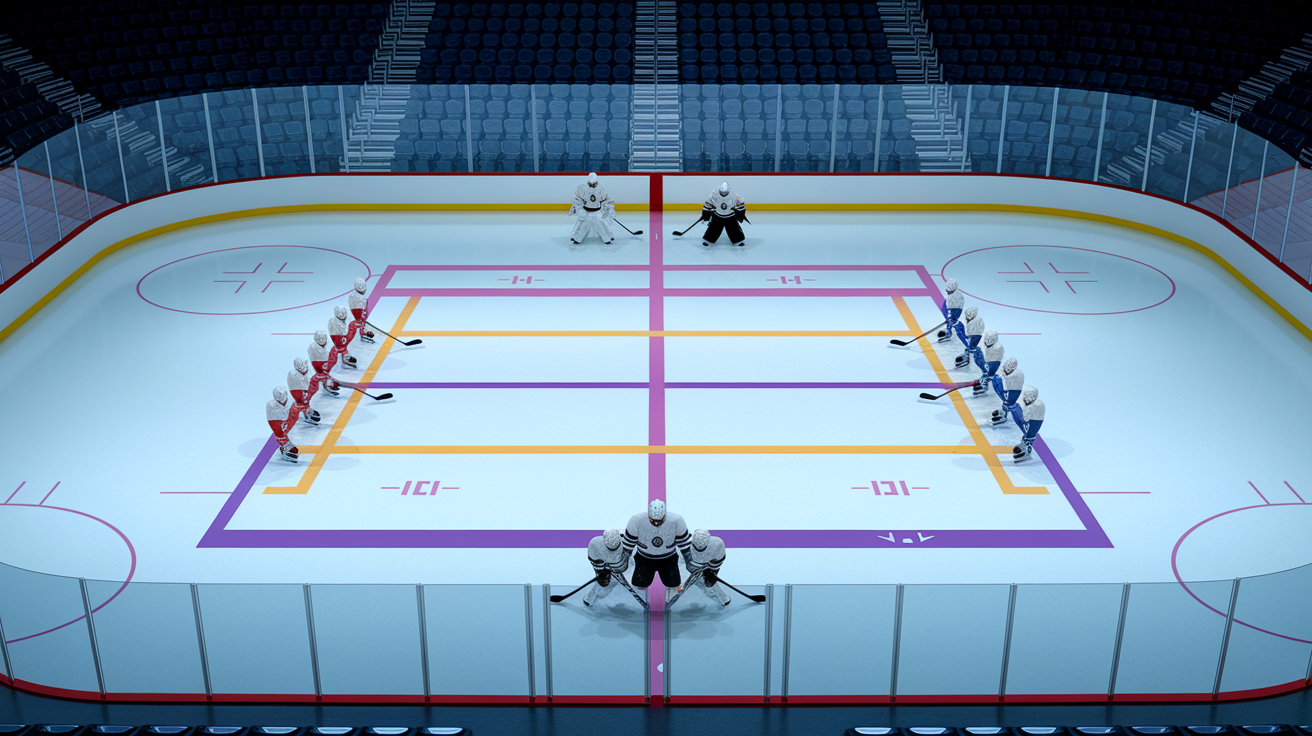
Wall cycles depend on players who can shield the puck long enough to find the next pass or create a better angle. When you’re on the wall, your job is angling the defender out by keeping your body between them and the puck, using small pivots and edge work to maintain position as you move up or down the boards. A strong shoulder to board angle (ten to thirty degrees) maximizes your shielding surface without exposing the puck. As you cycle low to high or wall to wall, keep your head up and identify support options before pressure arrives. Once you locate the outlet, you’ve got two to three seconds under heavy pressure to release the puck cleanly.
One touch plays and wall give and gos are the fastest way to turn board pressure into offense. Receive the puck on your backhand, shield it for a beat, then snap a pass to a teammate moving up the wall or into the slot. After the pass, take two or three hard strides into open ice to become the next outlet or create a scoring lane. The boards act as an extra teammate here. Use them to bank passes, deflect pucks to space, or simply block the defender’s stick while you work the puck free. If you’re the support player, time your arrival so the puck carrier has a clean passing lane the moment they look up. Late support means a turnover. Early support draws two defenders and clogs the play.
Centers, wingers, and defensemen each have specific roles when the puck’s on the wall. Wingers are often the first layer of support, positioning themselves five to ten feet up the boards or in the high slot. Centers read the battle and decide whether to support low, fill the middle, or back out to reset. Defensemen stay high, ready to receive an outlet pass or step down if the winger gets trapped. Everyone’s job is creating layers of support so the puck carrier always has two passing options within two to three seconds.
| Situation | Correct Technique | Mistakes to Avoid |
|---|---|---|
| Forechecked along wall | Shield with hips, scan early, release to support within 2 to 3 seconds | Holding too long, staring at puck, failing to locate outlet |
| Corner cycle under pressure | Seal puck to boards, pivot to safe side, pass or skate out at 45 degree angle | Standing still, exposing puck to boards, pivoting into pressure |
| Wall give and go | One touch pass to teammate, then take 2 to 3 hard strides to open ice | Passing without moving feet after, watching the pass instead of skating |
| Pinned by heavy contact | Brace at 45 degrees to boards, absorb through hips, step off with outside edge | Leaning back, standing tall, trying to fight through instead of stepping away |
| Late game possession hold | Keep feet moving, use boards as shield, protect puck on backhand, scan for pressure | Standing flat footed, exposing puck to defender’s side, losing edge control |
Progressive Drills for Puck Protection at the Boards & in Corners
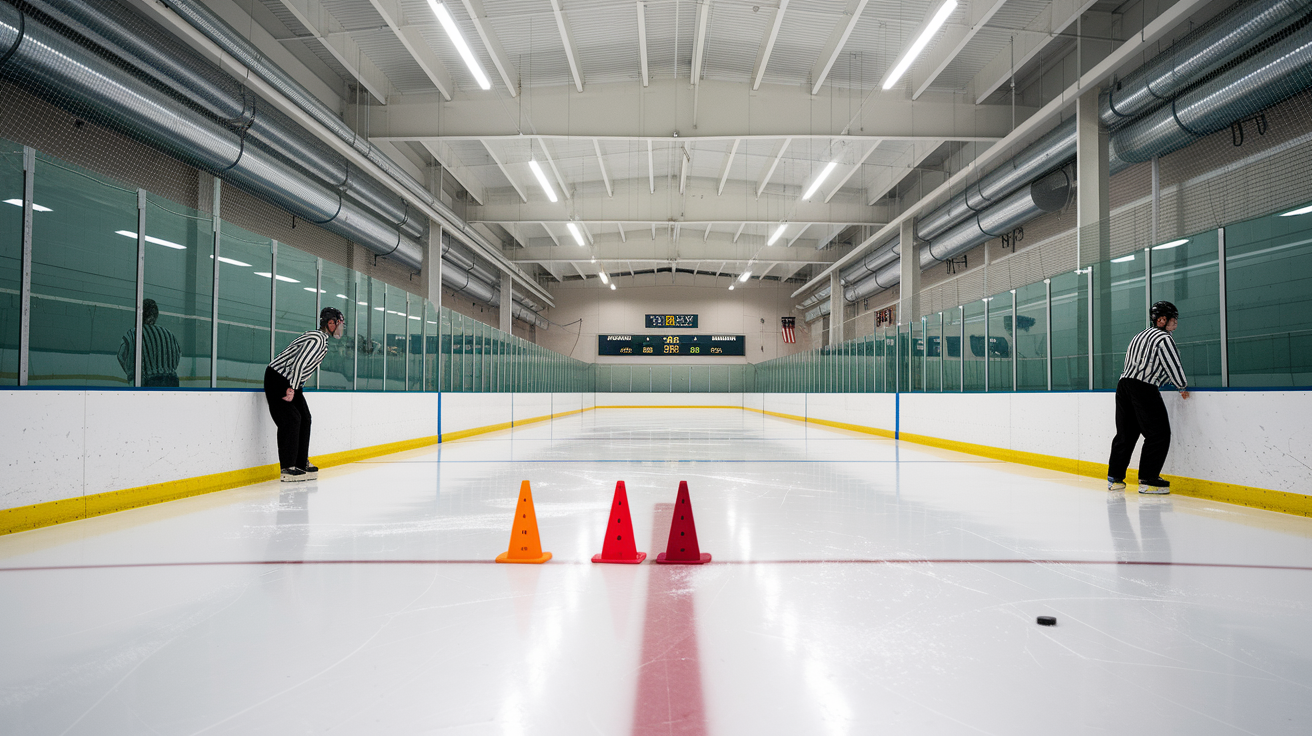
For drill setup ideas, check out 6 puck protection drills that cover foundational concepts.
Technical Foundation Drills
Wall Rolls build inside edge strength and body positioning. Set up three cones five to seven feet from the boards, spaced evenly down the wall. The player skates along the wall, rolling the puck around each cone while keeping their inside shoulder over the puck and hips squared between the cone and an imaginary defender. Complete ten rolls per leg, three sets total. Coaching cue: hips stay over the puck, inside edge loaded, head up to scan pressure angles.
Contact Absorb and Escape teaches how to brace for hits and step away cleanly. A coach or partner delivers controlled hip checks (light at first, then medium intensity) while the player shields the puck along the boards. Player’s job is absorbing contact through hips and forearms, maintaining balance, and stepping off the board using their outside edge. Run six to eight reps per side, then increase force gradually over the next few weeks. Goal: stay on your feet, keep the puck, create separation within one second of contact.
Competitive Battle Drills
Board Battles 1v1 is the core drill for learning how to win possession under real pressure. Attacker starts with the puck on the boards, one and a half to two feet from the corner. Defender applies immediate pressure, trying to strip the puck or force a turnover. Attacker’s goal is shielding, pivoting, and holding possession for the full rep. Run eight to ten battles per player, each lasting 45 seconds. Coaching focus: low center of gravity, stick on the inside, using the rear leg to pivot and seal. Track how many reps each player successfully holds possession.
Corner Cycle and Outlet combines protection with decision making. Attacker cycles into the corner, seals the puck against the boards, and scans for an outlet pass to a coach or trailing teammate positioned in the high slot. Complete six to ten cycles per side, each rep lasting 30 to 40 seconds. Focus on keeping your body between puck and defender, getting your head up before the pass, and releasing the puck within two to three seconds once you identify the outlet.
Transition & Support Drills
Give and Go on Wall teaches quick passing under pressure and immediate transition to offense. Two players work along the boards while a coach or third player sends the puck into the corner. Attacker shields the puck, delivers a quick wall pass to their teammate, and explodes up ice into open space. Run eight to twelve reps each, three sets. Measure success by tracking escape and pass percentage: how many times did the attacker complete the pass and create a scoring chance?
Pressure to Transition 2v1 forces players to recognize when to release the puck. An attacker shields along the boards while a trailing teammate times a support run to create a two on one advantage. Attacker must read the pressure, hold just long enough for support to arrive, then release the puck within two to three seconds to generate a scoring opportunity. Run six to ten reps. Coaching cue: hold too long and the defender recovers. Release too early and your support isn’t in position. Timing is everything.
Escape Moves for Corner Exits & Pressure Relief
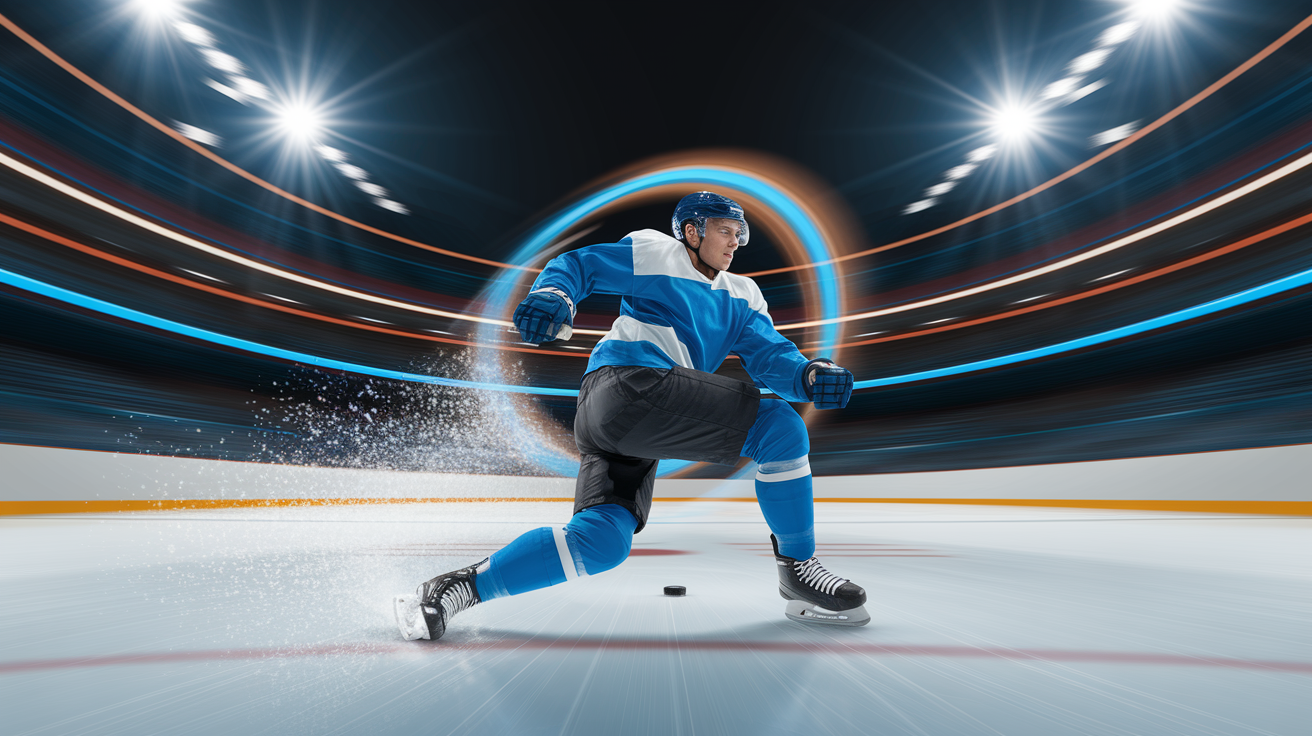
The spin protect is your instant escape when a defender commits hard to one side. As soon as you feel their weight shift, rotate your body 180 degrees using a quick heel to heel pivot or mohawk turn. Your hips and edges do the work, and the puck stays glued to your backhand blade. The entire move takes half a second to one full second. Too slow and the defender adjusts and you’re stuck. Execute cleanly and you’ve turned pressure into open ice in the time it takes to blink.
The pop and skate is even faster but requires explosive leg drive. Load your outside edge, then explode away from the boards with a short, sharp push. The move takes two tenths to four tenths of a second and creates six to twelve inches of separation. Just enough to skate into space or deliver a pass before the defender recovers. Toe drag micro moves also create small pockets of separation. Pull the puck six to twelve inches toward the boards or slightly back toward your body, then push it forward into the gap you just created. Defender’s stick misses by inches, and you’re gone.
Five escape cues to rehearse until they’re automatic:
- Spin protect in 0.5 to 1.0 seconds when defender commits to one side
- Pop and skate: outside edge explosion in 0.2 to 0.4 seconds
- Toe drag 6 to 12 inches to create separation, then push puck into open space
- Wall to wall give and go: pass, then take 2 to 3 hard strides to become the next outlet
- Read defender’s hips and weight shift to time your escape before they can recover
Safety, Legal Contact, and Injury Prevention During Board Play
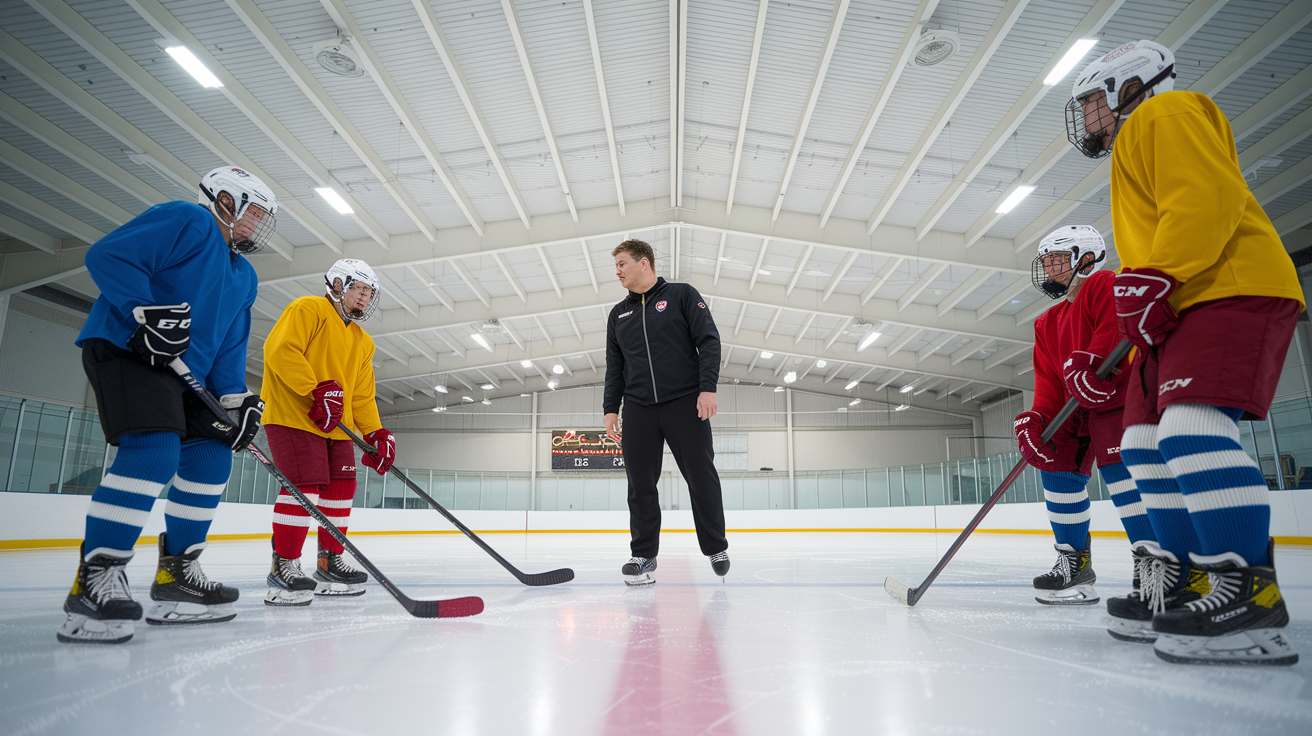
Contact intensity shouldn’t jump from zero to full game speed overnight. Start drills at 40 to 60 percent intensity and increase by 10 to 15 percent each week until players are practicing at game tempo. This gradual progression builds confidence, teaches proper technique, reduces injury risk. Confirm that all players are wearing full protective gear (especially shoulder pads, elbow pads, helmets) before any contact drills begin. Coaches need to enforce clean, legal contact: no extended elbows, no holding, no hits from behind.
Players need to understand what legal shielding looks like. You can use your body to separate the puck from an opponent, but your contact comes from positioning and skating, not from reaching, grabbing, or extending your limbs. Keep shoulders square when absorbing a hit, and brace through your core and hips. Maintain continuous contact with the puck whenever possible. If you lose the puck and then make contact, it’s interference. Shield while actively controlling the puck and it’s legal play.
Three safety checks before every contact drill:
- Confirm all players are wearing full protective equipment
- Set clear intensity targets and increase gradually week by week
- Review legal contact rules: body positioning and skating only, no extended elbows or holding
Off Ice Strength, Mobility & Conditioning for Better Board Protection
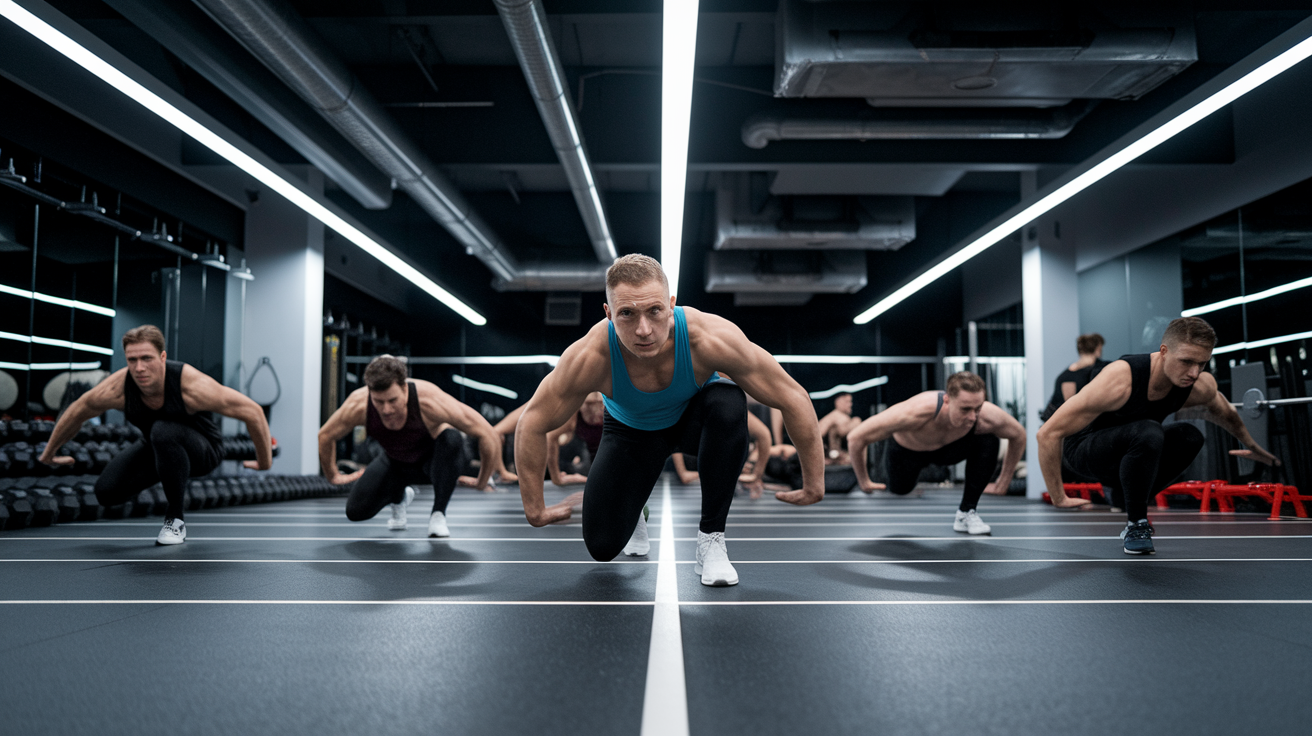
Core stability and hip strength are the foundation of board battle success. A strong core lets you absorb contact without collapsing, and powerful hips let you pivot, seal, and push off edges with force. Single leg balance drills improve your edge stability and teach your body how to stay upright when contact comes from unpredictable angles. Ankle mobility matters just as much. Stiff ankles mean you can’t load your edges properly, and every pivot or quick turn becomes a struggle.
Conditioning should mirror the demands of real board battles. Run interval training in 30 to 45 second bursts to simulate the length of a typical one on one battle along the wall. Between sets, rest for 60 to 90 seconds, then go again. This builds the stamina and explosiveness you need to win multiple battles in a single shift. Off ice work won’t replace on ice reps, but it’ll make every rep more effective by giving you the strength, balance, and endurance to execute technique under fatigue.
Five off ice exercises that translate directly to board play:
- Single leg balance holds (30 to 60 seconds per leg) for edge stability
- Bulgarian split squats for hip and leg strength
- Plank variations (front, side, rotating) for core stability
- Ankle mobility drills: dorsiflexion stretches, banded eversion work
- 30 to 45 second battle intervals: resistance band pulls, sled pushes, or heavy bag work to simulate contact fatigue
Common Mistakes in Board Side Puck Protection & How to Fix Them
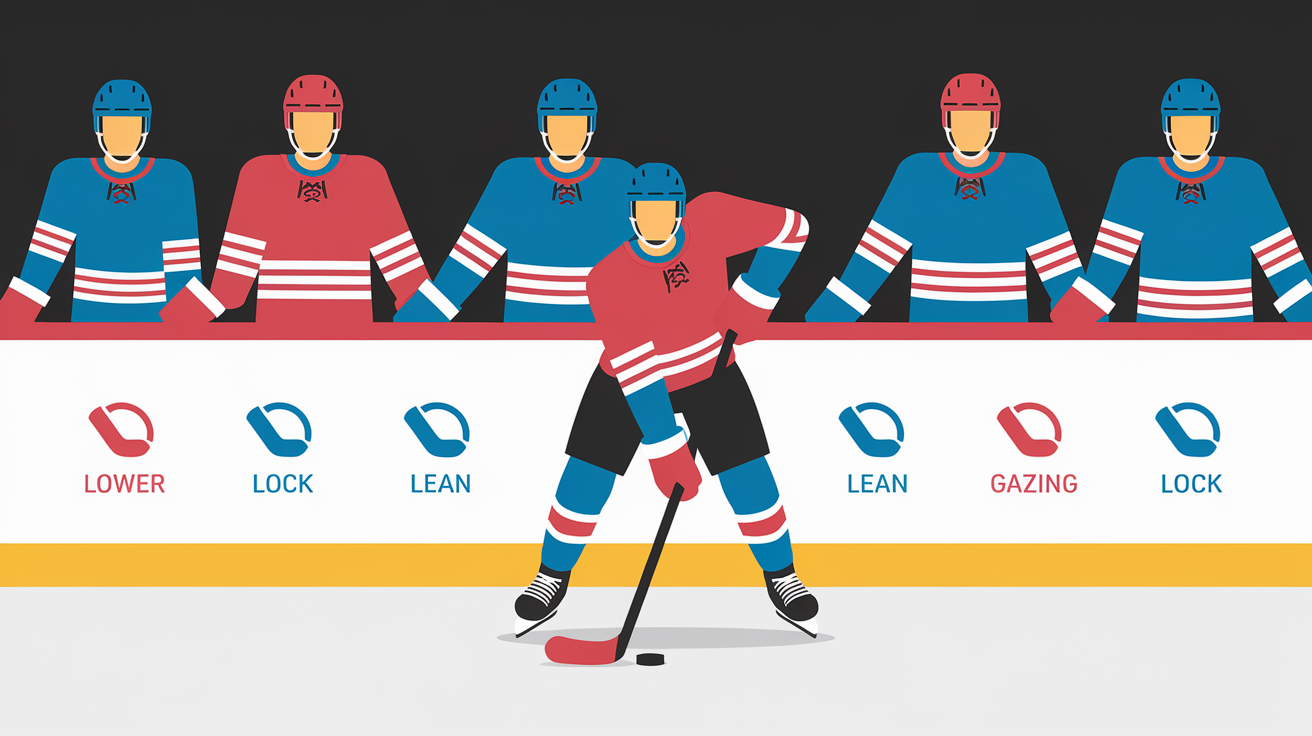
Standing upright is the fastest way to lose a puck battle. When your knees are straight and your weight is high, any contact knocks you off balance and the puck rolls free. Fix: drill the “lower, lock, lean” cue until it’s automatic. Lower your hips into a strong skating stance, lock your bottom hand elbow to your ribs, and lean your inside shoulder over the puck. Repeat this sequence in every rep until your body defaults to it under pressure.
Reaching with your top hand sacrifices all your leverage and opens you up to easy stick lifts. Players do this when they panic or try to extend reach without moving their feet. Fix: if you need more reach, take a skating step. Your feet should do the work, not your arms. Another common error is staring down at the puck. Head down means you can’t see pressure coming and you won’t find your outlets. Fix: practice wall rolls and board battles with a coach calling out numbers or colors. Force yourself to look up and respond while handling the puck.
Six mistakes and their fixes:
- Standing upright: Fix with “lower, lock, lean” cue. Lower hips, lock elbow, lean inside shoulder over puck.
- Reaching with top hand: Fix by taking a skating step instead of stretching your arms.
- Staring at the puck: Fix with visual cue drills. Coach calls numbers or colors, player must respond while handling puck.
- Exposing puck to board side: Fix by rehearsing puck placement on the far side from pressure in every rep.
- Freezing feet under pressure: Fix with small area skating drills that require constant foot movement.
- Failing to scan early: Fix with pre puck scanning habit. Look before the puck arrives, know where pressure and outlets are.
Video Study & Visualization Techniques for Board Battle Improvement
Film study speeds up learning when you know what to watch. Record your board battles from three angles: side view at ice level, top down overhead, and from behind the player. Use 60 frames per second if possible so you can slow down the critical moments (stick placement, edge transitions, contact absorption) and see exactly what happened. Annotated diagrams help too. Draw a top down view showing your body position, the defender’s angle, and your 45 degree escape path. Then compare your real positioning to the diagram and adjust.
Mental rehearsal works. Before your next shift, close your eyes and visualize the pressure angle you expect. Picture yourself reading the defender’s weight shift, bracing for contact, and stepping off cleanly with your outside edge. Run the sequence three or four times in your head. When the real moment comes, your body already knows the pattern. Visualization doesn’t replace reps, but it sharpens your recognition and decision making so the reps you do take are higher quality.
Three things to track on video:
- Knee bend and hip position at the moment of contact. Are you low and balanced or standing tall?
- Stick blade placement between puck and defender. Is your blade acting as a barrier or is it too far away?
- Timing of your escape move. Did you read pressure early and step away cleanly, or did you hold too long and get pinned?
Final Words
in the action, you learned the core mechanics: low stance, hips over the puck, stick blade inside, and edge work to stay balanced under contact.
Next, we ran through stick and skating drills, escape moves, reading pressure, safety checks, and off-ice strength. Video study and consistent reps tie it together.
Practice these steps and drills and you’ll know how to protect the puck along the boards and in corners. Keep reps short, head up, and use the boards smartly. Small improvements add up fast.
FAQ
Q: How do you protect the puck along?
A: Protecting the puck along the boards requires a low stance, hips between defender and puck, the blade inside, a locked bottom elbow, moving feet, and early head-up scanning to create outlets.
Q: Is the number 69 banned in the NHL?
A: The number 69 is not banned in the NHL; it’s allowed but rarely used, and teams or players often avoid it for professional image or locker-room reasons.
Q: Who is the richest hockey player of all time?
A: The richest hockey player of all time is widely considered to be Wayne Gretzky, thanks to long-term NHL earnings, endorsements, and business ventures that built a multi‑million dollar fortune.
Q: Who is the shortest active NHL player?
A: The shortest active NHL player changes each season; recent seasons have seen regulars in the 5’6″ to 5’8″ range, so check current rosters for the exact name.