

Controversial: onside vs offside positioning often decides close games.
If a winger or defenseman is out of place, one turnover turns a clean exit into a scramble.
This post breaks down what onside and offside mean for wingers and D, who supports the puck, who covers the slot, and when to pinch.
You’ll get clear roles, simple angles, and quick drills to fix the mistakes that cost shifts.
Read on for specific positioning tips for breakouts, offensive cycles, and defensive gap control.
Onside and Offside Defined
Onside means the side where the puck is. Offside means the other side, away from the puck. Some coaches call these “strong side” and “weak side.”
Puck’s on the right boards? Right winger is onside. Left winger is offside. Puck moves, assignments flip.
Your job changes based on which side you’re on. Onside players support the puck directly. Offside players protect space and cover threats through the middle.
For wingers, being onside usually puts you as the first outlet on a breakout or primary board support in the offensive zone. Being offside means you’re reading for a cross-ice pass, covering the slot, or stretching for a long pass.
For defensemen, the onside D retrieves pucks and makes the first pass. The offside D protects the middle, covers cross-ice lanes, and acts as the safety net before the goalie.
Understanding onside and offside positioning is the foundation of team structure. It tells you where to be, what to watch for, and who you’re covering.
Quick Glossary
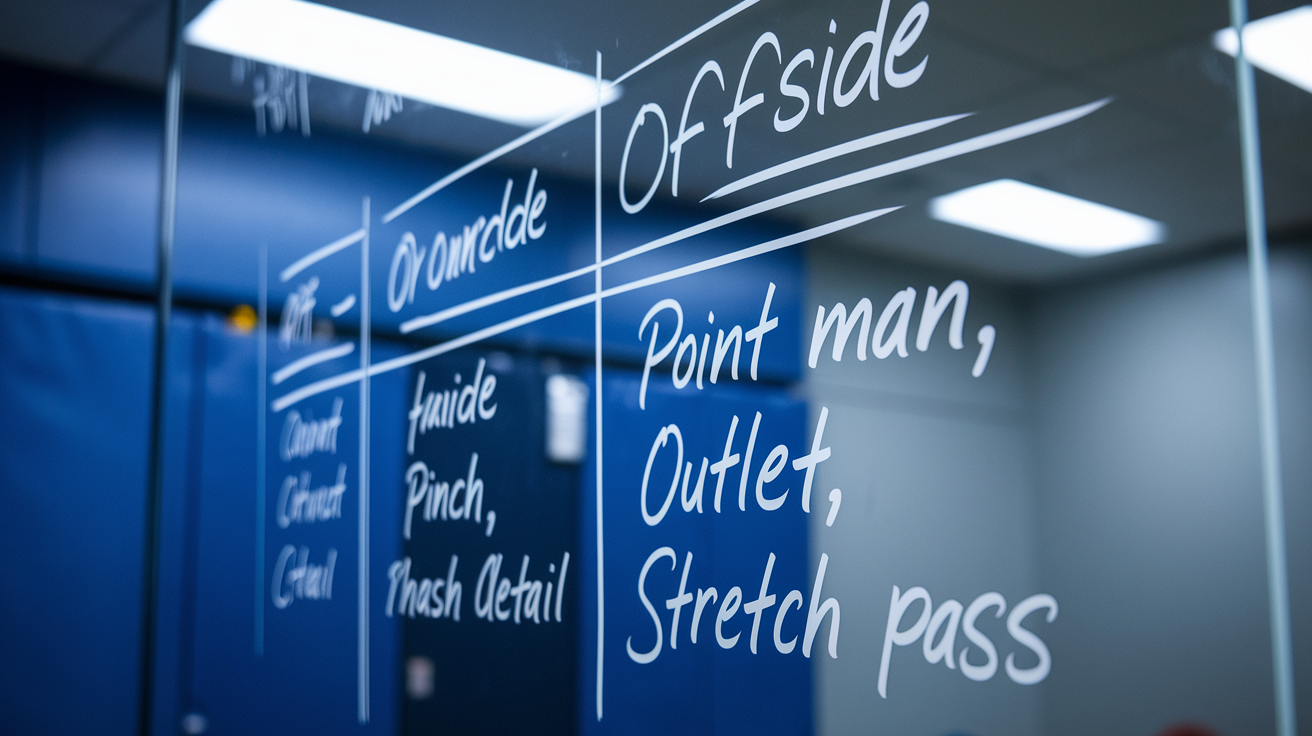
Onside (Strong Side): The side where the puck currently is. The onside winger and defenseman are closest to the puck, responsible for direct support and puck movement.
Offside (Weak Side): The opposite side from the puck. The offside winger and defenseman protect the middle, cover cross-ice threats, and provide secondary support or stretch options.
Hash Marks: The short red lines inside the face-off circles. A common reference point for winger positioning during breakouts. Taking a pass at the hash marks shortens the pass but increases the risk of a pinching defenseman beating you to it.
Point Man: The opposing defenseman positioned near the blue line in the offensive or defensive zone. When defending, your job as a winger often includes preventing this player from receiving clean passes or getting open shots.
Pinch: When a defenseman steps down from the blue line toward the boards to pressure the puck carrier or cut off a dump-in. Pinching creates offensive pressure but leaves the middle exposed if the puck gets past.
Outlet: A pass option that allows the puck carrier to move the puck out of the defensive zone. Wingers and centers act as outlets by providing open passing lanes and body position to receive under pressure.
Gap Control: The distance a defenseman maintains between themselves and the attacking skater. Recommended range in the defensive zone is 5 to 10 feet, close enough to pressure but far enough to react to moves or passes.
Rim (or Bank): A pass that travels along the boards, often used to escape pressure in the defensive zone. The puck is sent hard around the perimeter to a teammate farther up the ice.
Stretch Pass: A long pass from the defensive zone to a teammate near or beyond the red line, designed to beat the forecheck and create an odd-man rush. High reward but requires timing and accuracy.
Slot: The high-danger area in front of the net, roughly between the face-off circles and extending from the goal line to the top of the circles. Controlling this space is critical for both offense and defense.
Support Angle: The angle at which a teammate positions themselves to receive a pass. A 45-degree angle from the boards gives the puck carrier a clean passing lane and reduces the chance of interception.
Core Positioning Principles for Wingers and Defensemen
Hockey structure works when all five players understand their spatial responsibilities. Positioning starts with the puck and builds outward from there.
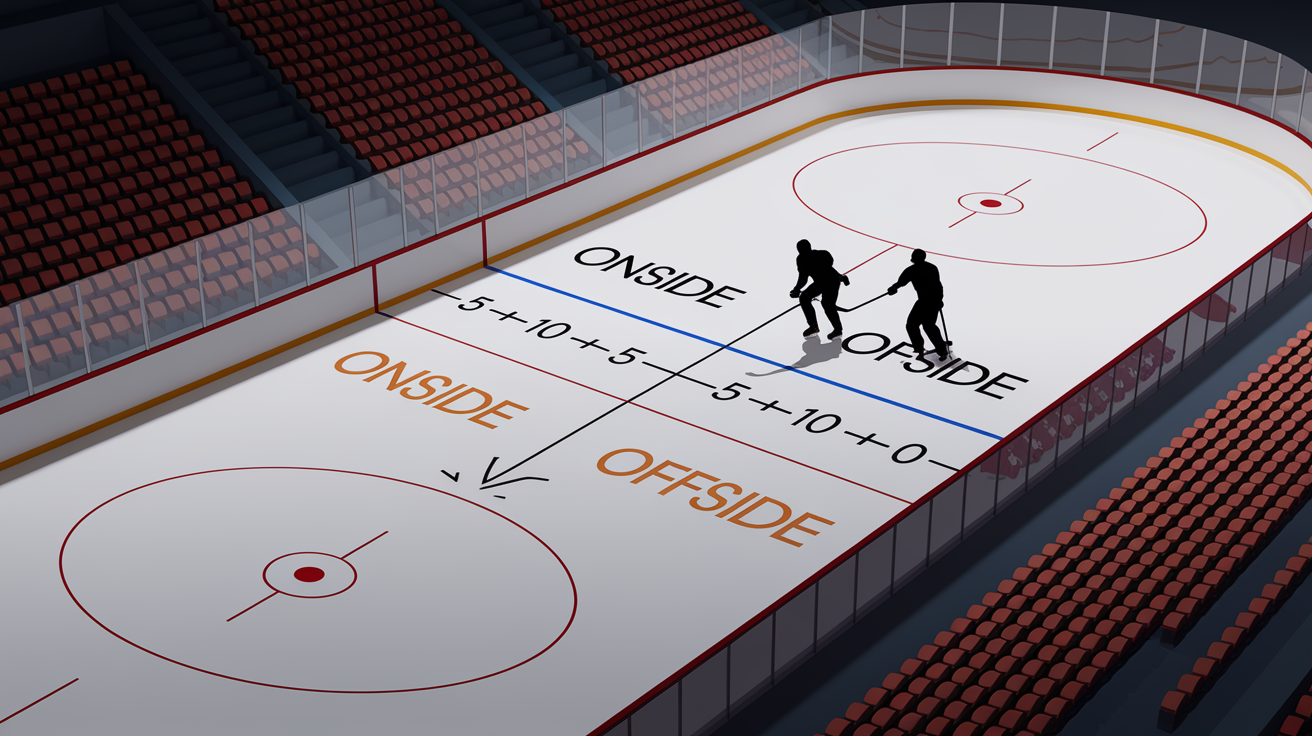
Standard rink dimensions: An NHL rink is 200 feet long by 85 feet wide. The distance between the blue lines is 50 feet. These numbers matter because they define how far you can stretch the ice, how much time you have to close a gap, and where support should be.
Defenseman gap control: When defending in your own zone, a defenseman should maintain 5 to 10 feet of space from the attacking skater. Closer than 5 feet and you risk getting walked. Farther than 10 feet and the shooter has too much time.
Winger support depth on breakouts: Wingers should position 8 to 15 feet off the boards depending on forecheck pressure. Closer support (8 to 10 feet) helps when the defense needs a quick outlet. Deeper positioning (12 to 15 feet) opens up stretch passes and wider lanes.
Trail support spacing: The trailing player, whether it’s a winger or a defenseman, should stay 10 to 15 feet behind the puck carrier. This distance gives you time to react to a turnover and provides an outlet if the carrier gets pressured.
The onside defenseman (the D on the same side as the puck) has primary breakout responsibility. They retrieve the puck, read the forecheck, and make the first pass. Their body should angle the play toward the boards to protect the middle of the ice.
The offside defenseman (the D on the opposite side) protects the slot and weak-side high area. They should position slightly higher, closer to the blue line, ready to receive a cross-ice pass or support a reverse breakout.
The onside winger provides the rim pass option and immediate board support. In the defensive zone, this player takes responsibility for board-side coverage and helps in low-slot battles when needed.
The offside winger stays higher and more central, usually around the top of the circles or high slot. This player is the primary stretch target on breakouts against a heavy forecheck and also provides weak-side slot coverage when defending.
Timing windows matter. From puck retrieval to exit pass, you’re working with 1 to 2 seconds under pressure. Support players need to arrive within 3 to 5 seconds to be useful. Late means you’re not an option.
Good positioning is quiet. It doesn’t show up on highlight reels, but it’s the difference between clean zone exits and constant turnovers.
Offensive Zone Onside and Offside Responsibilities

In the offensive zone, the puck dictates structure. Onside and offside roles split the work between direct puck support and net-front coverage.
Onside winger positioning: When the puck is on your side, you’re the primary support along the boards. Position yourself 5 to 10 feet from the boards and slightly ahead of the puck carrier to create a passing angle. If the puck is rimmed, you need to be first to it or close enough to tie up the opposing defenseman.
Puck’s in the corner? Your job is to provide an outlet along the half-wall or near the hash marks. Stay above the puck so your defenseman has an escape route if the cycle breaks down.
Offside winger positioning: When the puck is on the opposite side, you’re responsible for net-front presence and weak-side rebound opportunities. Position yourself 10 to 15 feet from the net, between the crease and the far post. You’re looking for deflections, rebounds, and cross-ice one-timers.
Don’t drift too wide. Standing near the far boards puts you out of the play and gives the goalie an easy sight line.
Onside defenseman at the point: The defenseman on the puck side should stay at or slightly inside the blue line, ready to keep the puck in the zone or step down for a pinch. If the winger is engaged low and the opposing defenseman tries to rim the puck out, that’s your pinch window.
Only pinch when you have coverage. That means one of two things: the offside winger or center is stepping into your lane to protect against the counter-rush, or the offside defenseman is in position to cover the slot if the puck gets past you.
Offside defenseman at the point: The defenseman on the weak side holds the far point and watches for cross-ice passes or breakout attempts. You’re also the safety valve. If the onside defenseman pinches and loses the puck, you need to be in position to stop an odd-man rush.
Three roles in rotation: In a sustained offensive-zone cycle, you’ll see the onside winger high on the boards, the offside winger low near the net, and the center rotating through the middle or behind the net. The two defensemen hold the blue line unless there’s a clean pinch opportunity.
This structure keeps two players in scoring position, two players supporting the puck, and one player protecting against the counter-rush.
Common mistake: Onside wingers drifting too low into the corner. If you’re below the goal line and the puck pops out, you’re out of position and your defenseman has no outlet. Stay above the puck unless you’re actively battling for possession.
Another common mistake: Offside wingers cheating too high or too wide. Your value is in the net-front scramble. Standing at the hash marks or near the boards makes you easy to defend and out of the play.
When the puck moves from one side to the other, roles flip. The old offside winger becomes onside support. The old onside winger rotates to net-front or middle coverage. Read the puck movement and adjust within one stride.
If you’re always thinking “am I onside or offside right now?” you’ll know where you should be.
Defensive Zone Onside and Offside Coverage
Defensive-zone positioning is about controlling space and limiting high-danger chances. Onside and offside responsibilities split the work between board battles and slot protection.
Onside defenseman (puck-side D): Your first job is puck retrieval. Get to the puck carrier, angle them to the boards, and make a clean outlet pass. Your body should be between the puck and the middle of the ice.
When you retrieve the puck in the corner or along the boards, your read is simple: rim it to the onside winger, bank it behind the net to reverse, or hit the center for a quick vertical outlet. You have 1 to 2 seconds to make that decision.
Puck’s along the boards and an opponent is pressuring? Protect the puck with your body and look for the rim option first. Don’t try to thread a pass through two forecheckers.
Offside defenseman (weak-side D): Your job is slot protection and cross-ice coverage. Position yourself between the opposing forwards and your goalie, roughly 5 to 10 feet from the net. You’re the last line before the goalie sees the puck.
Watch for cross-ice passes and late-arriving forwards. If the puck swings to your side, you become the onside defenseman and your responsibilities flip.
Onside winger (puck-side winger): You provide immediate board support and help tie up the opposing forward along the wall. If your defenseman is battling in the corner, you should be at the half-wall or near the hash marks, ready to receive an outlet pass.
When the opponent has possession, your job is to pressure the point man on your side. Don’t let the opposing defenseman receive clean passes or set up for one-timers. Stay within stick-reach and keep your body between them and the slot.
Offside winger (weak-side winger): You protect the high slot and provide backcheck coverage. Position yourself near the top of the circles, between the opposing forwards and your net. You’re watching for cross-ice passes and preventing second-chance opportunities in front.
If a forward cycles to your side, you take them. If the puck moves to your side, you rotate down to board support and the old onside winger shifts to weak-side coverage.
Center responsibilities: The center floats between onside and offside depending on the play. In most systems, the center takes the low slot or net-front coverage, preventing tips and screens. On breakouts, the center is often the first short outlet option.
Coverage priorities by structure: Most teams use a combination of man-to-man and zone principles. In your own zone, the onside players (winger and D) handle the puck carrier and immediate board threats. The offside players (winger and D) protect the middle and cover late arrivals.
When the opponent is cycling the puck, your positioning shifts every few seconds. The key is to move as a unit. Onside winger steps down to help in the corner? The offside winger must slide over to cover the high slot.
Gap control under pressure: When defending a rush, the onside defenseman takes the puck carrier and the offside defenseman covers the passing lane or trailing forward. Maintain 5 to 10 feet of gap until you’re inside the top of the circles, then close quickly to take away time and space.
Common error: Onside wingers chasing too deep into the corner and leaving the half-wall wide open. Your defenseman can handle the corner battle. Your job is to take away the easy outlet pass.
Another error: Offside defensemen drifting too far to the weak side and leaving the slot open. You need to be close enough to challenge a cross-ice pass or step to a forward cutting through the middle.
Defending well in your own zone means understanding which side you’re on and what your primary responsibility is. Onside? You’re on the puck. Offside? You’re protecting the net.
Breakout Strategies and Transition Lanes
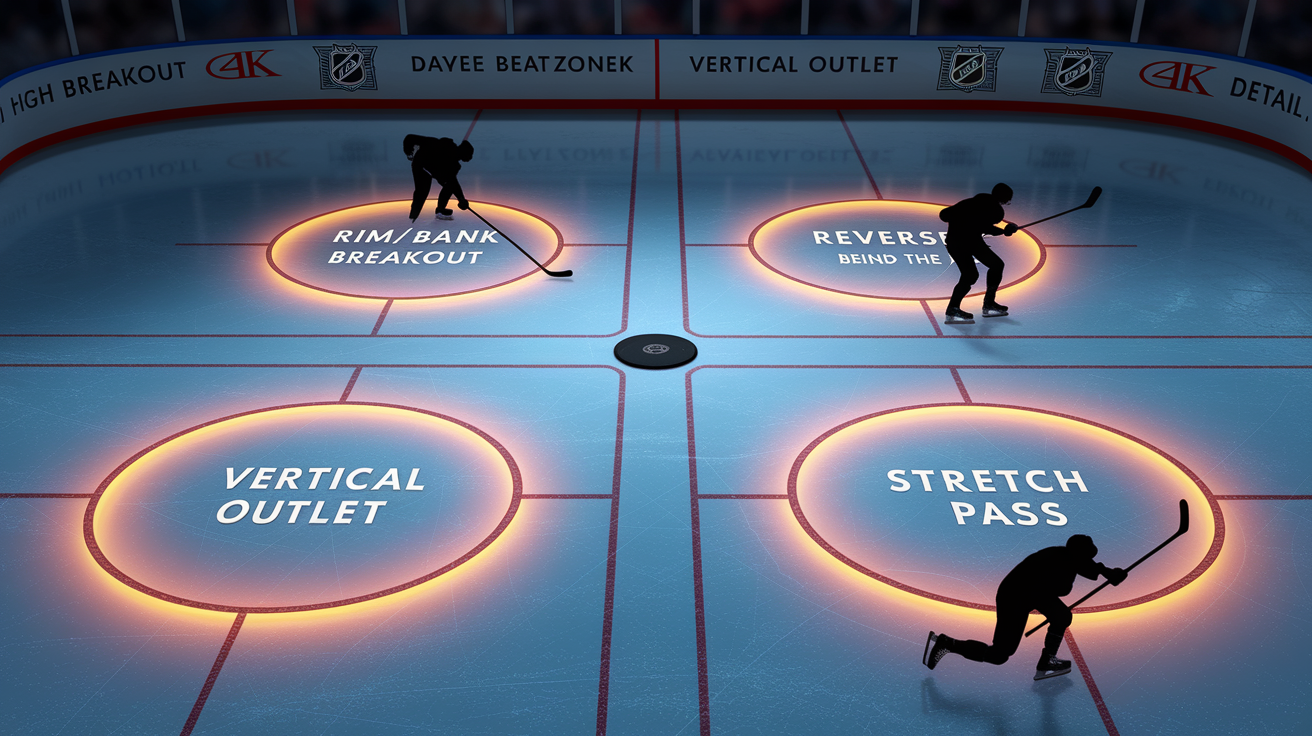
Breakouts are the bridge between defense and offense. Clean exits create odd-man rushes. Failed exits create turnovers and high-danger chances against.
There are four primary breakout options, and all of them depend on onside and offside positioning.
1. Rim or Bank Breakout
The onside defenseman retrieves the puck and rims it hard along the boards to the onside winger. The winger times their route to arrive just ahead of the puck, receives it in stride, and carries or chips it into the neutral zone.
Use this when the forecheck is heavy and you need to relieve pressure quickly. The rim creates time and space because it forces the forecheckers to turn and chase.
The offside defenseman holds the middle of the ice during a rim breakout, ready to support if the puck comes back or to retreat if the breakout fails.
Player responsibilities: Onside D rims within 1 to 2 seconds of retrieval. Onside winger times the route to arrive 8 to 15 feet up the boards. Offside winger stretches to the far side near the red line. Center provides middle support or backchecks if the puck is turned over.
2. Vertical Outlet (Short Pass to Center)
The onside defenseman retrieves and immediately hits the center, who is positioned 10 to 15 feet in front of the net or near the hash marks. The center receives, turns up ice, and either carries or dishes to a winger in the neutral zone.
This breakout works best against a 1-2-2 or passive forecheck. It’s quick, but it requires the center to handle pressure and make a good read.
Player responsibilities: Onside D makes a crisp pass to center within 1 to 2 seconds. Center receives and turns up ice. Onside winger provides a lane option along the boards. Offside winger stretches the far side.
3. Reverse or Behind-the-Net Breakout
The onside defenseman retrieves and skates behind the net, then passes to the offside defenseman or offside winger on the far side. This breakout is used when the forecheck overcommits to one side.
The reverse creates a numbers advantage on the weak side and often catches the opposing forwards out of position.
Player responsibilities: Onside D skates behind the net and looks weak side. Offside D steps up near the hash marks to receive. Offside winger supports along the far boards. Onside winger delays or becomes the trailer.
4. Stretch Pass
The onside defenseman retrieves and immediately looks for the offside winger, who has sprinted up the far side toward the red line or beyond. The pass is 20 to 30 feet or longer, designed to beat the entire forecheck and create a breakaway or odd-man rush.
This is high risk. Pass misses or gets intercepted? You’re often caught with both defensemen deep and no support.
Use the stretch pass when you read a slow or overcommitted forecheck and your winger has a clear lane. Accuracy needs to be above 70 percent for this to be worth the risk.
Player responsibilities: Onside D reads the forecheck and makes the long pass. Offside winger times the stretch run to avoid offside and receives the pass in full stride. Offside D stays back as the safety net. Center and onside winger provide middle and trailing support.
Timing and lanes: The target for a clean breakout is 1 to 2 seconds from puck retrieval to first pass. Support players should be in position within 3 to 5 seconds. Not in a passing lane by then? You’re late.
Breakout lanes are simple: boards, middle, far boards. The onside winger takes the near boards. The center takes the middle. The offside winger takes the far boards. The two defensemen act as outlets or safety support depending on the route.
Decision cues for defensemen: You see two forecheckers pressuring onside? Rim it. You see one forechecker and open ice? Hit the center or reverse. You see a slow backcheck and your winger has space? Stretch it.
Breakout fails? The offside defenseman becomes the primary backchecker and the onside defenseman must recover to protect the slot.
Clean breakouts start with the onside defenseman making a quick, simple read. The offside players provide the options. Practice all four routes so you can execute under pressure.
Winger Vertical Placement: Get Low vs Take It High
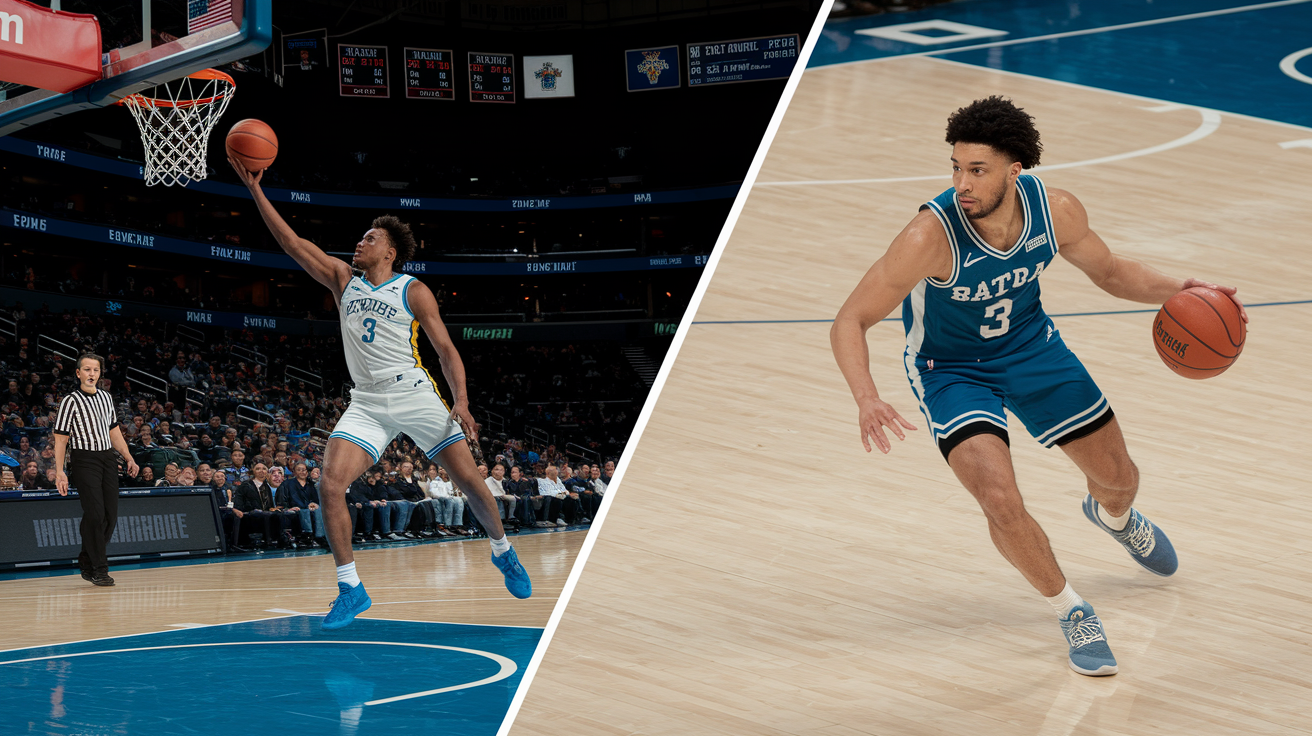
Where you position yourself on breakouts changes the speed, risk, and success rate of the exit. This is one of the most common coaching debates: should wingers get low along the boards or take the pass higher near the hash marks?
Both work. The choice depends on the forecheck, your speed, and your coach’s system.
“Get low” positioning: The winger skates deep into the defensive zone, often below the face-off dots, to receive a rim or outlet pass. This creates more time and space because the pass travels farther and the opposing defenseman has more ice to cover if they pinch.
Getting low increases your chance of receiving the puck cleanly. It also gives your defenseman a larger margin of error on the rim. Pass is a little soft or a little hard? You have more board space to adjust.
The tradeoff: it takes longer to exit the zone. You’re starting farther back, so it’s an extra stride or two before you hit the neutral zone.
When to get low: Use this when the opposing defenseman is pinching aggressively, when your team is under heavy forecheck pressure, or when your speed is average and you need more time to beat the pinch.
“Take it high” positioning: The winger positions near or slightly above the hash marks, shortening the outlet pass and speeding up the breakout. The pass is quicker, the winger hits the neutral zone faster, and the transition to offense happens in less time.
The tradeoff: if the opposing defenseman pinches hard and you’re not fast enough to beat them, they’ll arrive at the same time as the puck and tie you up or strip it. This increases turnover risk.
When to take it high: Use this when you have a speed advantage, when the opposing defenseman is playing passively, or when your coach’s system emphasizes quick-strike breakouts and odd-man rushes.
Some coaches prefer one approach across the board. Others adjust based on matchups.
Coaching variation example: “If you’re a slower winger, play low and protect the puck. If you’re a faster winger, take it at the hash marks and use your speed to create separation.”
Player type recommendations:
Slower wingers with good puck protection: get low, receive along the boards, use body positioning to shield the puck and chip it past the pinch.
Faster wingers with good hands: take it high, receive in stride, and beat the pinch with speed.
Average speed, high hockey IQ: read the opposing defenseman’s gap and adjust your depth accordingly. If they’re pinching, drop low. If they’re passive, take it higher.
Real example: You see the opposing defenseman creeping down from the blue line before the pass is made? That’s your cue to get lower. They’re flat-footed at the point? You can take it higher and attack with speed.
One more consideration: if your defenseman is under pressure and needs a quick outlet, being low helps them buy time. Your defenseman has space and can make a clean pass? Being higher helps you transition faster.
Practice both depths in drills. Read the forecheck and the opposing defenseman’s positioning. Adjust on the fly.
The best wingers can do both and choose the right depth based on what the play needs.
Defenseman Tactics: Pinch, Point Coverage, and Gap Control
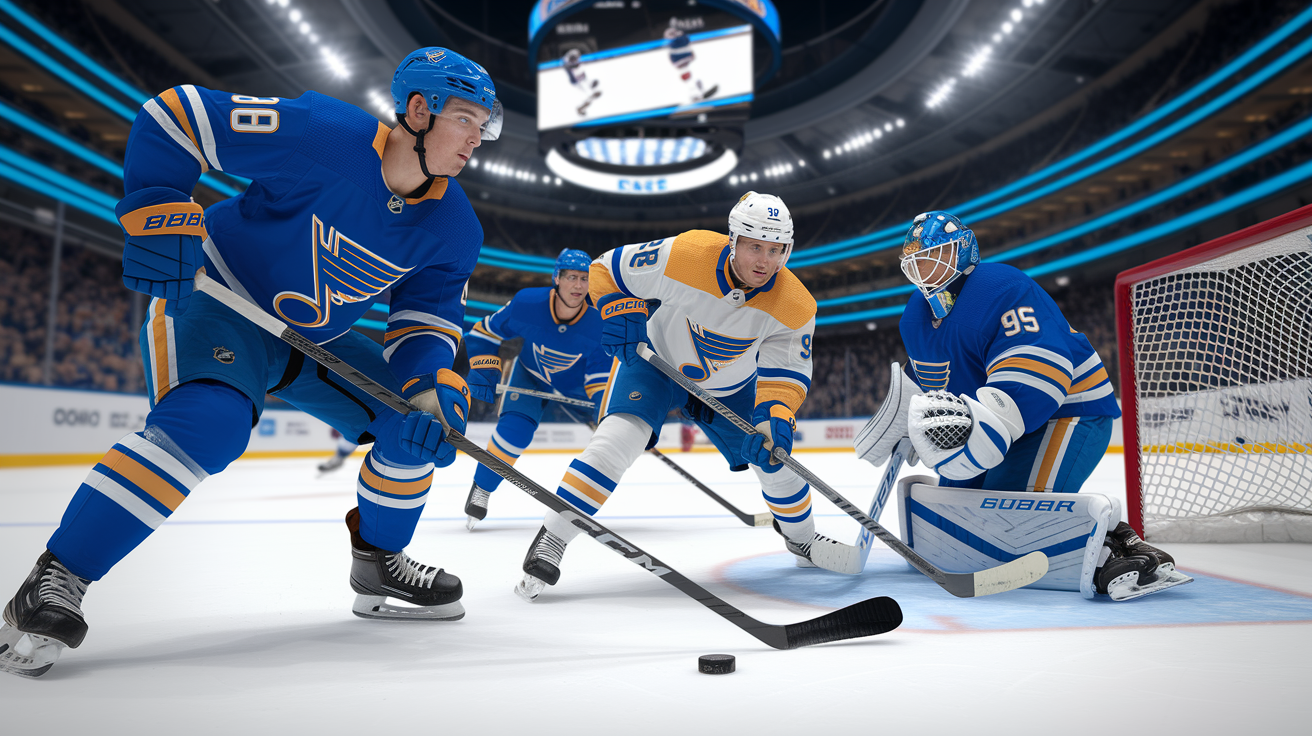
Defensemen live in the space between aggression and safety. Onside and offside positioning determines when to pressure the puck and when to protect the middle.
When to pinch (onside defenseman):
A pinch is when you step down from the blue line toward the boards to cut off a dump-in or pressure the puck carrier. The goal is to keep possession in the offensive zone or force a turnover.
Pinch only when you have coverage. That means one of two things: the offside winger or center is stepping into your lane to protect against the counter-rush, or the offside defenseman is in position to cover the slot if the puck gets past you.
Timing cues: Pinch when the puck carrier is within 1 to 2 strides of the boards and you can close the gap before they make a play. Pinch when your winger is already engaged with the opposing forward and you can trap them along the wall. Don’t pinch if the puck carrier has speed and an open lane to the middle.
Target success rate: In practice, aim for a pinch success rate above 60 percent. Getting beat more than 40 percent of the time? You’re pinching too often or reading the play poorly.
When to stay at the point (onside defenseman):
Stay back when the puck carrier has speed, when your winger isn’t in position to cover, or when the opposing team has numbers through the neutral zone. Staying back keeps you between the puck and your net and prevents odd-man rushes.
Unsure? Stay. A bad pinch creates a breakaway. A missed pinch just resets the play.
Offside defenseman responsibilities:
When the onside defenseman pinches, you become the safety net. Shift toward the middle of the ice and prepare to take the first forward who breaks free. You’re now defending a potential 2-on-1 or 3-on-2.
Your gap should tighten to 3 to 5 feet as soon as you recognize the pinch. You’re no longer holding the far point. You’re protecting the slot.
Puck gets chipped past the pinch and a forward has a breakaway lane? You need to close that gap fast and force them wide or take away the shooting lane.
Gap control guidelines:
In the defensive zone, maintain 5 to 10 feet from the attacking skater. Close enough to pressure, far enough to react to a move or pass.
In the neutral zone, widen the gap to 6 to 10 feet when you’re skating backward and reading the rush. As the attacker crosses the blue line, tighten to 3 to 6 feet and prepare to engage.
Chasing a forward on a breakaway? Close the gap as fast as possible and force them to one side. Don’t give them the middle of the ice.
Point coverage in the offensive zone:
When your team has possession in the offensive zone, your job at the point is to keep the puck in and provide a passing option. Position yourself at or just inside the blue line, stick on the ice, ready to receive a pass or step up to block a clear attempt.
Puck is rimmed around the boards toward you? Read the gap. You can get there first? Pinch. The opposing winger is going to beat you? Hold your position and angle them to the boards.
Point coverage in the defensive zone:
When defending, the offside defenseman often takes responsibility for the weak-side point man. If the opposing team cycles the puck and their defenseman steps down, you need to pressure them or take away the passing lane.
Don’t chase them too far. Your primary job is still slot protection. Pressure the point man enough to make their shot difficult, then return to the middle.
Communication cues:
Use simple, loud calls: “Pinch,” “Back,” “Middle,” “I got point.” Your partner and your forwards need to know what you’re doing in real time. A pinch without a call often ends in a breakdown.
Defensemen who understand onside and offside responsibilities make fewer mistakes and create more offense. The best defensemen know when to step up and when to stay home.
Situational Examples and Positioning Decisions

Hockey is a read-and-react game. Here are six common situations and the correct onside/offside responses for wingers and defensemen.
Situation 1: Defenseman pinches while winger is low
The puck is dumped into the offensive zone along the boards. The onside defenseman reads that the opposing winger is slow to the puck and decides to pinch.
Recommended actions:
Onside defenseman: Close the gap and trap the puck carrier along the wall. Engage within 1 to 2 strides.
Onside winger: If you’re already low, support the pinch by cutting off the puck carrier’s escape route up the boards. If you’re higher, immediately drop back to cover the point and protect against a chip-out.
Offside defenseman: Shift to the middle of the ice and prepare to defend a 2-on-1 if the puck gets past the pinch.
Offside winger: Move into the slot and take away the cross-ice pass or cover the trailing forward.
Center: Read the pinch and either support low or backcheck to cover the slot.
Key decision point: The onside winger must recognize the pinch within one second and adjust positioning. Caught too high? The opposing team has a free outlet.
Situation 2: Opponent cycles the puck along the boards in the defensive zone
The opposing team is cycling low in your defensive zone. The puck moves from the corner to the half-wall.
Recommended actions:
Onside defenseman: Engage the puck carrier along the boards. Angle them to the wall and take away time and space.
Onside winger: Pressure the half-wall and prevent an easy pass to the slot or point. Stay within stick-reach.
Offside defenseman: Protect the slot and watch for cross-ice passes. Position 5 to 10 feet from the net.
Offside winger: Cover the weak-side point man. Don’t let the opposing defenseman receive a clean pass or set up a one-timer.
Center: Take the net-front and prevent tips, screens, and rebounds.
Key decision point: When the puck moves from onside to offside, the wingers switch assignments. The old offside winger becomes the new onside board pressure. The old onside winger rotates to cover the weak-side point.
Situation 3: Point shot and rebound scramble
The opposing defenseman takes a shot from the point. The goalie makes a save but leaves a rebound in the crease.
Recommended actions:
Onside defenseman: Step to the shooter and take away a second shot attempt.
Offside defenseman: Protect the slot and clear any opposing forward trying to crash the net.
Onside winger: Box out the opposing forward on your side and prevent them from getting to the rebound.
Offside winger: Clear the crease and tie up sticks. Puck is loose? Move it to the corner or behind the net.
Center: Tie up the net-front forward and prevent a second-chance opportunity.
Key decision point: All five players must collapse to the net within 1 to 2 seconds after the shot. Anyone late? The rebound becomes a high-danger chance.
Situation 4: Quick zone exit on a 3-on-2 rush
Your defenseman retrieves the puck in the defensive zone and immediately hits the center with a vertical outlet. The center turns up ice and you have a 3-on-2 rush.
Recommended actions:
Onside winger: Drive wide along the boards and create a passing lane. Stay onside and time your entry to receive a pass in stride.
Offside winger: Drive the middle or far lane. Center has the puck in the middle? You’re the trailer or weak-side option.
Center: Carry the puck and read the defensive gap. Pass to the open winger or drive the net if the defensemen back off.
Onside defenseman: After making the outlet pass, trail the play at 10 to 15 feet and provide backside support.
Offside defenseman: Stay back and protect against a counter-rush. Don’t join the rush unless you’re certain the play is controlled.
Key decision point: The center must read which defenseman steps to the puck carrier. Pass to the open winger on the opposite side.
Situation 5: Slow winger vs fast winger on breakout
Your team is breaking out and you have one slower winger and one faster winger.
Recommended actions:
Slower winger: Get low along the boards (below the face-off dots) to receive a rim pass. Use body positioning to protect the puck and chip it past the pinching defenseman if needed.
Faster winger: Take the pass higher (at or above the hash marks) and use speed to beat the pinch. Stretch the ice and create a long-pass option.
Onside defenseman: Read which winger has better positioning and make the outlet pass accordingly. Both are covered? Reverse the puck or bank it behind the net.
Offside defenseman: Provide middle support and be ready to receive a cross-ice pass if the onside route is blocked.
Center: Provide a short vertical outlet or trail the play as a safety option.
Key decision point: The onside defenseman must recognize which winger has the better chance to receive cleanly and make the pass within 1 to 2 seconds.
Situation 6: Odd-man rush recovery (3-on-2 or 2-on-1)
The opposing team breaks out and creates a 3-on-2 rush against your defensemen.
Recommended actions:
Onside defenseman (nearest to puck carrier): Take the puck carrier and force them wide. Maintain a 3 to 5 foot gap and take away the middle of the ice.
Offside defenseman: Cover the slot and take away the cross-ice pass or the trailing forward. Don’t commit to the puck carrier unless they’re alone.
Backchecking forwards: The nearest forward should pressure from behind and take away the backward pass or the late trailer. The other forwards should collapse to the slot and cover passing lanes.
Key decision point: The offside defenseman must read whether the puck carrier is going to shoot or pass. Commit too early to the pass? The shooter has an open lane. Commit too late to the shooter? The pass is wide open.
These six examples cover the most common onside/offside decisions you’ll face in a game. Read the play, know your role, and execute within 1 to 2 seconds.
Key Defensive Principles to Reinforce
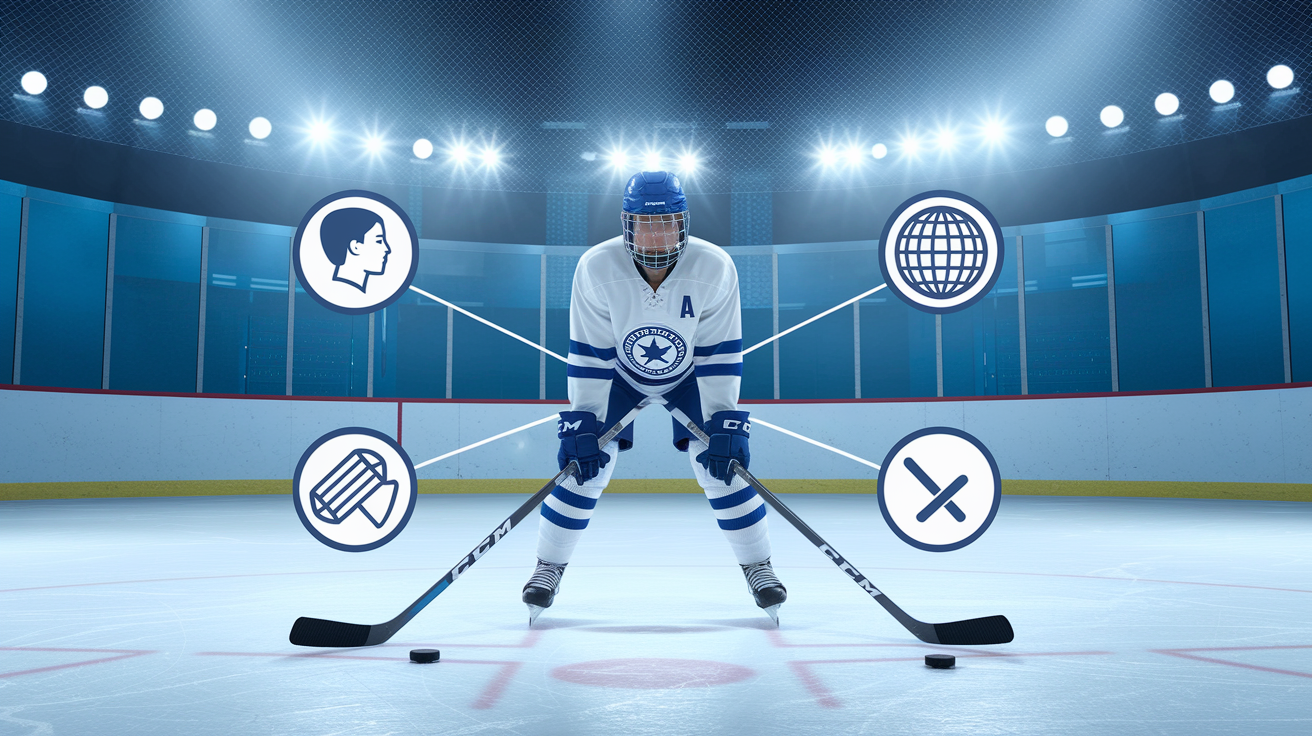
Good defensive play is built on four simple principles. Every coach teaches them. The best players execute them every shift.
1. Head on a swivel
Always know where your check is and where your teammates are. In the defensive zone, this means tracking the puck, the opposing forwards, and your defensive partner at the same time.
Check over your shoulder every 2 to 3 seconds when you’re not engaged on the puck. Lose track of your assignment for even a moment? They’ll find open ice and you’ll be late.
When transitioning from offense to defense, your first look should be for the nearest opposing forward. Pick them up and stay between them and your net.
2. Good defensive position: stay between your check and the net
Your body should always be positioned so that your check has to go through you to get to the net or to receive a pass in a high-danger area.
This is called “net-side positioning.” Your check is on the half-wall and you’re standing beside them on the boards? You’re out of position. You should be between them and the slot, forcing them to the outside.
The same applies to covering the point. Don’t stand next to the opposing defenseman. Stand between them and the net, stick in the passing lane.
Net-side positioning reduces high-danger chances by 30 to 40 percent in most tracking systems. It’s the simplest and most effective defensive habit you can build.
3. Control the play: protect the puck and read before receiving
When you’re in possession, protect the puck with your body and your stick. Don’t reach or expose it to pressure. Keep your body between the checker and the puck.
Before you receive a pass, take a quick look to see what’s around you. Receive blind? You’ll get hit or you’ll make a bad decision.
“Control the play” also means slowing down when you need to. The breakout isn’t there? Don’t force a pass. Reset behind the net, buy time, and wait for support.
Turnovers happen when players rush decisions. Take the extra half-second to read the play and make the right choice.
4. Stick on puck, body on body
When defending, your stick should always be in the passing lane or on the opponent’s stick. Your body should be square to the attacker, ready to take away their time and space.
“Stick on puck” prevents walk-arounds, screens, and easy tip-ins. Your stick is on their stick? They can’t make a clean play.
“Body on body” means using your body position, not just your reach, to control the attacker. Stay low, stay balanced, and use your feet to stay between them and the net.
Reaching and lunging? You’re out of position. Good defenders use their body and their stick together to take away options.
Application in onside/offside play:
These four principles apply to every situation in this article. You’re the onside winger? Keep your head on a swivel to read the forecheck. You’re the offside defenseman? Stay net-side of your check. You receive a breakout pass? Protect the puck and read before making your next play. You’re defending a cycle? Keep your stick on the puck carrier’s stick and your body between them and the net.
Execute these principles consistently and you’ll be in the right place more often than not.
Final Words
During a wall battle, the split-second choice to play onside or offside decides whether you keep possession or turn it over.
We covered wingers’ cues. Support the puck, read the middle, and time the pinch.
Defensemen’s roles include controlling the gap, protecting the net front, and picking when to hold the blue line or step up. We also gave drills and simple cues for first-pass exits and puck retrieval so those reads become automatic.
Mastering onside vs offside positional tactics for wingers and defensemen takes reps, but it leads to cleaner exits and more scoring chances. Keep at it.
FAQ
Q: What is the hardest position in hockey youth?
A: The hardest position in youth hockey is goalie, due to constant pressure, split-second decisions, specialized technique, and rebound control. Build confidence with focused drills, rebound work, and mental-skills practice.
Q: Is the number 69 banned in the NHL?
A: The number 69 is not officially banned in the NHL; teams usually avoid it for locker-room reasons and public perception, so you’ll seldom see it in pro lineups.
Q: Where to put the weakest player in hockey?
A: The weakest player in hockey should be placed where they can succeed: sheltered minutes on the wing, simpler tasks along the wall, and paired with a veteran teammate to teach positioning and decisions.
Q: Where should a winger be in the defensive zone?
A: A winger in the defensive zone should support the defenseman between the puck and the slot, take away the middle, cover the point when needed, and keep their stick on the puck to block passes.