
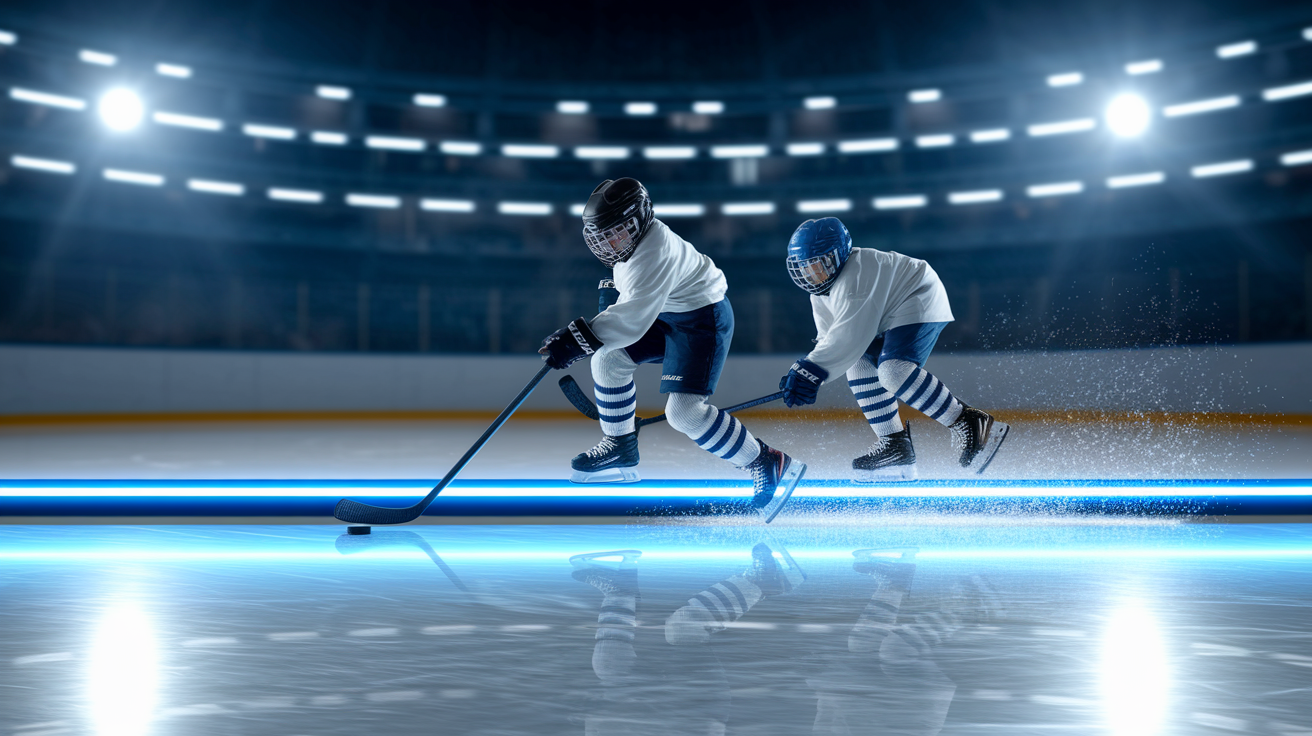
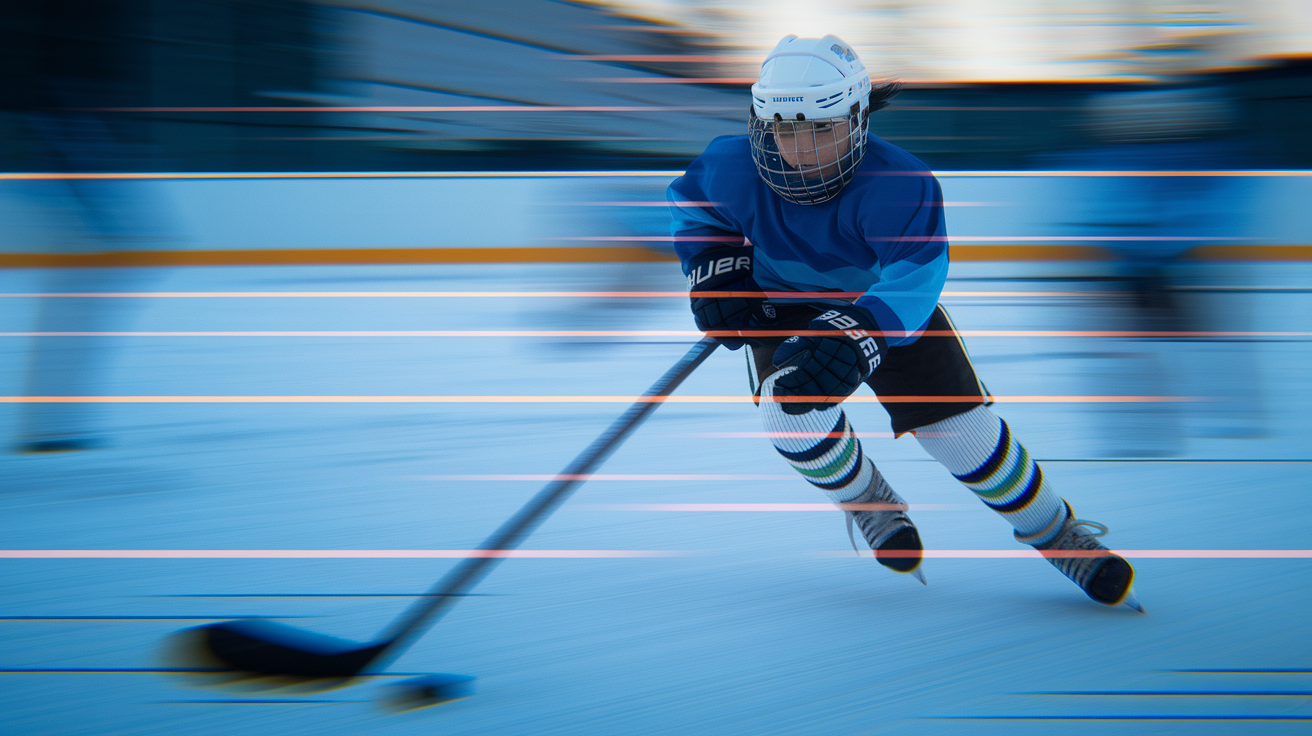
Ever had a great rush killed by an offsides whistle?
It happens to almost every youth team. One early step can end a scoring chance.
Offsides is simple: the puck must cross the blue line before both skates.
But timing, positioning, and communication make it tricky for young players.
This post gives clear, drill-ready positioning tips youth players and coaches can use right away to stop the whistle and keep more scoring chances alive.
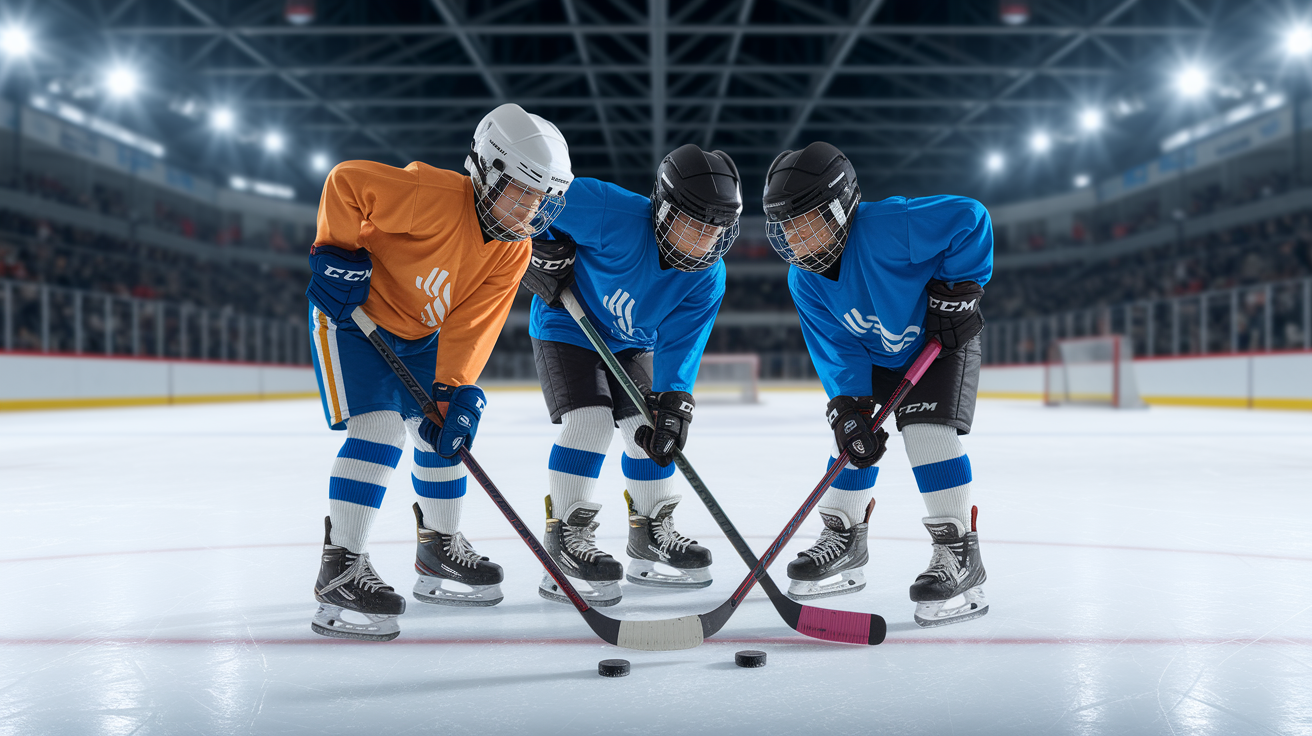
Understanding Offsides in Youth Hockey
Offsides stops attacking players from entering the offensive zone before the puck gets there. It happens when any attacking player has both skates completely over the leading edge of the blue line before the puck crosses that same line. If even one skate stays on or behind the blue line, you’re onside. Stick position doesn’t matter. Only skates count.
The blue line is your checkpoint. Every offensive zone has one separating it from the neutral zone. When your team carries the puck toward the opponent’s net, the puck has to cross first. If a teammate’s skates are already over when the puck crosses, the whistle blows and you lose possession. Faceoff moves back to the neutral zone, usually at the nearest dot between the blue lines.
The rule keeps the game fair and stops cherry-picking. Without offsides, a forward could camp in front of the net and wait for long passes. That would eliminate most of the skating, passing, and teamwork that makes hockey worth watching. Offsides forces you to build attacks together, move as a unit, and time your entries. It shapes how rushes develop and how defenses set up. For youth players, getting offsides timing right is one of the clearest steps toward playing faster, smarter hockey.
Here are the five most important offsides facts every youth player needs to know:
- Both skates must cross the blue line to be offside. One skate on or behind the line keeps you legal.
- The puck always leads the attack. Puck first, then players.
- Delayed offsides lets play continue. If you’re offside but don’t touch the puck, the linesman raises an arm and play keeps going until you tag up or touch the puck.
- Tag up by touching the blue line. During delayed offsides, skate back and touch the blue line with one skate before re-entering.
- Offside stops play immediately if you touch the puck. Once the whistle blows, the faceoff moves to the neutral zone.
Visual Breakdown of Offsides Situations
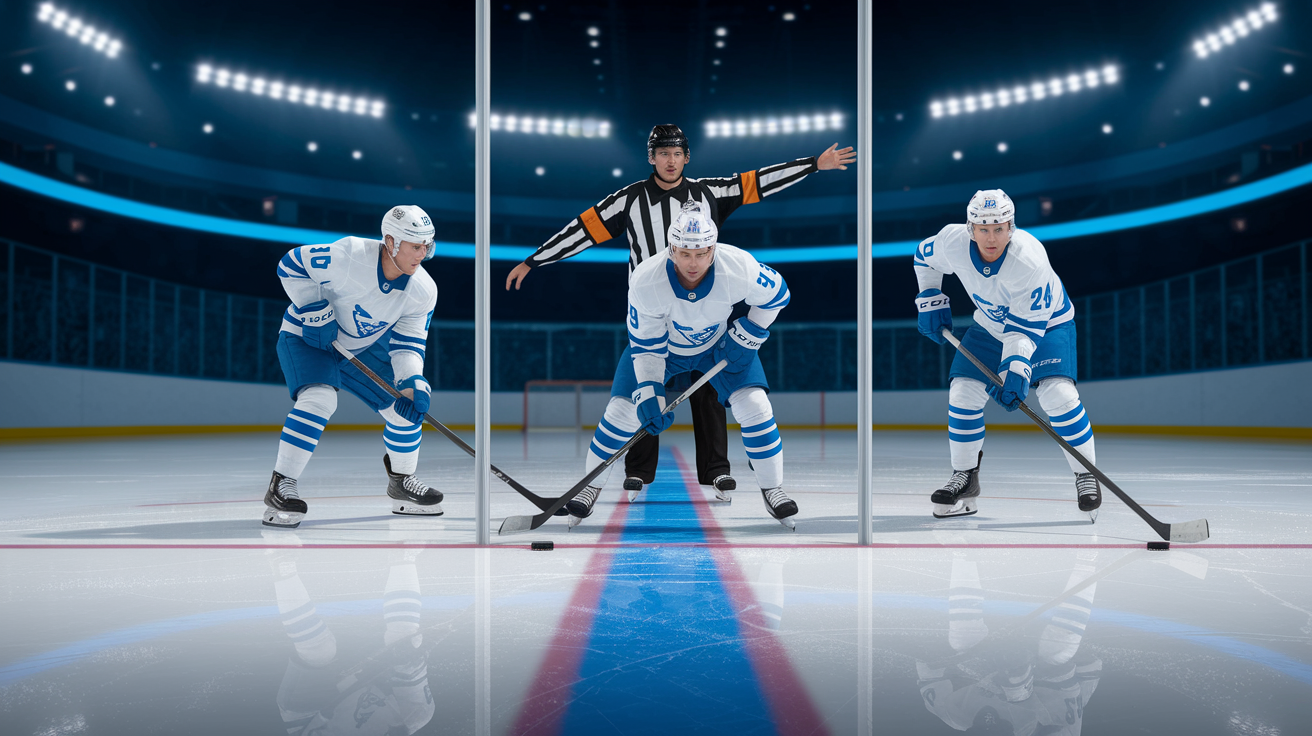
Picture a legal zone entry. The puck carrier skates through the neutral zone with speed. As the puck approaches the blue line, both wingers are skating hard but staying even with or slightly behind the puck. The moment the puck crosses the blue line into the offensive zone, both wingers have one skate on the blue line and one in the neutral zone. As soon as the puck’s across, they drive their back skate forward and enter the zone cleanly. No whistle. Attack continues.
Now picture a typical offside. The left winger gets excited and skates ahead of the play. Both skates cross the blue line a split second before the puck carrier crosses with the puck. The linesman’s arm goes up if it’s close, or the whistle blows right away. Play stops. The puck comes back out to the neutral zone for a faceoff, and the scoring chance is gone. One early step cost the team possession and momentum.
When you study diagrams or watch video, focus on these four things:
The blue line. The exact boundary. Even a toe over counts if both skates are across.
Puck position. Where the puck is compared to the blue line at the moment skates cross.
Lead attacker. Usually the winger or center farthest ahead. This player’s most at risk of going offside.
Trailing players. Teammates who stay disciplined and time their entry to stay onside.
Common Offsides Mistakes Youth Players Make
The most frequent timing mistake is skating too fast without watching the puck. Young players often lock their eyes on the net or the defenseman and charge across the blue line. If the puck carrier slows down to make a move or delays the pass, the eager forward is already offside. Skating hard is good. Skating without checking puck location isn’t.
Awareness drops during fast rushes. When the puck moves quickly up ice, it’s easy to lose track of where your skates are relative to the blue line. Players naturally lean forward and push for speed. That forward body position can pull the lead skate over the line a fraction of a second early. The whistle blows and you’re surprised. The fix is simple: glance at the puck, feel where the blue line is under your skates, and hold one skate back until the puck crosses.
Skating ahead of the play kills possession. If you cross the blue line before the puck and the puck carrier loses it in the neutral zone, your team now has to regroup with one fewer forward in position. Even if the puck carrier manages to chip it in after you go offside, the whistle stops everything and you lose the puck. Patience at the blue line is one of the fastest ways to improve your team’s zone entries.
Here are five recurring mistakes young players make:
Chasing the puck instead of reading the puck carrier. Sprinting toward the net without tracking where the puck actually is.
Leading with the toe or inside edge. Small technical error that puts both skates over the line early.
Ignoring delayed offsides signals. Not recognizing the linesman’s raised arm and touching the puck anyway.
Poor lateral movement at the blue line. Skating straight instead of angling or holding position while the puck catches up.
Assuming the pass is coming. Committing both skates over the line before the puck carrier releases the pass.
Drills to Teach Proper Zone Entry Timing
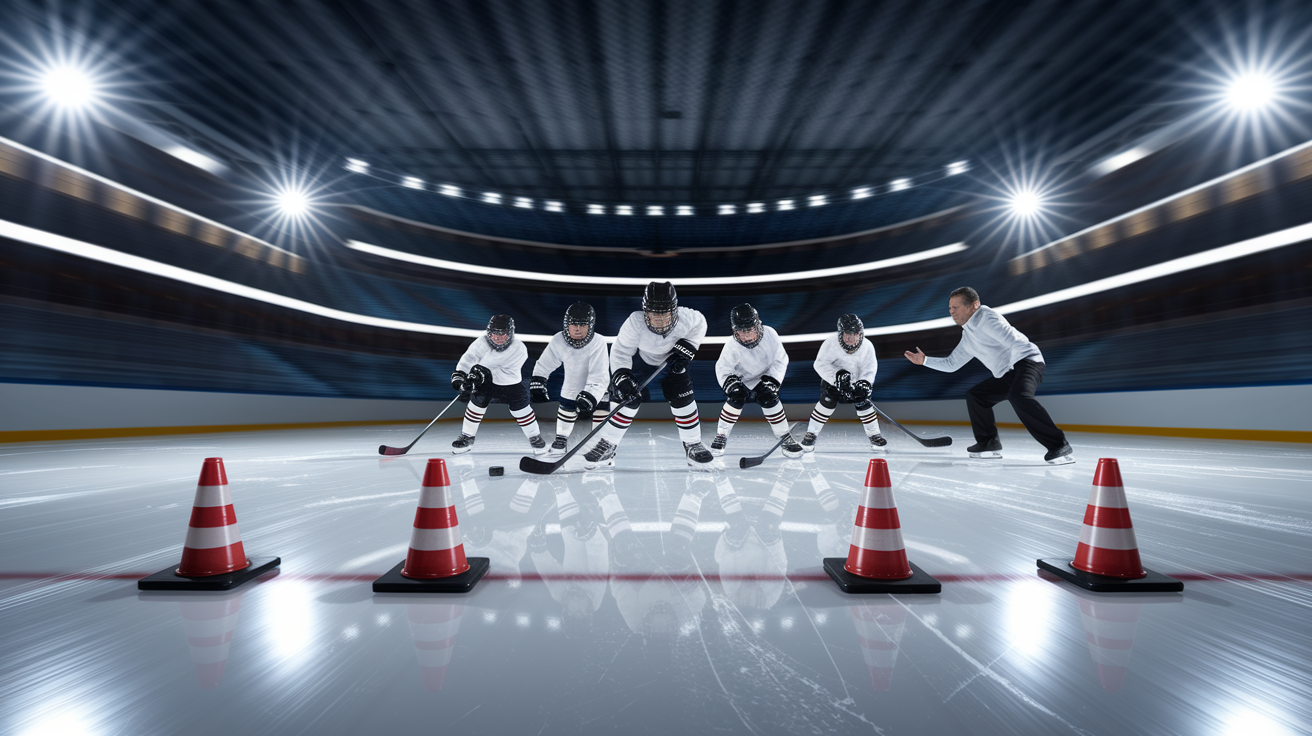
The simplest drill to start with is the blue-line timing skate. Set up four cones at each blue line. Players line up in the neutral zone. A coach or player acts as the puck carrier and skates toward the offensive blue line at varying speeds. Forwards time their skating so they reach the blue line with one skate on the line exactly when the puck crosses. Run 10 reps per player. Focus entirely on skate placement. No pucks for the forwards in the first few reps. Just eyes on the puck carrier and feet under control.
The puck-carrier delay drill teaches patience. Pair up players: one carries the puck, one follows as a winger. The puck carrier approaches the blue line and deliberately slows down, fakes a shot, or stops completely. The winger must adjust speed, hold position with one skate straddling the line, and only commit both skates when the puck actually crosses. Rotate roles every five reps. This drill builds trust and forces wingers to read the puck carrier’s body language instead of guessing.
The 3-player rush spacing drill brings it together. Three forwards start from the defensive zone. A coach dumps the puck into the neutral zone or passes it to the center. The forwards execute a breakout, regroup if needed, and carry the puck through the neutral zone. The wingers must stay onside while keeping a 15-foot spread across the ice. Run the drill at half speed the first 8 reps, then game speed for 8 more. Mark offsides out loud so players hear the mistake right away and self-correct on the next rep. Total drill time: 12 to 15 minutes.
Improving Timing and Awareness on the Ice
Timing your entry to the offensive zone relies on constant scanning. Look at the puck, then the blue line, then your skating lane. Repeat that loop every two strides. Good players see the whole picture without slowing down. If you only watch the puck, you lose track of the line. If you only watch the line, you lose track of the puck carrier’s speed. Scanning gives you both.
Adjust your skating speed to match the play. If the puck carrier’s flying, you can skate harder and trust the timing will work. If the puck carrier slows to deke a defender, you tap the brakes or angle your skates to hold at the blue line. The best wingers change their speed three or four times during a single rush. It looks smooth because they’re reading and reacting, not charging blindly.
Here are four strategies for better timing:
Use the “one-skate rule” as a mental cue. Keep telling yourself “one skate on the line until the puck is through.”
Watch the puck carrier’s stick blade. The release of a pass or the push of a carry gives you the exact moment to commit.
Communicate with a quick call. A short “Go!” or “Hold!” from the puck carrier syncs the whole line.
Practice lateral skating at the blue line. Being able to shuffle sideways while staying onside keeps you available without committing early.
Communication Strategies to Prevent Offsides
Clear communication turns three individuals into one entry unit. When the puck carrier knows where teammates are and teammates know what the puck carrier will do, offsides almost disappear. Simple, consistent calls work best. A winger can yell “Back!” when trailing too far behind. A center can shout “On!” when the pass is coming. Two-word systems beat long sentences every time.
Non-verbal cues matter just as much. A quick stick tap on the ice from the puck carrier signals “I’m about to pass.” Eye contact between the center and winger before the blue line confirms everyone’s ready. A raised glove from a trailing forward tells the puck carrier to slow down and wait. Practice these signals in warm-ups and drills until they become automatic. When everyone speaks the same language, the game speeds up and mistakes drop.
Here are four communication techniques:
Assign one verbal leader per line. Usually the center or the player carrying the puck calls the entry.
Use a two-call system. “Entry” means we’re going in now. “Regroup” means pull back and reset.
Tap sticks on the ice for timing. Quick taps from wingers tell the puck carrier “We’re with you, go.”
Make eye contact before the blue line. A quick glance confirms everyone sees the same picture and is ready to enter together.
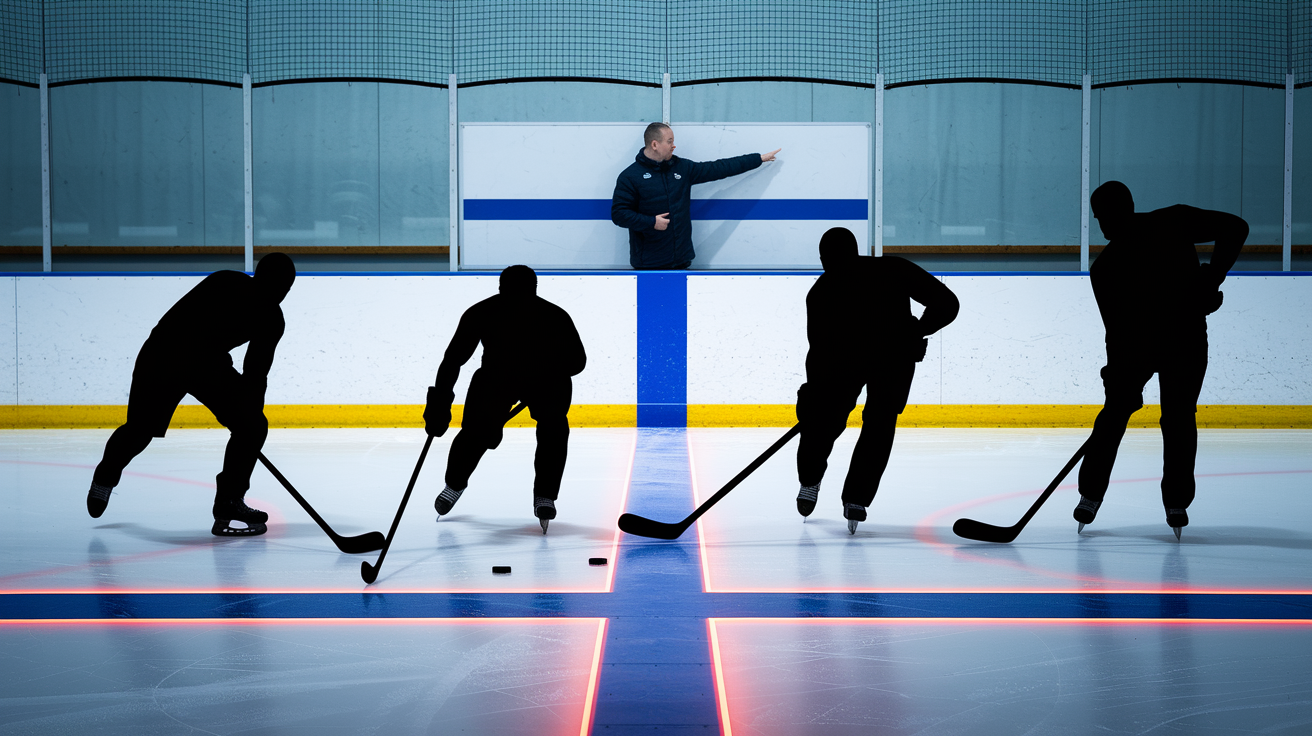
Coaching Techniques for Teaching Offsides Concepts
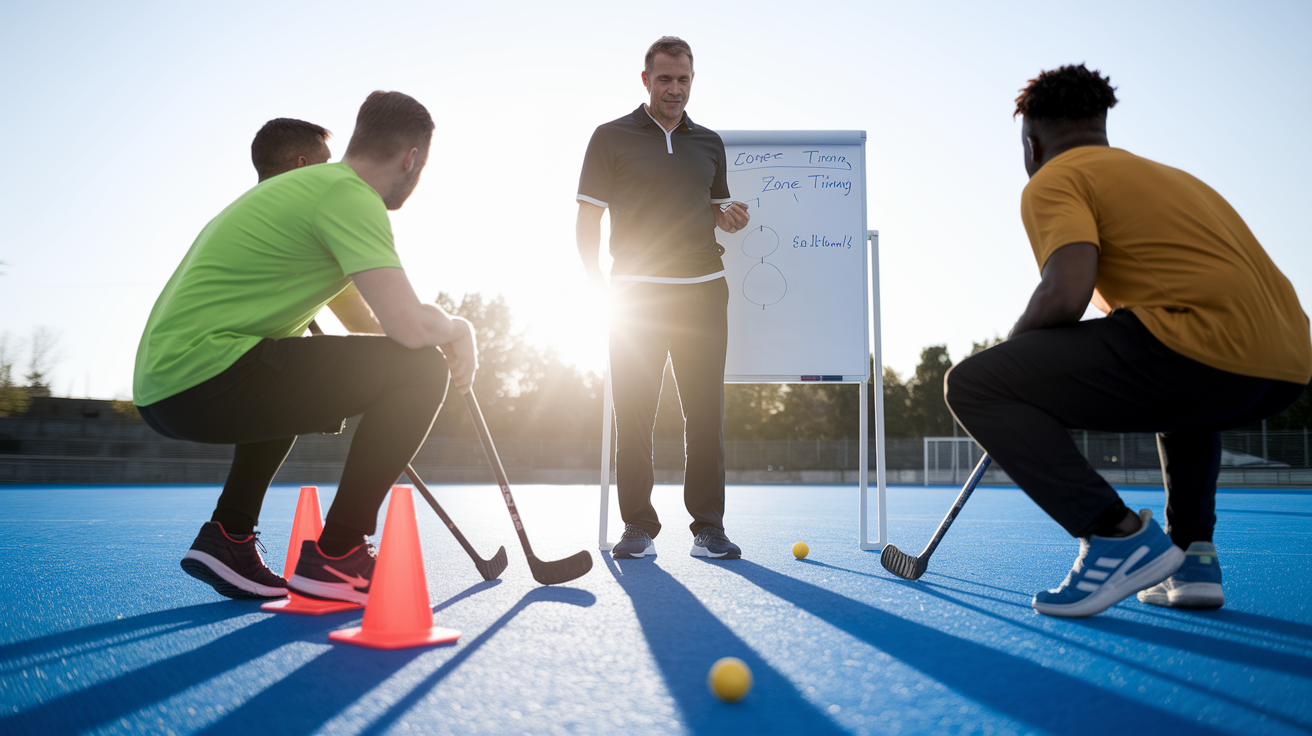
Repetition is the foundation. Players need to see, hear, and feel the blue-line boundary dozens of times before the timing becomes instinctive. Run short 10-minute drills at every practice that isolate zone entry. Use the same setup each time so players recognize the pattern and self-correct faster. Repetition with immediate feedback beats long explanations.
Guided walk-throughs work well with younger age groups. Line up the team at the blue line. Walk through a zone entry at quarter speed, pausing to show where skates should be when the puck crosses. Have players physically place one skate on the line and hold it there. Repeat five times, then skate it at half speed, then full speed. The physical rehearsal cements the spacing. Add a quick verbal cue each time: “Puck first, skates second.”
Corrective feedback must be immediate and specific. When a player goes offside in a drill, stop play, bring them back to the blue line, and replay the sequence. Point to the exact moment the skates crossed early. Ask what they saw and what they’ll do differently next rep. Then run it again right away. Mistakes corrected in real time stick. Mistakes explained five minutes later get forgotten.
| Technique | Purpose |
|---|---|
| On-ice demonstrations | Show correct skate positioning and timing in real skating context so players see the standard |
| Chalk-talk sessions | Use a whiteboard to diagram blue-line positioning, puck movement, and delayed offsides before stepping on the ice |
| Controlled scrimmages | Run small-area games or half-ice 3v3 where offsides are called strictly, forcing players to practice timing under pressure |
Final Words
On the ice, timing decides whether a play lives or dies.
We covered what offsides is, how the blue line works, common mistakes, visual examples, timing drills, communication cues, and coaching methods to fix it.
Practice the blue-line timing skate, puck-carrier delay, and 3-player rush drills until entries feel natural.
Use simple calls and stick taps to sync the line.
Focus on puck-first entries and the timing drills to learn how to avoid offsides in hockey for youth players.
Fewer whistles, more chances.
FAQ
Q: How to not get offsides in hockey?
A: To not get offsides in hockey, make sure the puck crosses the blue line before any attacking player; adjust speed, delay entry when needed, watch the puck-carrier, and call out timing to teammates.
Q: What is the 80 20 rule in hockey?
A: The 80 20 rule in hockey refers to the Pareto idea: about 80% of results come from 20% of actions or players; coaches use it to prioritize high-impact skills and key player minutes.
Q: Where do you put your weakest player in hockey?
A: You put your weakest player in hockey on the third or fourth line, usually on the wing rather than center; give sheltered minutes, simple tasks, and pair them with a stronger teammate.
Q: What is the Gretzky rule in hockey?
A: The Gretzky rule in hockey is an informal term that varies by league; it usually names a local roster, matchup, or procedural exception—check your league rulebook or ask officials for specifics.