
Coaches decide in the first 30 seconds whether you belong on their roster.
If your reel isn’t clear, short, and full of repeatable plays, it gets skipped.
This guide shows exactly how to create a hockey recruiting highlight reel that gets noticed, not buried.
You’ll learn what to film, which clips to lead with, simple editing and export settings, and where to send the finished video.
Follow these steps and your reel will show the plays coaches actually care about, fast and easy to read.
Essential Steps to Building a Complete Hockey Recruiting Highlight Reel
A hockey recruiting highlight reel is a short, structured video that gives coaches a clear snapshot of your on-ice ability and hockey IQ. Coaches don’t have time to watch full games of every prospect, so the reel becomes your first impression. It answers whether you can play at their level, what your best skill is, and whether you can help them win. This article walks through filming best practices, selecting the right clips, editing structure, technical export settings, and distribution strategies that get your reel in front of decision-makers.
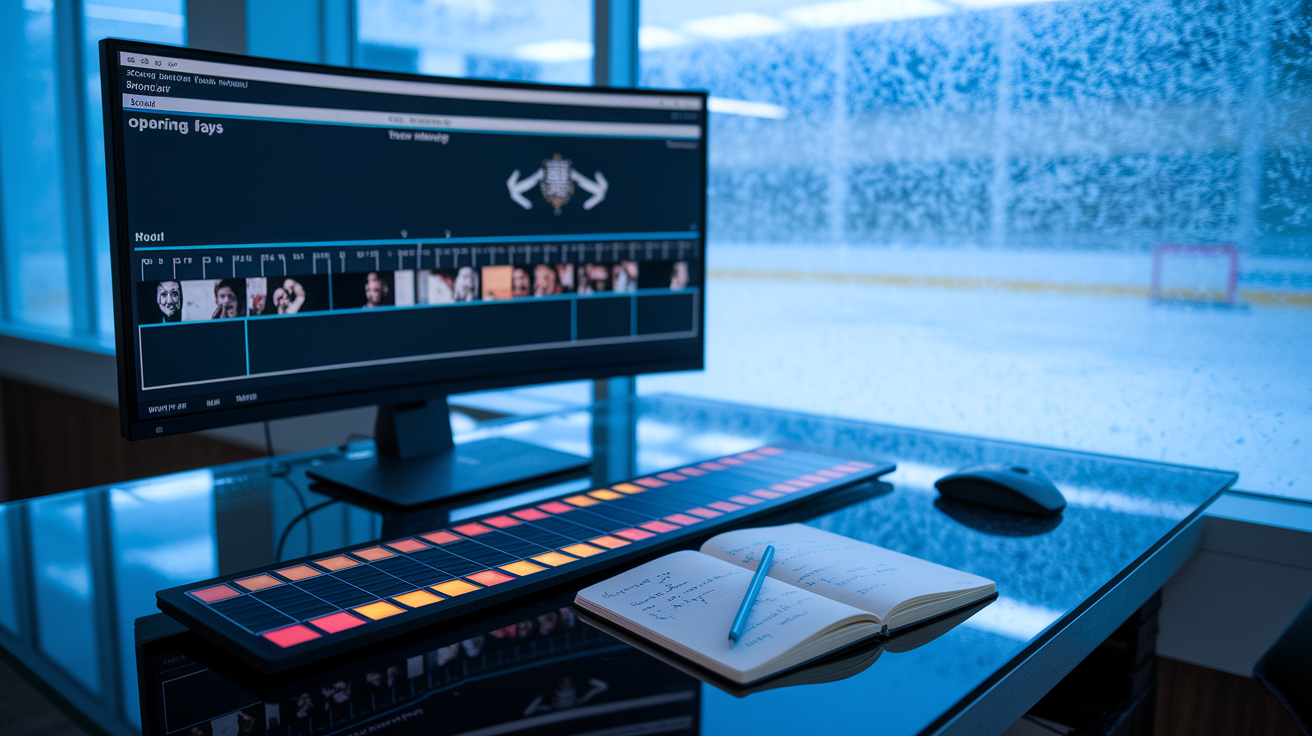
The ideal structure flows like this: a 5 to 10 second opening slate introducing you, your strongest 4 or 5 plays in the first 30 seconds, a clean timeline of top game moments, and a 5 to 10 second closing slate with contact info and a link to full game film. The flow should be fast, easy to follow, and built around what the coach wants to see next. You lead with impact. Keep the pace quick. Eliminate any plays that make the coach work to identify you or question whether the clip belongs.
Critical format specifications every reel must include:
- Opening slate contact info: Full name, grad year, position, jersey number, height/weight, email, and phone number.
- 3 to 5 minute total length: Short enough to hold attention, long enough to show consistency across multiple games.
- 15 to 30 total clips: Enough to demonstrate range without filler.
- 3 to 8 second clip durations: Long enough to show context, short enough to maintain pace.
- Strongest clips positioned early: First 30 seconds contain your best work. Coaches decide whether to keep watching in that window.
- Consistent labeling format: Each clip tagged with opponent, date, or play type so coaches can track performance context.
- Link to full game footage: Provided in the closing card or video description so coaches can request unedited film when they want more.
Quality beats quantity every time. Coaches trust what they can see clearly and verify through full game context. The reel isn’t a career highlight mixtape. It’s an evaluation tool that makes the coach’s job easier. If a clip requires explanation or slows the pace, cut it.
Selecting Hockey Game Footage for a High-Impact Recruiting Reel
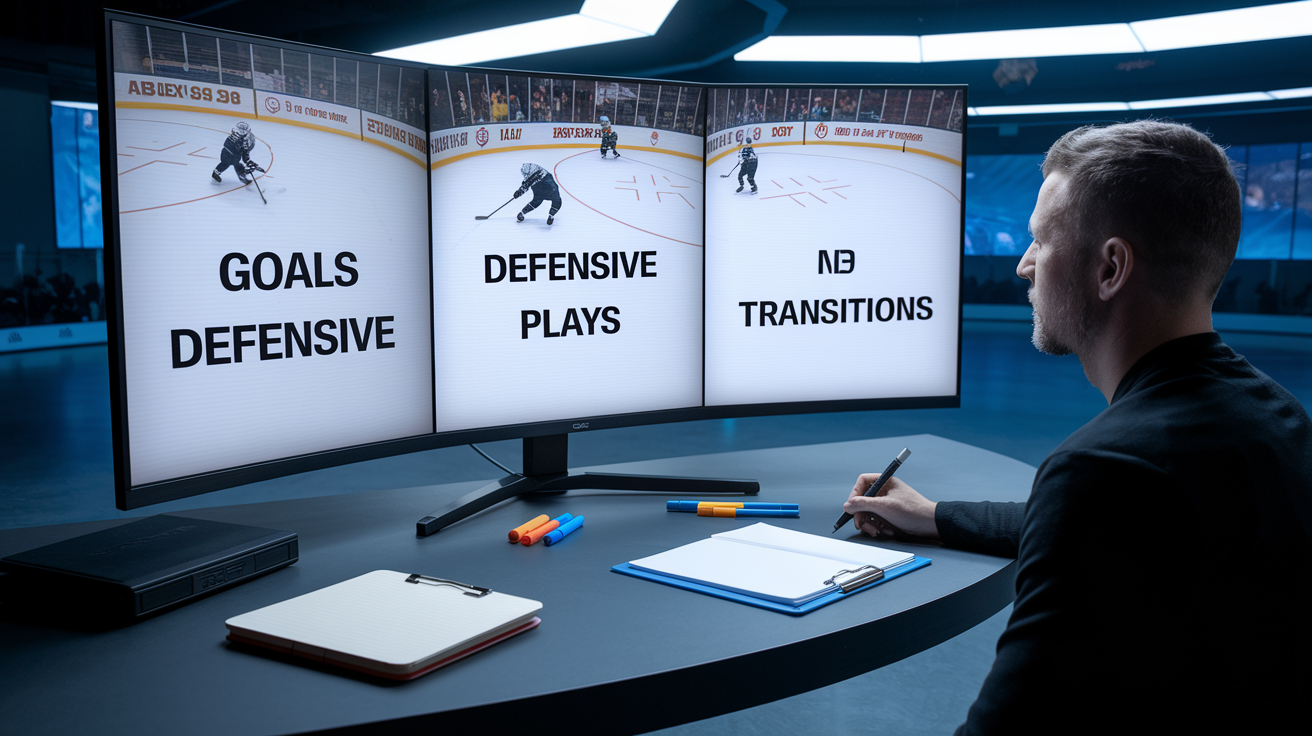
Coaches evaluate plays by asking whether the skill is repeatable and whether it translates to their system. A breakaway goal off a weak defensive read looks good once, but it doesn’t prove you can create advantages against structured teams. What matters is consistent decision making under pressure. Reads that generate scoring chances, defensive positioning that limits opponent entries, transitions that move the puck with purpose. Coaches want to see you solve hockey problems in real time, not capitalize on opponent mistakes.
For forwards, prioritize goals that show shot placement or net-front positioning, assists that demonstrate vision and timing, and neutral zone plays that create or extend transition advantages. For defensemen, highlight gap control, board battle wins, breakout passes under pressure, and defensive zone reads that kill plays before they develop. Goalies should show save execution, rebound control, positioning adjustments, and puck handling that supports breakouts. Every position has a set of repeatable actions that matter. Clip selection should align with what the role requires at the next level.
| Skill Type | What Coaches Look For | Ideal Clip Context |
|---|---|---|
| Goals | Shot placement, net-front positioning, quick release | Game-tying or go-ahead goals; shots off passes in traffic; tips and deflections in tight |
| Assists | Vision, timing, ability to extend plays | Seam passes, backdoor feeds, zone-entry setups that lead directly to scoring chances |
| Defensive Plays | Gap control, active stick, takeaways, shot blocks | Neutral-zone denials, d-zone clears under pressure, PK blocks, stick lifts that create turnovers |
| Transitions | First-pass accuracy, speed through neutral ice, decision-making on breakouts | Breakout passes that beat forechecks, clean zone exits, controlled entries with speed |
| Board Battles | Body positioning, puck protection, ability to win 50/50 pucks | Wall wins that generate possession, forecheck pressure that forces turnovers |
| Special Teams | Power-play execution, penalty-kill reads, faceoff wins | PP zone entries, PK clears, faceoff wins in defensive or offensive zones during high-leverage moments |
Filming and Recording Techniques That Improve Hockey Recruiting Reel Quality

Camera placement determines whether coaches can evaluate your play or spend the clip searching for your jersey. The best angle is elevated center ice or a broadcast style view that keeps the full width of the ice in frame. This angle shows spacing, reads, and how you move relative to the play. Behind net angles work for shot detail and net-front positioning. Sideline or bench level angles can capture puck handling and speed, but only if the camera stays stable and you remain identifiable throughout the shift.
Stability matters more than zoom. A shaky handheld shot forces the coach to work harder to track the play, and constant zooming hides context. Record at 720p or 1080p resolution with a frame rate of 30 to 60 fps. Modern smartphones handle this easily. If you’re using a phone, set it horizontally, lock exposure, and use a tripod or phone mount. Action cameras like GoPros work for close angle work, but the wide angle lens can distort positioning unless mounted carefully. Broadcast feeds are ideal when available. Many rinks now stream or record games centrally.
Five filming practices that make footage usable:
- Keep the full ice visible so coaches can see spacing and off puck movement.
- Maintain camera elevation. Eye level or higher reduces obstruction and improves sight lines.
- Avoid shooting through glass when possible; if unavoidable, shoot perpendicular to minimize glare and distortion.
- Capture the scoreboard or include game context in the frame so coaches can verify competition level and game situation.
- Keep framing consistent across shifts so jersey numbers and player movement remain easy to identify without constant re-orientation.
Editing Your Hockey Recruiting Highlight Reel Professionally

Structure the timeline so the coach sees impact immediately. Open with a 5 to 10 second title card showing your name, position, grad year, team, jersey number, height, weight, and full contact info. Then drop your four or five strongest plays in the first 30 seconds. After that, organize the remaining clips by skill type or chronologically by game. Either structure works as long as the flow is clean and the pace stays quick. Close with a 5 to 10 second card restating contact info and providing a link or note about full game availability.
Export settings matter because recruiting platforms and email clients have file size limits and coaches watch on phones. Use MP4 container format with H.264 codec, 16:9 aspect ratio, and 720p or 1080p resolution. Frame rate should match your source footage. 30 fps works for most game film, 60 fps if your footage was shot that way. Target a bitrate of 5 to 12 Mbps depending on resolution: 5 to 8 Mbps at 720p, 8 to 12 Mbps at 1080p. Keep the final file under 500 MB if you plan to email it directly. Most editing software lets you adjust bitrate in the export window. Lower bitrate shrinks file size but reduces quality, so find the balance that keeps plays clear without bloating the file.
Common editing mistakes include flashy transitions that slow the reel down, heavy zooms that cut off context, and audio that distracts. Many coaches watch reels muted, so loud music or crowd noise adds nothing. Keep transitions to simple cuts. Use freeze frames with arrows or circles sparingly, only when identification is unclear. Avoid effects that look like a highlight mixtape. The goal is professional, not flashy.
Recommended Editing Software
DaVinci Resolve is free, powerful, and handles MP4/H.264 export cleanly. The learning curve is steeper than consumer tools, but the color correction and timeline control are strong. Adobe Premiere Pro is the industry standard. Full feature set, reliable rendering, subscription-based. Final Cut Pro runs only on Mac but is fast, stable, and intuitive for sports editing. iMovie is the simplest option for Mac users who need basic cuts, text overlays, and quick exports. Mobile apps like InShot or CapCut work for quick social edits but lack the precision and export control needed for a full recruiting reel.
Adding Overlays, Stats, and Identification Cues for Recruiter Clarity
Coaches watch dozens of reels. If they can’t immediately identify which player you are, they move to the next video. Identification tools like freeze frames with arrows, jersey number callouts, or a subtle spot shadow that follows you through the clip make tracking easy. Use these tools consistently but sparingly. A quick two second freeze at the start of a clip with an arrow pointing to your position works. Over using effects or adding too many graphics clutters the screen and slows the pace.
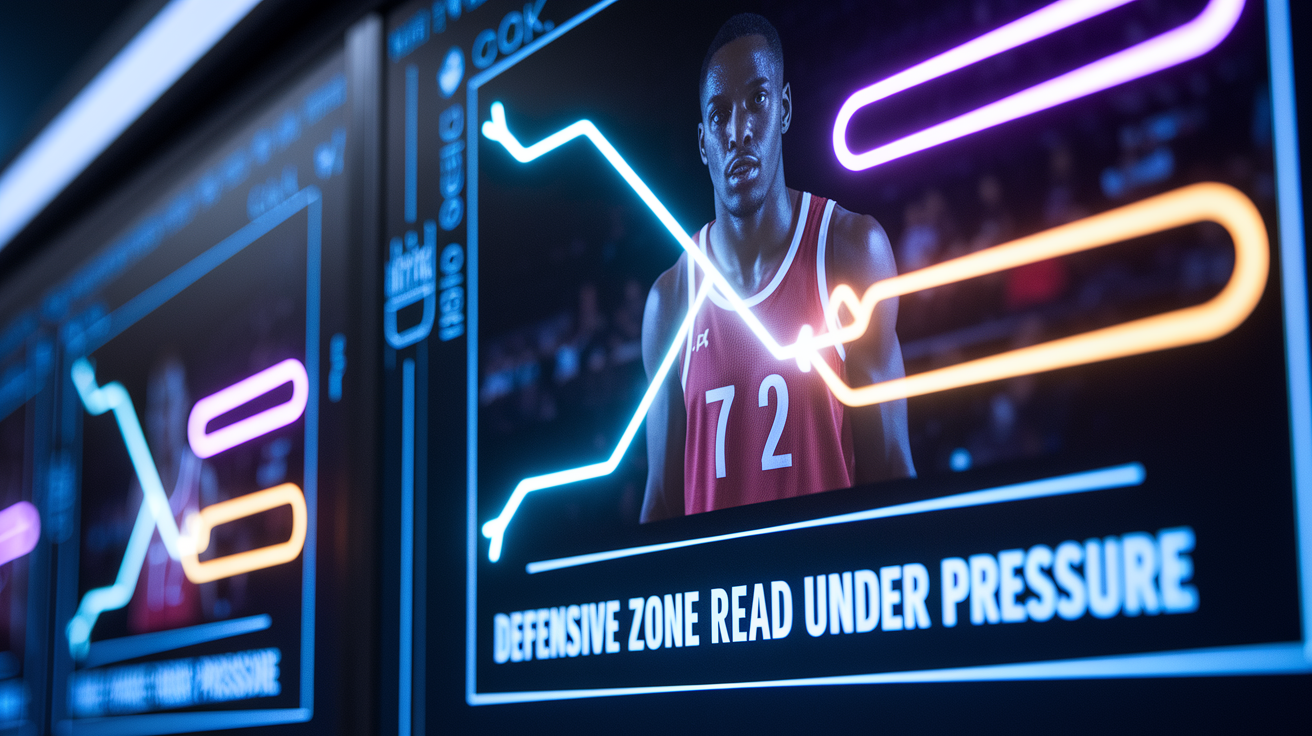
Title cards and overlays can also communicate hockey IQ. A clip labeled “Defensive zone read under pressure, 3rd period tie game” tells the coach the context without narration. Overlays showing opponent name, date, league level, or game situation help coaches assess competition quality. If you had a strong statistical game (two goals, three assists, plus three rating) include those numbers on the intro card or in a mid reel stat screen. Measurable performance data supports what the clips show and gives coaches another evaluation angle. Keep overlays simple, readable, and placed where they don’t block the action.
Technical Specifications for Exporting and Uploading Your Hockey Recruiting Reel
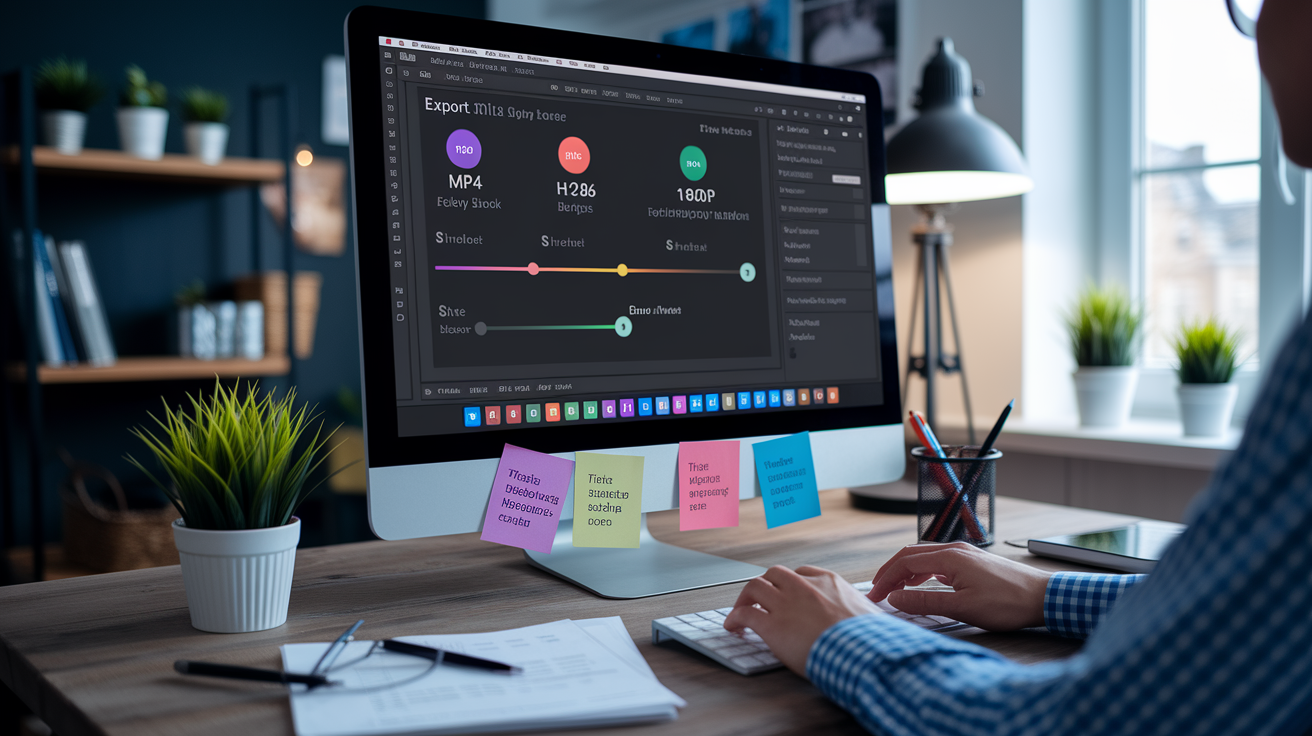
Export the reel as MP4 using the H.264 codec. Set resolution to 720p or 1080p depending on your source footage quality. Frame rate should be 30 or 60 fps to match what you filmed. Target bitrate of 8 to 12 Mbps at 1080p ensures the file looks sharp without ballooning in size. Keep total file size under 500 MB so it can be emailed directly if needed. Use a clear filename that includes your last name, first name, grad year, and position. For example, “SmithConnor2026ForwardHighlights.mp4.” This makes the file easy to identify when coaches download or save it locally.
Host the reel on YouTube or Vimeo with the link set to unlisted or public. Unlisted links work when you want control over who sees the video. Public links allow broader discovery but may attract unrelated traffic. Both platforms load quickly on mobile, support HD playback, and let you update the video description with contact info and links to full game footage. When uploading, fill in the title with your name, position, and grad year. Use the description field to add your email, phone number, team, league, and a note about full game availability. Add a custom thumbnail showing a clear action shot with your jersey number visible.
Four upload tips that improve accessibility and professionalism:
- Use a thumbnail image that shows you in action with your number visible. Avoid auto-generated stills that show a random frame.
- Write a title that includes your name, position, grad year, and the word “highlights” so it appears clearly in search or shared links.
- Fill the description with full contact details, stats, team name, and a line offering full game film on request.
- Test the link on mobile before sending it to coaches. Make sure it loads quickly and plays without buffering.
Distributing Your Hockey Recruiting Highlight Reel to Coaches
Start by uploading your reel to YouTube and any recruiting platforms you use. Hudl, NCSA, or team-specific sites. YouTube gives you a permanent, shareable link. Hudl works well if your team or club already uses it, and many coaches check Hudl profiles directly. NCSA and similar platforms let you build a recruiting profile with stats, reel, and contact info in one place. Make sure your reel is easy to find on every platform you use, and keep the link updated if you refresh the video with new footage.
When emailing coaches, keep the message short and direct. Subject line should include your name, position, and grad year. “Connor Smith – 2026 Forward – Recruiting Reel.” In the body, introduce yourself in one or two sentences: your current team, league, position, and why you’re reaching out. Then provide the direct link to your reel and mention that full game footage is available on request. Attach your contact info and a line or two of stats if relevant. Coaches want fast access to video, not long backstories.
Follow up one to two weeks after your initial email if you don’t hear back. Keep the follow up message even shorter. Remind them who you are, restate the link, and ask if they need additional film or information. Many coaches are sorting through hundreds of emails during recruiting windows, so a polite second touch can move your file back to the top. Track engagement if possible. YouTube analytics show view counts and watch duration, which helps you understand whether coaches are clicking through and how long they watch.
Outreach Message Template
Subject: [Last Name, First Name] – [Grad Year] [Position] – Recruiting Reel
Coach [Last Name],
My name is [First Name Last Name], and I’m a [Grad Year] [Position] playing for [Team Name] in [League]. I’m [height] and [weight], and this season I have [brief stat line: goals, assists, or key performance]. I’m interested in [University/Program Name] and wanted to share my highlight reel for your review.
Reel link: [YouTube/Vimeo URL]
Full game footage is available upon request. You can reach me at [email] or [phone number].
Thank you for your time.
[First Name Last Name]
[Grad Year] | [Position] | [Jersey Number]
[Email] | [Phone]
Final Words
Right when a coach clicks play, those first 20–30 seconds decide a lot. This guide walked you through the reel structure (opening slate, front-loaded best clips, timeline flow, closing slate), selecting game footage, filming tips, editing/export specs, overlays, and where to send it.
Keep it tight and clear — quality over quantity. Use the export settings and outreach template we gave so coaches can watch fast and find your contact.
Follow these steps and you’ll know how to create a hockey recruiting highlight reel that gets looked at — and remembered.
FAQ
Q: How to make a highlight video for recruiting / How to make a highlight reel in hockey / How do I make my own highlight reel?
A: Making a recruiting highlight reel means lead with your top 4–5 clips, trim plays to 3–8 seconds, build a 3–5 minute MP4 (720–1080p), add title/closing cards with contact, and share a coach-friendly link.
Q: How long should a highlight reel be for recruiting?
A: A recruiting highlight reel should be 3–5 minutes long, contain 15–30 clips at 3–8 seconds each, and showcase your strongest plays in the first 20–30 seconds to hook coaches.