
Want to score more from in tight?
Stop waving sticks and start creating traffic that actually blocks the goalie’s sightline.
Net-front screening can shave 0.1 to 0.3 seconds off a goalie’s reaction, enough to turn a routine save into a goal.
This post lays out simple, drill-ready rules: stand 3 to 5 feet from the crease, angle your torso 30 to 60 degrees, keep your blade 6 to 12 inches above the ice, and time moving screens 0.5 to 1.0 seconds before release.
No fluff, just what to do, why it works, and how to practice it.
Comprehensive Net-Front Positioning and Screening Mechanics

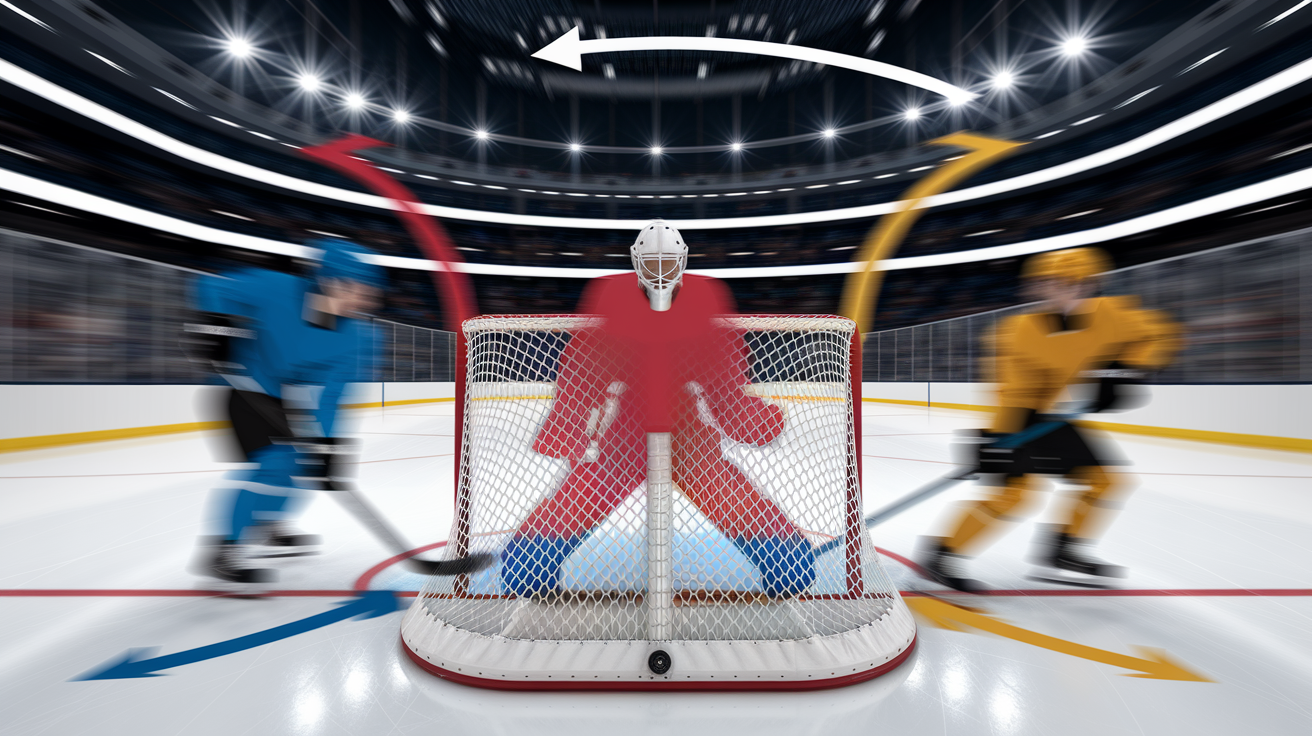
Net-front traffic cuts goalie visibility. Forces defenders into split-second decisions. A clean sightline gives the goalie a read on release and trajectory. Drop two players between the shooter and the cage and you’re shaving 0.1 to 0.3 seconds off reaction windows. That’s what separates a routine save from a screened goal that clips the water bottle.
You should be working within 3 to 5 feet of the goal mouth. That’s where your torso actually blocks something and where you’ve got first shot at rebounds. Position your body at a 30 to 60 degree angle toward the puck carrier, shoulders squared enough to mess with sightlines but hips angled so you can absorb contact and recover without getting pushed out. The crease, low slot, and post positions form three distinct zones of net-front real estate. There’s a secondary layer 6 to 10 feet out, usually occupied by a support player ready to rotate in or pick up loose pucks at the hash marks.
Five universal screening fundamentals apply no matter what league or system you’re playing in:
• Block 40 to 70 percent of the goalie’s frontal view by aligning your torso between shooter and goalie.
• Keep your stick blade 6 to 12 inches above the ice in the shooting lane so you’re ready for deflections without screening your own shooter.
• Use a torso angle of 30 to 60 degrees toward the shooter to present your body without losing balance or inside position.
• Position within 3 to 5 feet of the crease for highest obstruction value and rebound access.
• Stay aware of the secondary layer at 6 to 10 feet for rotation and support when the primary screen rotates out.
Timing matters. A stationary screen creates a fixed sightline blockage, forcing the goalie to lean or adjust before the shot. A moving screen crosses the goalie’s line of sight within 0.5 to 1.0 seconds before shot release, disrupting tracking at the worst possible moment. Both are legal as long as you’re not holding, interfering, or making unnecessary contact after the whistle. Keep hands below shoulder level. Use forearms, hips, and inside foot to create leverage without drawing a penalty. Arrive too early and the defender boxes you out. Too late and the goalie sees the shot cleanly.
The foundation you build in positioning and timing determines how effective your tips, battles, and chaos creation become in live situations. Master the 3 to 5 foot range, commit to the 40 to 70 percent sightline rule, and understand the 0.5 to 1.0 second movement window before layering in anything more complex.
Stationary Screens
Plant your inside skate two to three feet from the post. Bend at the knees. Square your chest toward the shooter. Your depth inside the crease depends on shot origin. Perimeter shots from the point require you to stand closer to the crease line, blocking the goalie’s angle through the shooting lane. Shots from the half-wall or circle let you step out slightly to the low slot for wider obstruction. Torso angle sits between 30 and 60 degrees, creating a visual barrier without turning your back fully to the play.
Hold your stick blade 6 to 12 inches above the ice, angled toward the shooter’s release point. This gives you deflection readiness and keeps the blade visible in the goalie’s sightline without blocking your own teammate’s shot. Weight distribution should rest on the balls of your feet, ready to lean into contact or pivot toward a rebound. Stationary screens work best when the puck’s already cycling or when a shot’s coming within one to two seconds. You want to obstruct 40 to 70 percent of the goalie’s view, forcing adjustments that delay tracking and hurt save percentage.
Moving Screens
Lateral movement disrupts goalie tracking by crossing the sightline during the shot’s release. Start from a neutral post position or low slot, then slide across the crease 0.5 to 1.0 seconds before the shooter fires. The goalie loses the puck momentarily as you pass through the visual lane, cutting reaction time and creating scoring chances on clean shots.
Timing the cross requires reading the shooter’s body language and puck position. Watch the shooter’s top hand and hip rotation. When the stick blade reaches shooting position, commit to your lateral move. Keep your stick blade elevated 6 to 12 inches and angled toward the expected trajectory. Your body should travel smoothly without a sudden stop or interference contact. Use short, controlled steps rather than a full sprint to stay balanced and avoid a penalty.
Moving screens pair well with point shots and one-timers from the half-wall. If you’re screening a bumper or slot shooter, the movement window tightens to 0.4 to 0.8 seconds because release happens faster. Practice reading different shot setups at game speed so the timing becomes instinct, not a guess.
Stick Placement and Deflection Readiness
Your stick blade lives 6 to 12 inches above the ice when you’re screening. Lower than 6 inches and you’re taking away the shooter’s angle to the bottom of the net. Higher than 12 inches and you risk missing deflection opportunities or tipping the puck over the glass. Blade angle should mirror the shooter’s release path, creating a small surface for contact without a big wind-up.
Keep the toe or mid-blade ready for redirection. Those contact points offer the most control when changing puck trajectory by 20 to 40 degrees. A toe tap redirects low shots toward the corners. A mid-blade contact works for shots at knee-to-waist height, altering the angle just enough to beat the goalie’s positioning. The top hand controls blade face within 3 to 6 inches of the expected contact point, allowing small adjustments without repositioning your entire body.
Don’t grip the stick too tight. Tension in the hands reduces reaction speed and your ability to absorb or redirect velocity. Align your blade so it’s visible to the shooter but positioned to intercept, not block. Practice holding this ready position for 8 to 12 seconds at a time during drills to build endurance and reduce the urge to drop the stick or move it out of the lane too early.
Tip-In and Deflection Techniques for Net-Front Scoring

Blade contact should happen at the toe or mid-blade to get the most control and angle change. A toe contact gives you the cleanest redirection on low shots, altering trajectory by 20 to 40 degrees with minimal effort. Mid-blade contact works for waist-high or shoulder-high shots, where a slight tilt of the wrist changes the puck’s path enough to beat the goalie’s positioning. The top hand controls blade face within 3 to 6 inches of contact, using small joint movements rather than full arm rotation.
Reaction windows for tips sit between 0.6 and 1.2 seconds from puck release. Train your eyes to track the shooter’s top hand and stick blade, not just the puck. When the blade reaches the release point, commit your stick to the expected trajectory. Practice reaction drills at 0.4, 0.8, and 1.2 second intervals to build speed and recognition. Low shots below the shoulder-pad line increase tip success because goalies commit their upper body to tracking, leaving the five-hole and low corners more exposed. You want 60 percent of perimeter shots to come in low and through traffic during practice to replicate game conditions.
Effective tipping requires four coordinated steps:
- Stance preparation. Feet shoulder-width apart, knees bent, weight on the balls of your feet, stick blade elevated 6 to 12 inches and angled toward the shooter.
- Blade angle adjustment. Tilt the toe or mid-blade to create a 20 to 40 degree redirect angle based on shot height and where you want it to go (low corner, five-hole, short side).
- Timing execution. Commit the blade to the shooting lane within the 0.6 to 1.2 second reaction window, using wrist rotation rather than full arm movement to make contact.
- Rebound readiness. After contact, keep your stick on the ice and body squared to the net for immediate follow-up on rebounds or second chances within 0.2 to 0.6 seconds.
Training low-shot targeting into your team’s shooting habits creates more deflection opportunities without changing net-front positioning. If 60 percent of your practice shots come in below the shoulders, players develop muscle memory for reading and redirecting those trajectories in games. Pair this with timed reaction drills to compress the learning curve from weeks into days.
Battling Defenders and Maintaining Net-Front Space

Inside positioning should be established within 1 to 2 seconds of the puck entering the offensive zone. Use your inside foot and hip to create a barrier between the defender and the crease, forcing them to go around or through legal contact to move you. Keep hands below shoulder level at all times. Forearms, hips, and inside skate do the work, not cross-checks or holds that draw penalties.
Four legal-contact cues keep you effective without spending time in the box:
• Plant your inside skate between the defender and the goal line, creating a vertical wall they have to navigate around.
• Use forearm pressure against the defender’s chest or shoulder, never the neck or numbers from behind.
• Angle your hips toward the puck to absorb contact and stay balanced when the defender tries to push you out of the crease.
• Keep your stick blade on the ice or in the shooting lane, not hooked around the defender’s body or lifting their stick illegally.
Rebound windows occur within 0.2 to 0.6 seconds after the initial shot. Defenders expect contact during the screen, but they relax slightly once the puck hits the goalie or post. That’s your opening. Attack the rebound lane immediately, using your inside-position advantage to get stick-on-puck before the defender can clear or tie you up. If you’ve held legal positioning throughout the screen, you’ve already won the leverage battle and the rebound becomes a footrace you’re starting ahead.
Chaos Creation: Generating Traffic Through Movement Patterns
Layered net-front presence requires three coordinated roles. One player operates inside the crease as the primary screen and tip option. A second player occupies the low slot 6 to 10 feet out, ready to rotate into the crease or collect rebounds that squirt to the hash marks. A third player sits at the half-wall or high slot, cycling the puck and preparing to rotate down when the primary screen moves out. This forces defenders to track multiple threats at once, creating decision-making delays and coverage breakdowns.
Rotate players through the crease every 10 to 15 seconds during sustained offensive-zone pressure. The primary screen absorbs contact and physical fatigue faster than perimeter players, so fresh legs keep the net-front advantage alive. Rotation also exploits defensive fatigue. When a defender’s been battling the same net-front player for 12 seconds, the switch to a fresh opponent creates a mental reset that opens gaps for tips, screens, or quick shots. Call rotations verbally or use a visual cue like a tap on the boards to signal the swap without confusion.
Tempo rules keep the chaos sustainable and effective. Move the puck at a 1 to 2 pass rhythm, drawing defenders and creating shooting windows within 1.0 to 1.5 seconds of receiving the pass. Target 60 percent of your perimeter shots low and through traffic, forcing the goalie to track through bodies and increasing deflection opportunities. If the puck cycles more than three times without a shot, defenders settle into static coverage and the chaos advantage disappears. Shoot early, shoot often, and let the traffic do the work.
Drills for Traffic, Screens, and Net-Front Scoring
Structured repetition builds the muscle memory and decision-making speed required for effective net-front play. Target 100 to 200 screened shots per practice session, 30 to 60 purposeful tip attempts, and 20 to 40 rebound retrievals to create game-ready instincts.
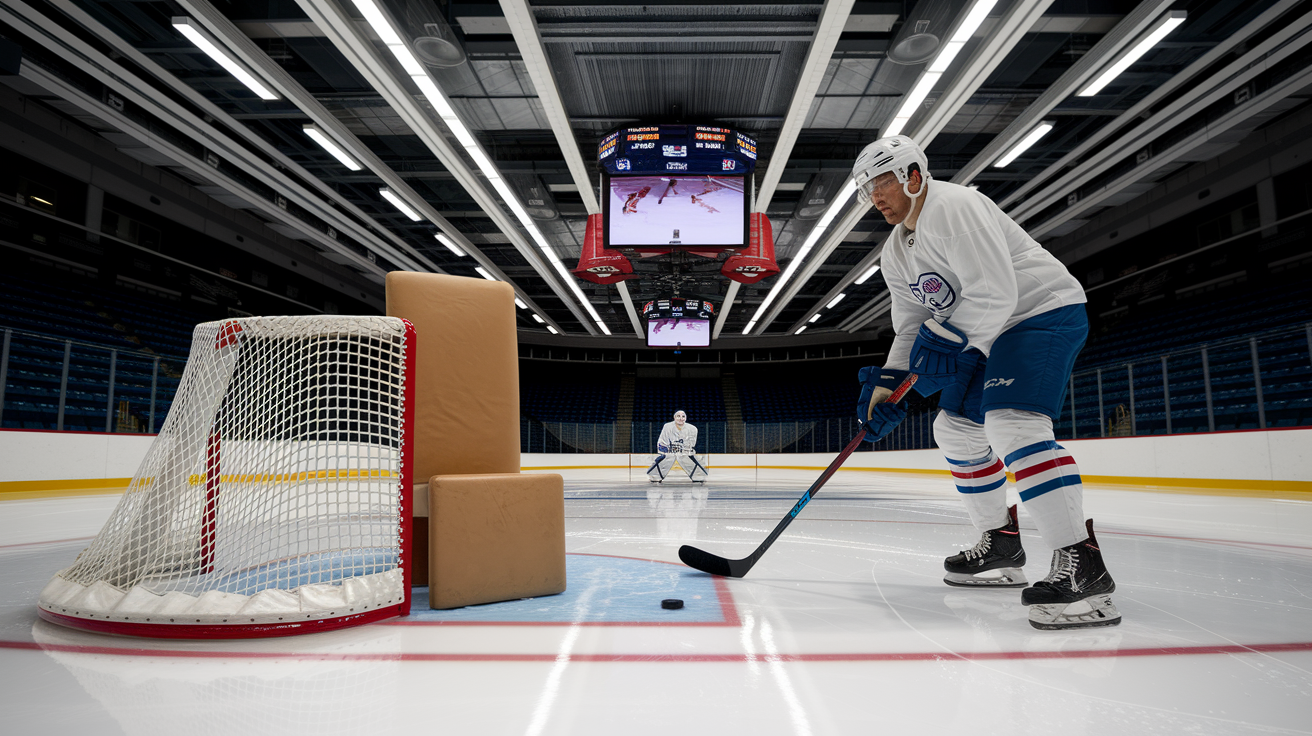
- Chair Screen Drill. 3 sets of 10 screened-shot reps. Place a chair or foam pad 4 feet from the crease. The net-front player stands behind the chair, practices torso angle and stick placement while a shooter fires from the point. Focus on blocking 40 to 70 percent of the goalie’s sightline and attempting a tip on each rep. Rotate shooters and net-front players every set.
For additional drill variations and structured progressions, check out the instructional guide at How to Become a Better Scorer in Front of the Net.
-
Rebound Rush. 4 rounds of 60 seconds each. One shooter fires continuously from the slot while two net-front players battle for rebounds and quick tip attempts. Focus on retrieving loose pucks within 0.2 to 0.6 seconds and getting a second shot on net. Track total rebound conversions per round and try to increase the count each session.
-
Tip-In Repetition. 5 sets of 12 reps from one-timers off the wall. Alternate net-front players every rep to keep intensity high and reduce fatigue. Focus on blade contact at the toe or mid-blade, 20 to 40 degree redirects, and hitting target zones (low corners, five-hole). Use visual targets inside the net mouth for accuracy feedback.
-
Wall-to-Net Deflection. 5 sets of 12 reps with a puck feeder positioned along the half-wall. The feeder fires quick shots while the net-front player practices timing, blade angle, and screening position. Focus on the 0.6 to 1.2 second reaction window and low-shot targeting. Rotate players every set to keep quality reps high.
-
Net-Front Battle. 6 reps per side, each lasting 10 to 12 seconds. Set up a 3-by-3 foot box in the crease. One offensive player and one defender battle for inside position while a coach or shooter fires a puck toward the net. Focus on hip control, legal forearm contact, and winning the inside lane within 1 to 2 seconds. Track battle-win percentage and adjust technique based on results.
Use these drills in rotation throughout the week, varying intensity and volume to match your practice schedule. Early-week sessions should focus on technique and controlled reps. Late-week sessions should push game speed and competitive scenarios to prepare players for live competition.
Video and Diagram Instruction for Net-Front Training

Visual instruction reinforces on-ice practice by letting players see positioning, timing, and technique from multiple perspectives. Produce three core demonstration clips to supplement your coaching. A 45 to 60 second stationary screen video shows proper crease depth, torso angle, and stick placement using a live shooter and net-front player. A 60 to 90 second moving screen clip demonstrates lateral movement timing, sightline crossing within 0.5 to 1.0 seconds of shot release, and legal contact boundaries. A 30 to 45 second slow-motion deflection video highlights blade contact points, redirect angles of 20 to 40 degrees, and top-hand wrist control during the tip.
Film using three camera angles for maximum instructional value:
• Behind-net angle. Captures goalie sightlines, screen effectiveness, and the visual obstruction created by the net-front player’s body.
• Side-on angle. Shows torso angle (30 to 60 degrees), stick-blade height (6 to 12 inches), and timing of lateral movement relative to shot release.
• Overhead diagram overlay. Maps crease zones, post positions, and low-slot responsibilities with animated arrows or color-coded player markers.
Diagrams clarify spatial concepts that are hard to teach verbally. A crease-occupation heatmap divides the 3 to 5 foot zone into inside-crease, low-slot, and post areas, showing where you should be positioned for different shot origins. A stick-face angle diagram illustrates the 20 to 40 degree redirection zones using dotted trajectory lines from shooter to net. A defensive-leverage map demonstrates inside-out footwork, hip positioning, and the 1 to 2 second window for establishing inside position. Use these diagrams during film review, pre-practice walk-throughs, and one-on-one coaching conversations to reinforce the fundamentals without burning ice time.
Four-Week Practice Plan for Building Net-Front Presence
A structured four-week progression builds foundational skills in week one, applies them under pressure in weeks two and three, then integrates and evaluates in week four. Schedule three practices per week, each lasting 60 to 75 minutes, with dedicated net-front segments built into team drills and special-teams work.
Week one is all fundamentals. Run 40 screened shots per session using the Chair Screen Drill and stationary positioning practice. Add 20 deflection reps focused on blade contact, redirect angles, and timing windows at 0.6 to 1.2 seconds. Include 10 battle reps per session using the Net-Front Battle drill, tracking inside-position wins and legal-contact execution. Players should leave week one understanding crease zones, torso angles, and stick-placement basics without feeling overwhelmed by game-speed chaos.
Week two applies those fundamentals under increased pressure. Bump volume to 80 screened shots, 30 deflection reps, and 20 battle reps per session. Introduce moving screens and the 0.5 to 1.0 second timing window for crossing the goalie’s sightline. Add defender resistance to screening drills and crank up shooting speed to replicate game conditions. Track tip-attempt accuracy and battle-win percentage to identify players who need extra coaching or positional adjustments.
Weeks three and four push game speed and integration. Week three runs 120 screened shots, 40 deflection reps, and 30 battle reps per session, plus two 10-minute simulated-game segments where net-front players rotate every 10 to 15 seconds and face live defensive pressure. Week four delivers evaluation and refinement with 150-plus screened shots, timed reaction drills at 0.4, 0.8, and 1.2 second intervals, and measurable tracking of goals scored from net-front positions during scrimmages. Use metrics from the final week to set individual and team benchmarks for the season.
Net-Front Metrics and Performance Tracking Framework

Tracking measurable data turns subjective coaching into objective improvement. Four core metrics capture net-front effectiveness without needing advanced analytics software. Screened-shot accuracy measures the percentage of screened attempts that result in a shot on net or a goal, with a target benchmark of 70 percent on-target. Tip attempts per session or game quantify engagement and willingness to battle, with a recommended range of 30 to 60 attempts depending on ice time and offensive-zone possession. Net-front battles won tracks inside-position success and legal-contact execution, targeting a 60 to 75 percent win rate. Goals from net-front per game provides the ultimate outcome measure, with baseline targets of 0.5 to 1.5 goals depending on competition level and team offensive output.
Set up a simple event-tracking system during practices and games. Assign an assistant coach or team manager to log screened shots, tip attempts, battle outcomes, and goals in real time using a tablet or clipboard. Review the data weekly to spot trends, celebrate improvement, and adjust drill focus for players who are underperforming in specific categories. Monthly reviews let you track long-term development and set new targets as skills improve.
| Metric | Target Benchmark | Recommended Frequency of Tracking |
|---|---|---|
| Screened-Shot Accuracy (on-target %) | 70% | Every practice and game |
| Tip Attempts per Session/Game | 30–60 | Every practice and game |
| Net-Front Battles Won (%) | 60–75% | Weekly during practice, every game |
| Goals from Net-Front per Game | 0.5–1.5 | Every game, reviewed monthly |
Use this framework to build accountability and create a feedback loop between practice effort and game results. Players who see their tip-attempt count climb from 20 to 50 over four weeks understand the connection between repetition and improvement. Coaches who track battle-win percentage can spot technique breakdowns and adjust drill focus before bad habits solidify. Metrics turn vague ideas like “be stronger in front of the net” into concrete, actionable targets that drive measurable progress.
Final Words
In traffic you got the full blueprint. Where to sit (3–5 feet), how to angle your torso (30°–60°), timing for moving screens (0.5–1.0 seconds), and stick height for tips (6–12 inches).
We paired those positioning rules with tip and deflection mechanics, defender battle timing, team rotation patterns, drills, video demos, a four‑week plan, and simple metrics to track progress.
Keep drilling the Chair Screen, Rebound Rush, and tip reps, track screened‑shot accuracy, and focus on quick rotations. This is creating traffic and screening tips for net-front presence, so practice it, time it, and coach it. You’ll start seeing more second‑chance goals.
FAQ
Q: What is a dirty goal in hockey?
A: A dirty goal in hockey is a score created by chaos—rebounds, deflections, bodies in front, or goalie collisions—often from net-front traffic and screens rather than a clean set play.
Q: How to screen a goalie in hockey?
A: To screen a goalie in hockey, get 3–5 feet from the crease, block about 40–70% of the goalie’s sightline, turn your torso 30–60 degrees toward the shooter, and keep your stick 6–12 inches above the ice.
Q: What is net front in hockey?
A: The net front in hockey is the area directly around the crease—crease, low slot, and posts—where players operate within roughly 3–5 feet to create screens, tips, rebounds, and high-danger chances.
Q: How to be a better forward in hockey?
A: To be a better forward in hockey, focus on a quick first pass, strong net-front presence, gap control, foot speed, stick-on-puck defense, and low hard shots aimed for tips and rebounds.