
Want to know when a pinch creates a scoring chance and when it hands the other team a 3-on-1?
A pinch is a defenseman stepping down the wall inside the offensive blue line to challenge a winger or keep the puck in.
The key idea is simple. If you can’t arrive on contact, don’t go.
This post lays out the real cues that make a pinch smart (body angle, puck distance, support), how to execute so you seal the boards, what teammates must cover, and how to recover when it fails.
Core Principles for Pinching Decisions in the Offensive Zone
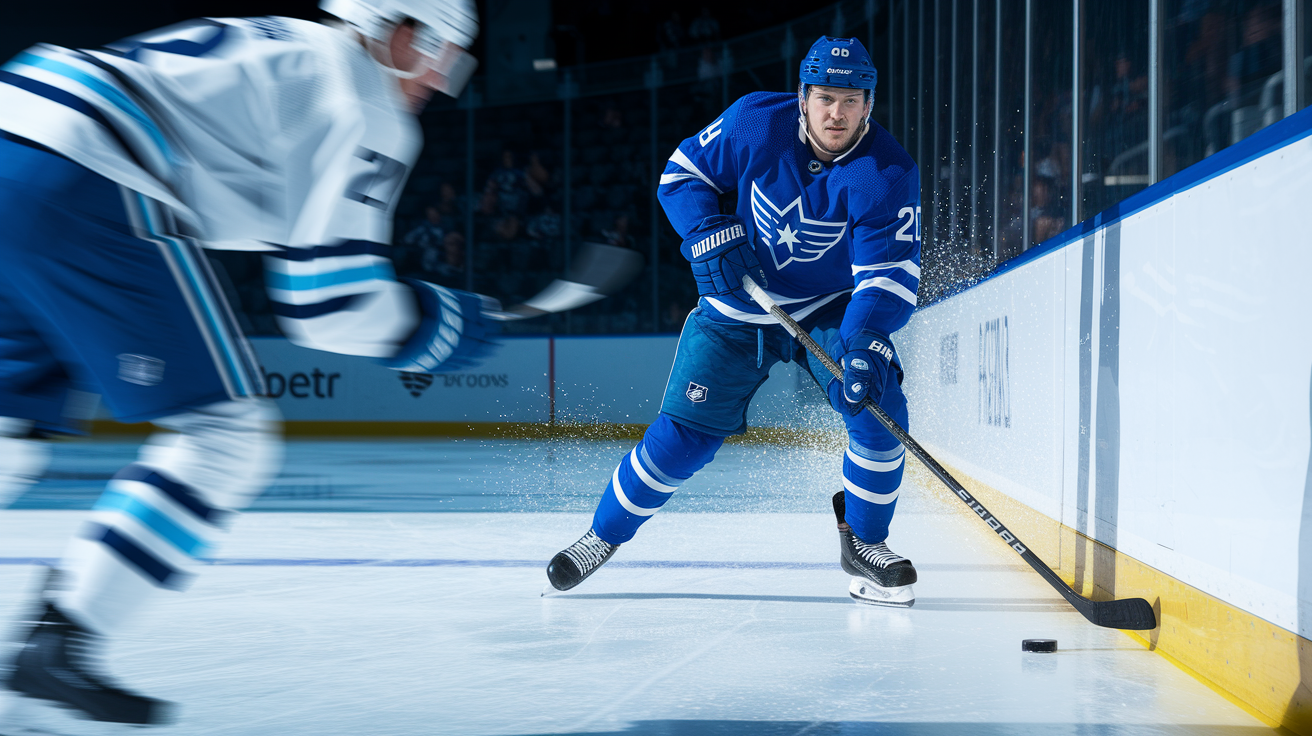
A pinch is when a defenseman steps down the wall inside the offensive blue line to challenge a winger, intercept a rim, or seal the boards to keep the puck in. It’s calculated pressure that turns routine breakout attempts into extended zone time and scoring chances. The difference between a smart pinch and a reckless gamble? Decision-making and reading the play before you commit.
The primary rule is simple: “If you can’t arrive on contact, don’t go.” You’ve got to reach the puck or the winger at the exact moment of contact. If you’re guessing or hoping, you’re too late. A pinch is an explosive decision, not a gradual drift toward the wall. Hesitation collapses your structure and gives the opposing winger time to make a clean breakout.
Five specific cues tell you when to pinch:
- The opposing winger is flat-footed or facing the glass. Attack when their skates and head aren’t pointed up-ice.
- You have forward support. The closest forward must rotate high and your defensive partner must slide across.
- The puck is within striking distance. Realistic 50/50 battles only, not pucks you have to chase.
- Momentum and possession favor your team. Pinch to sustain buzzing cycles, not when the opponent is breaking out clean.
- Opponent breakdown or chaos. Loose pucks, bobbles, chipped rims, or trapped tired lines create prime windows.
Avoid pinching when you’re tired, unsupported, or when the opposing winger has full control and their head up. If the score or clock demands caution (leading by one or two goals), hold the blue line instead. The best defensemen read these cues in real time and make the call before the puck arrives at the wall.
Optimal Situations for Executing a Defenseman Pinch
Reading the play starts with watching the opposing winger’s body orientation. If their shoulders are square to the boards and their stick is on the ice waiting for a rim, that’s a green light. If they’re already turning their hips up-ice or their head is scanning middle, you’re late.
Rim speed matters. Slow, soft rims give you time to close and seal the wall. Hard, flat rims that are already past you are rejection cues. You want to feel the momentum advantage before you commit: your team controlling possession cycles, the opponent scrambling, and your support in place.
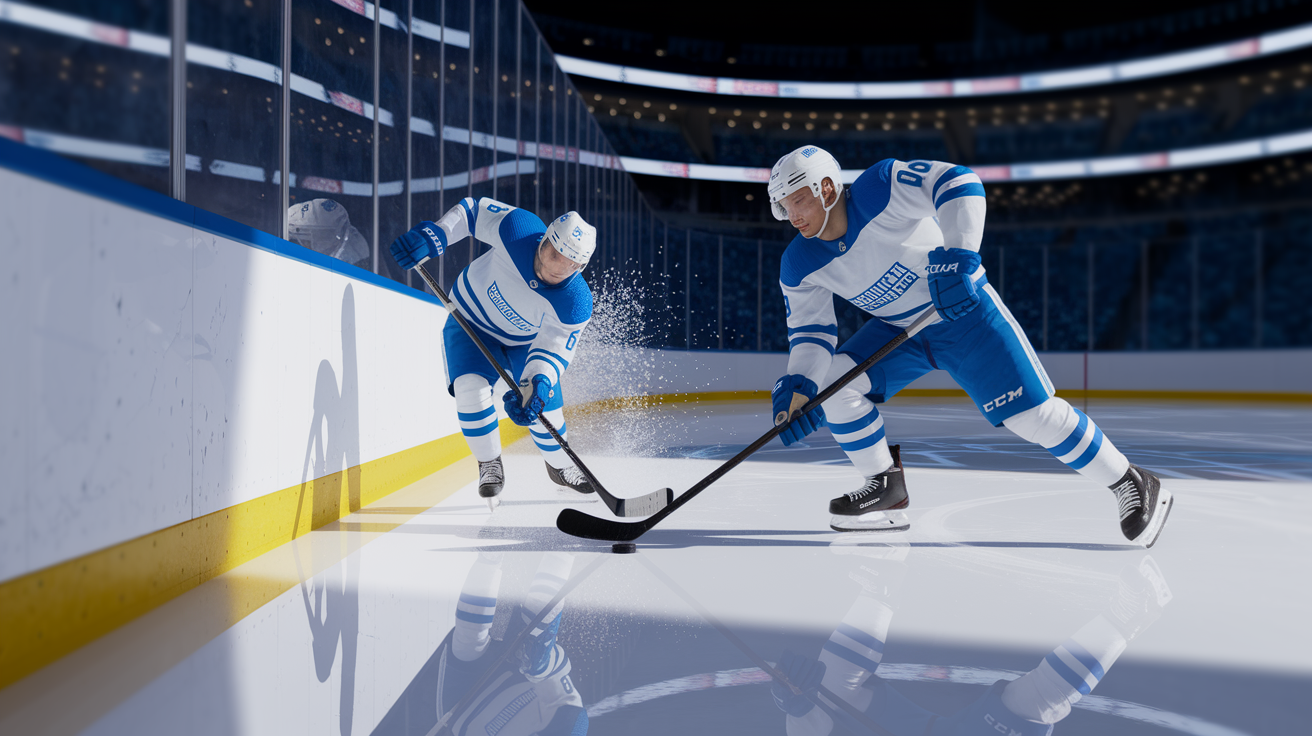
Technique is about angles and explosiveness. Stick goes into the passing lane first, sealing the breakout option to the middle. Your shoulder should check the middle lane before you step down so you confirm support. Then explode with short, powerful steps to close distance fast. Your objective is to arrive with body leverage, using the boards to box out the winger and either strip the puck or physically take them out of the play. If you can’t box the winger, you must at least seal the boards so the puck stays deep and your forwards can pressure.
Four execution fundamentals:
Stick in lane before feet commit. Eliminate the clean pass option first.
Angle the winger to the wall. Force them into contact rather than allowing an escape to middle ice.
Use body leverage and the boards. Pin the opponent’s stick or body to deny the breakout.
Decisive acceleration. Close fast enough to arrive on contact, not after the puck is already gone.
If the winger has even half a step, hold your position at the blue line. A late pinch turns a 3-on-2 into a 3-on-1 the other way.
Forward and Partner Coverage Responsibilities During a Pinch

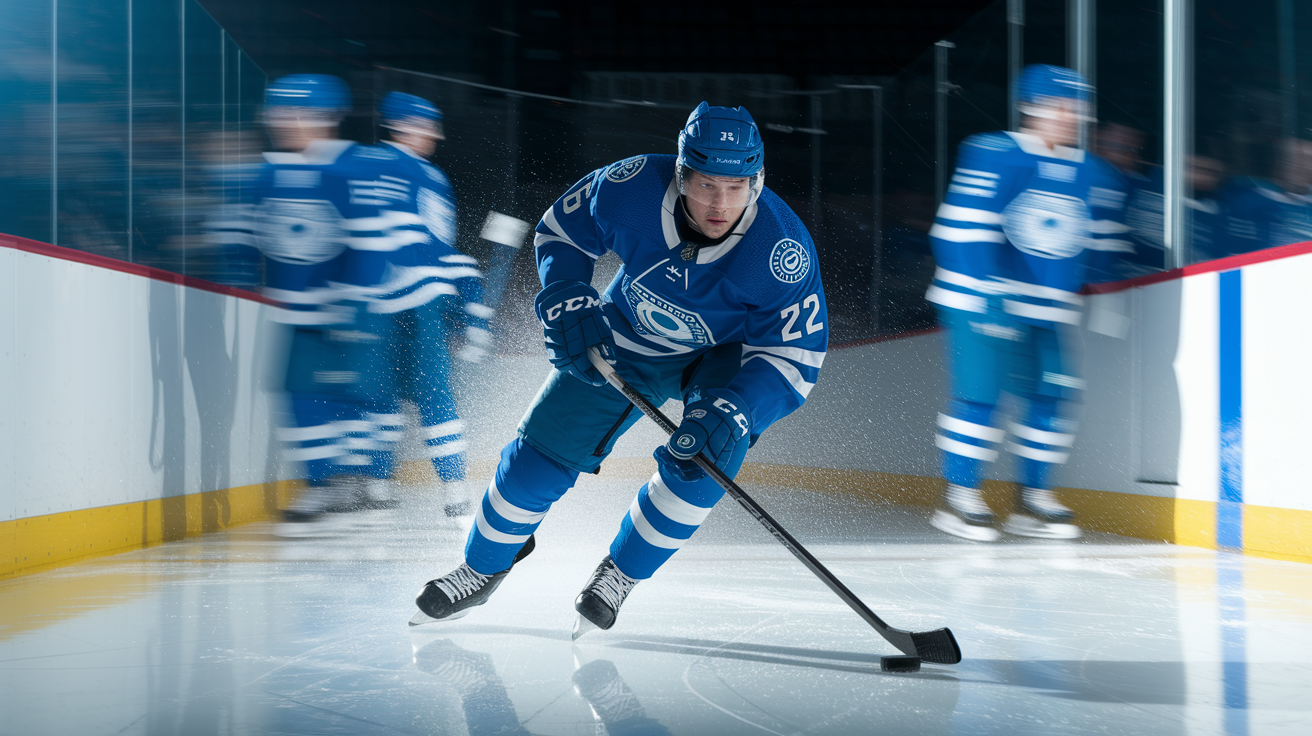
When a defenseman pinches, the closest forward (usually F3) must rotate high to cover the vacated blue line. This rotation starts the instant the defenseman commits down the wall, not after the puck is already past. The forward slides into the high slot or middle-ice lane and becomes the safety valve. If the pinch fails and the puck squirts free, F3 must be in position to contain the breakout or at least force a chip-and-chase instead of a clean zone exit.
Your defensive partner slides across to take the middle gap and prepare to pick up the trailing attacker. This movement must happen simultaneously with the pinch. If your partner stays weak-side and assumes you’ll win every battle, the middle of the ice opens up and opposing forwards have a runway. The weak-side defenseman becomes the anchor, responsible for the center lane and ready to mirror any cross-ice pass or forward drive.
Communication cues matter. Simple calls like “I got you,” “hold,” or “go” keep everyone aligned. On faceoffs, the best defensive pairs talk through pinch scenarios before puck drop. “If it rims, I’m sealing” or “Hold high if I step.” When communication breaks down, the pinch becomes a solo gamble instead of a supported team play.
| Role | Primary Responsibility | Failure Consequence |
|---|---|---|
| F3 (closest forward) | Rotate high to cover blue line and high slot | Middle-lane breakout with no backpressure |
| Weak-side D | Slide across to cover center gap and trailing attacker | Odd-man rush with no defensive depth |
| Pinching D | Take the player or take the puck, box out or strip possession | 3-on-1 counterattack if neither objective achieved |
Situations When Defensemen Should Not Pinch
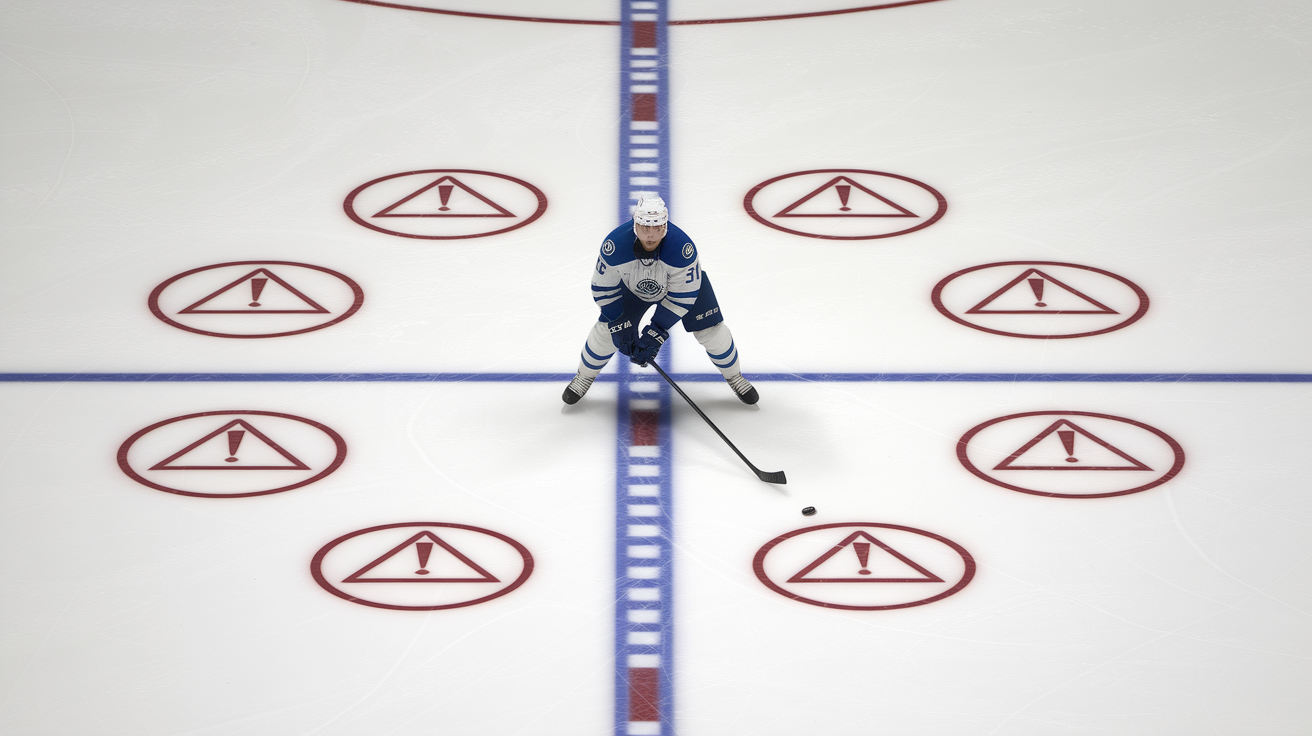
A failed pinch converts a manageable 3-on-2 into a dangerous 3-on-1 coming back the other way. That’s the core risk calculation. If you miss the play, you’re removing yourself from the defensive structure and forcing your teammates to defend outnumbered. Before you commit, evaluate whether the odds justify the gamble. If coverage isn’t locked in or the opponent has too much speed and space, the smart choice is to hold the blue line.
Six conditions that immediately reject the pinch:
No forward support or partner is unreliable.
Your team is leading by one or two goals and the priority is protecting the lead.
You’re facing a strong opposing line with speed and skill.
You’re tired or flat-footed and can’t close the gap fast enough.
Someone else is already pinching. Double-pinching leaves no one back.
The opposing winger has full control and their head up, scanning middle ice.
When any of these conditions are true, your default should be to stay at the point and manage the blue line. Keep the puck in the zone with active stick work, but don’t sell out for a low-probability pressure play. Holding structure is not passive. It’s the right read when the risk outweighs the reward.
Recovery Techniques After a Failed Pinch
If the pinch fails and the puck squirts past you, your first move is an immediate retreat to the middle of the ice. Do not chase deep along the boards. Angle your path toward the slot and re-establish gap control between the puck carrier and your net. The goal is to contain the breakout and eliminate time and space while your support arrives.
Four recovery steps:
Retreat path to middle ice. Sprint toward the slot, not along the boards.
Gap regain. Skate hard to close distance and force the puck carrier into a decision.
Angle to boards. Use stick pressure to push the breakout toward the wall and away from the center lane.
Partner communication. Call “back” or “middle” so your partner knows you’re regaining position.
The priority is getting between the puck and the net. If you can contain the puck carrier on the boards and slow their momentum, you buy time for your forwards to backcheck and your partner to stabilize the middle. Don’t try to make a desperation dive or stick-check from behind. That usually just creates a penalty or leaves you even further out of position. Contain, angle, and restore structure. A good recovery limits the damage and keeps a failed pinch from becoming a highlight-reel goal against.
Coaching Drills to Train Effective Offensive Zone Pinching

Pinching is a habit built through structured drill progression. Players need to recognize cues, commit decisively, and recover intelligently, all under game-like pressure. Start with low-risk scenarios where the puck moves slowly and support is obvious, then increase speed and complexity as decision-making improves. Repetition creates instinct. And instinct separates defensemen who own the blue line from those who guess and hope.
Five drills to train pinching:
-
Timed pinch signals. Coach stands at the wall and signals when to pinch, forces immediate recognition and explosive footwork. Run 10 to 15 reps per set at increasing speeds.
-
3-on-2 transition rep sets. Start in the offensive zone, force a rim or breakout, one D pinches while the partner covers middle and forwards rotate. Emphasize reading the winger’s posture and support positioning. Rotate roles every five reps.
-
Partner-rotation drills. Two defensemen vs two attackers with a winger supporting. Practice trusting partner coverage and clear communication. Focus on simultaneous movement and gap coverage.
-
Wall-angle board battles. 1v1 along the wall with a coach feeding rims. Train footwork, stick positioning, angle leverage, and shoulder-check habits before committing.
-
Video-review integration. Record drills and review correct vs incorrect pinches in short clips. Highlight decision cues, body language, support positioning, and what made the pinch succeed or fail.
For more on reading pinch triggers and decision cues, see Timing the Pinch: How Smart Defensemen Extend Offensive Zone Time. To explore foundational mechanics and drill rationale, check out Defensemens Guide to the Pinch.
Drills should emphasize the read-decide-explode sequence. Train shoulder-checking so defensemen confirm middle-lane support before stepping down. Build footwork patterns so the close-and-seal motion becomes automatic. Use live reps with tired players late in practice to simulate real fatigue and force better decisions under pressure.
Track improvement by counting successful pinches vs failures during small-area games. Set targets: 70 percent success in controlled drills, 60 percent in live scrimmages. Measure whether players are committing fully or hesitating, and whether recovery paths are immediate or delayed. Habit formation comes from high-volume, focused repetition with clear feedback after every rep.
Final Words
You’re at the blue line, the winger rims the puck, and a decision flashes — pinch or hold. This guide walked you through the core principle: if you can’t arrive on contact, don’t go. It covered the five pinch triggers, safe execution mechanics, partner rotations, clear rejection cues, recovery paths, and drills to build the habit.
Practice the reads and the footwork. Use the checklist here to sharpen when and how defensemen should pinch in the offensive zone, and you’ll make smarter, higher-value plays.
FAQ
Q: When should a defenseman pinch in hockey?
A: A defenseman should pinch when they can arrive on contact, like when the winger is flat against the glass, teammates are nearby, the rim is reachable, and your team has possession or momentum; otherwise stay back.
Q: Where to put the weakest player in hockey?
A: Place the weakest player where decisions and exposure are limited: a sheltered wing on the third or fourth line, with strong linemates, fewer key-zone minutes, and no primary faceoff duties.
Q: What are the golden rules of defensemen?
A: The golden rules of defensemen are play solid gap control, keep your stick on the puck, protect the net front, make simple first passes, and only pinch when you can arrive on contact.
Q: What is pinching in the offensive zone?
A: Pinching in the offensive zone is when a defenseman steps down the wall to challenge a winger or intercept a rim pass, trying to keep the puck in the zone or win possession.