
The quiet truth: more goals come from a stubborn net-front screen than a superstar wrist shot.
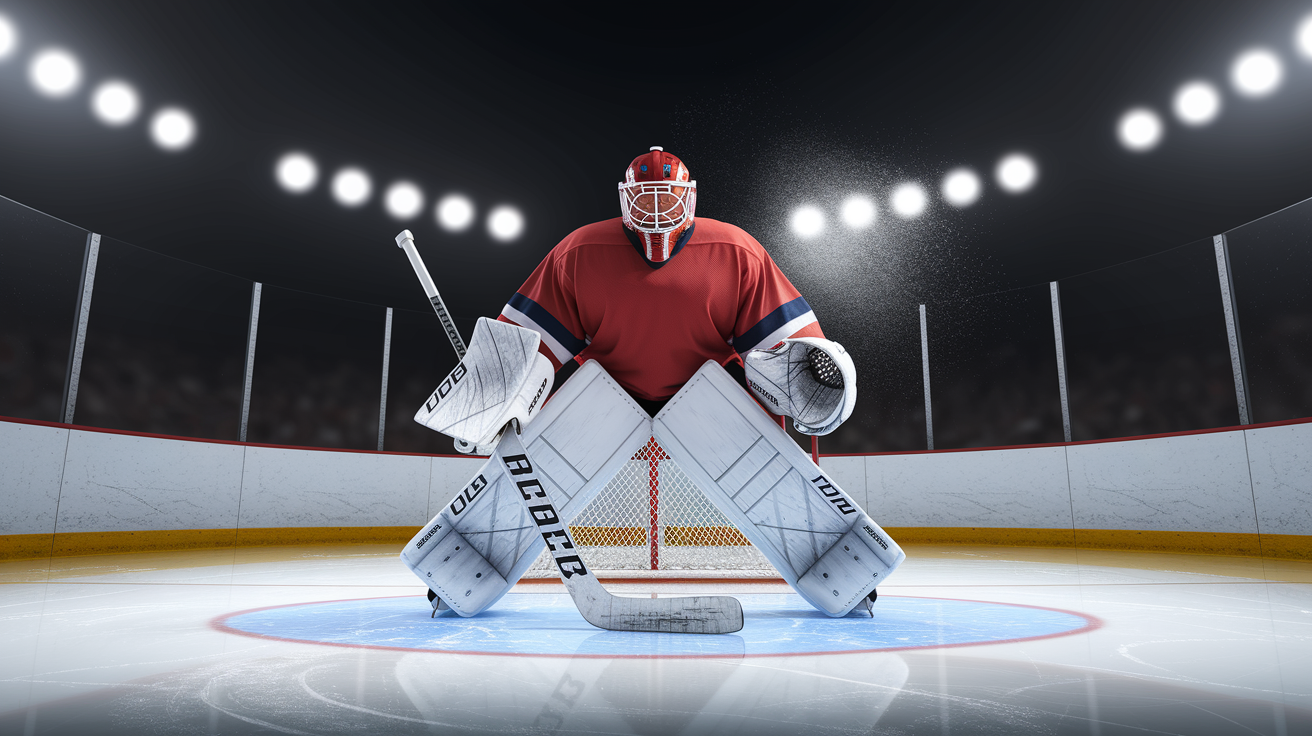
A screen is getting between the shooter and goalie to wreck their sightline and force guesses.
Half a second of blocked vision turns routine saves into rebounds and tips.
This post gives exact, rink-ready tactics—where to stand, how to hold your body, when to plant, and how to stay legal—so you can actually score more on the next shift.
Core Net-Front Concepts That Immediately Increase Goal Scoring

A screen is placing your body between the shooter and the goalie to wreck their sightline. When a goalie can’t track the puck cleanly from release to glove or pad, save percentage drops. Even half a second of visual obstruction forces them to guess location and timing. That delay is often what separates a routine save from a goal.
Effective screens need upright posture and torso placement directly between puck and goalie. Keep your chest square to the shooter, feet shoulder width, and hold position without drifting. Leaning, ducking, or sprawling shrinks your visual blocking surface and draws interference calls. Stay vertical, stay square, hold still once you find the shot line.
Screening habits that work right away:
- Stay upright. Vertical posture blocks the most sightline and keeps you legal in the crease area.
- Keep your stick low and available for deflections without waving it in the goalie’s face.
- Use your hips and shoulders to block the goalie’s lower body view without pushing into them.
- Avoid excessive shuffling once the shot is coming. Plant and obstruct.
- Maintain chest to puck alignment by tracking the shooter, not the goalie.
Commitment to high danger presence means going to the net first and staying there through contact, sticks, and chaos. Players who sustain visual obstruction through the release create scoring opportunities even when they don’t touch the puck. If the goalie can’t see it, someone else can bury it.
Optimal Net-Front Positioning Zones for Reliable Screens

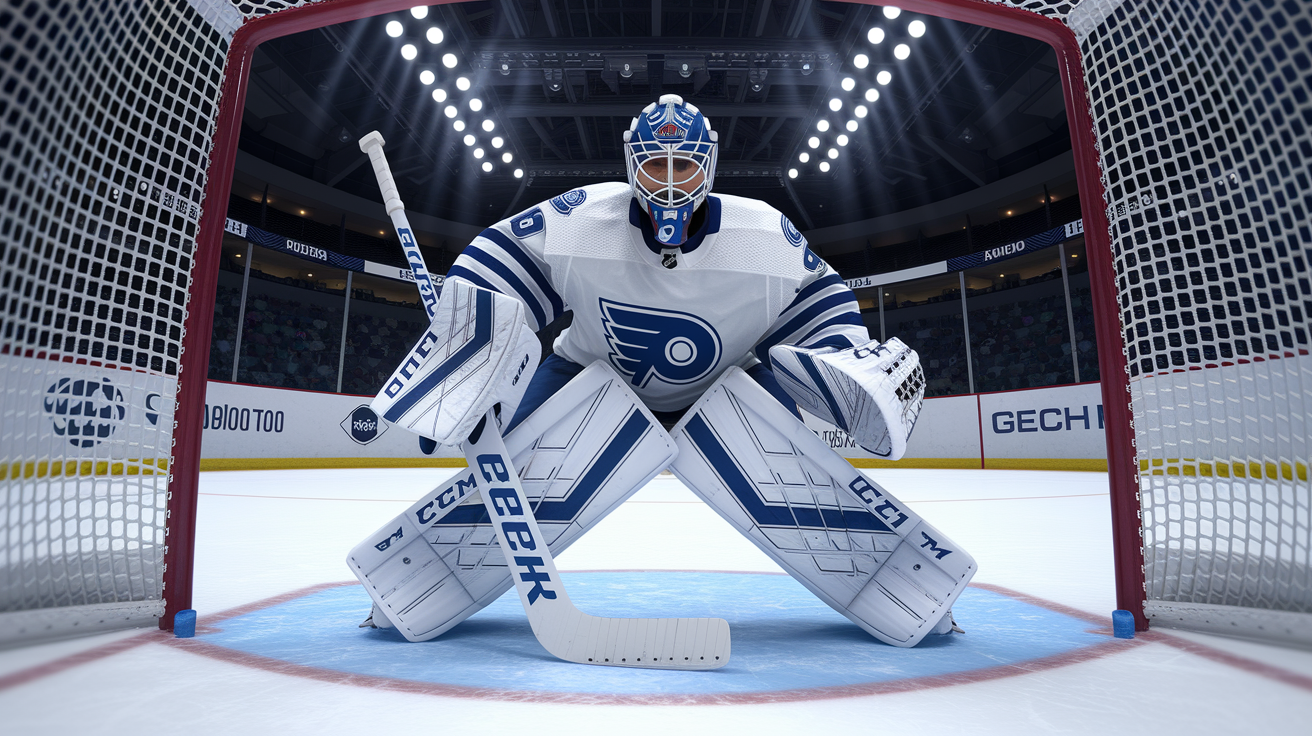
Three zones deliver the highest screening and scoring probability. The primary zone is the low slot, inside the faceoff dots and three to six feet from the goal line. This is where most point shots arrive and where you can obstruct the goalie’s chest high sightline while staying available for deflections and rebounds. The secondary zone sits just above the crease, one to two feet outside the crease paint, at or slightly above the goal line. From here you block the goalie’s lower body view and force them to lean or move to track low shots. The third zone is post anchored positioning, zero to one foot from the near post during wrap plays or behind the net cycles. Post positioning gives you balance, leverage, and a legal anchor point that makes it harder for defenders to move you.
Post anchored screens work because the post provides structural support and a reference point for staying legal. You can use the post to brace against contact without falling into the crease or initiating interference. Wrap threats and cross crease passes become more dangerous when you occupy the post because the goalie must respect both the backdoor pass and your ability to tip or redirect. Use the post to hold your ground, keep your stick blade ready on the ice, and pivot quickly if the puck moves laterally.
| Zone | Distance From Goal | Primary Purpose |
|---|---|---|
| Low Slot | 3–6 feet from goal line, inside dots | Obstruct chest high sightline, deflect point shots, recover rebounds |
| Crease Adjacent | 1–2 feet outside crease, near goal line | Block lower body view, create traffic on low shots, force goalie movement |
| Post Anchored | 0–1 foot from near post | Leverage and balance during wrap plays, backdoor threat, legal contact reference |
Body Positioning Techniques to Maximize Screen Effectiveness
Square your chest to the shooter and keep your shoulders level. Your torso should face the point of release, not the goalie. This alignment maximizes the visual blocking surface and makes sure the goalie’s sightline runs directly through your body. If you turn sideways or angle your shoulders, you create gaps that let the goalie peek around you. Keep your head up, track the puck, and adjust your torso angle as the shooter moves.
Footwork keeps you stable and mobile in traffic. Use short shuffles and quick pivots to adjust position without losing balance. Your stance should be slightly wider than shoulder width to give you a low center of gravity and resistance to pushes. When a defender tries to move you, sink your hips, widen your base, use small lateral steps to regain position. Avoid crossing your feet or taking long strides that leave you off balance and vulnerable to being knocked over or pushed into the goalie.
Use body leverage legally by establishing inside position first. Get between the defender and the net, then use your hips and shoulder to seal them away from the crease. Keep your hands separated on your stick and your elbows in. This prevents hooking or holding calls while you maintain contact. If the defender tries to reach around you, pivot slightly to keep your body between them and the scoring area. Legal leverage means using position and mass without grabbing, pushing, or initiating contact with the goalie.
Key body mechanics for holding position:
- Stance width: shoulder width or slightly wider for balance and power.
- Chest angle: square to the shooter, shoulders level, torso upright.
- Hand separation: hands apart on the stick to avoid hooking while maintaining stick availability.
- Hip placement: hips low and back to seal defenders without initiating goalie contact.
Timing Screens With Shots for Maximum Scoring Impact

The ideal timing window for setting a screen is half a second to one and a half seconds before the shot is released. Arrive too early and the goalie adjusts position to see around you. Arrive too late and the puck is already on net before you obstruct anything. The sweet spot is when you establish your screen position just as the shooter is loading up, forcing the goalie to make a read through traffic instead of tracking a clean release.
Communication cues between shooter and screener make timing reliable. A quick stick tap on the ice signals the screener to plant and hold. Eye contact confirms positioning before the pass arrives at the point. Vocal cues like “ready” or “set” help sync up movement in noisy arenas. On one timers, the screener must set position roughly half a second before the puck arrives at the shooter’s blade. This gives the goalie no time to adjust after the screen is established. Cadence matters. If your shooter has a slow windup, you can drift into position slightly later. If they have a quick release, you need to be set early and stay still.
Small lateral adjustments during the screen can trigger goalie misreads. A subtle step to the blocker side or glove side forces the goalie to lean or shuffle to regain sightline. That movement creates vulnerabilities. Leaning goalies are slower to recover on deflections, and shuffling goalies open up five hole or short side gaps. Make your adjustment just before the release, then freeze. The goalie reacts to your movement, and the puck arrives before they can reset.
Steps for executing proper timing recognition:
- Track the puck carrier’s body language and release cues. Watch their shoulders and stick angle.
- Initiate your screen move as soon as the puck reaches the shooting zone or the shooter receives the pass.
- Plant your feet and hold position half a second before the release, staying square and upright through the shot.
Reading Goalie Tendencies to Improve Screen Success
Profiling goalie depth and movement tells you where to screen and how much space to exploit. Aggressive goalies step out toward the top of the crease or even beyond it to challenge shooters and cut down angles. When you see this, use lateral slides and short side screens to create wrap opportunities and force the goalie to scramble backward. Deeper goalies stay back on their line and rely on tracking the puck cleanly. Against deeper positioning, prioritize low slot screens that block chest high sightlines and generate more rebounds because the goalie has less ability to smother the puck aggressively.
Manipulating deflection height based on goalie glove habits increases goal probability. If the goalie favors high glove saves and lifts their glove early on point shots, prioritize low hard redirects and deflections aimed at the pads or five hole. If the goalie drops quickly and relies on pad saves, work high deflections and backhand tips to exploit slower glove hand recovery. Watch the goalie during warmups and early shifts. Note poke check frequency, glove positioning on screened shots, how they handle traffic. Use that information to adjust your redirect targets and screen angles as the game progresses.
Legal vs. Illegal Screening: Staying Effective Without Penalties

Legal screening means occupying space without initiating contact or impeding the goalie’s ability to move and make saves. You can stand in the crease area as long as you’re playing the puck (redirecting, screening a shot, or pursuing a rebound) and you don’t push, trip, or hold the goalie. Incidental contact while attempting to play the puck is allowed. Illegal screening includes deliberate contact that moves the goalie, camping in the crease and blocking movement without playing the puck, pushing the goalie’s pads or stick, or dislodging equipment. Any of these actions results in a goaltender interference penalty or a disallowed goal.
Coaching cues to avoid interference focus on attention and restraint. “Eyes on the puck, not the goalie” keeps your focus on playing the puck and reduces the chance of initiating unnecessary contact. “Vertical and still” reminds you to stay upright and hold position instead of leaning or lunging into the goalie. If you feel contact with the goalie’s body or pads, immediately stop pushing and adjust your feet to regain separation. Referees watch for sustained contact and deliberate pushes. Quick incidental bumps are usually forgiven, prolonged leaning or shoving is not.
Common illegal situations that negate goals:
- Screening while standing fully inside the crease and making contact that prevents the goalie from moving laterally to track the puck.
- Pushing the goalie’s pad or blocker with your stick or body to create a gap or opening for a shot.
- Falling into or on top of the goalie during a screen or deflection attempt, even if unintentional, when it prevents a save.
- Occupying the crease without playing the puck and obstructing the goalie’s ability to see or move before the puck arrives.
Deflection and Redirect Mechanics to Convert Screens Into Goals

Blade angle fundamentals start with understanding that small directional changes are enough. Altering the puck’s trajectory by ten to thirty degrees is often sufficient to beat the goalie or create an unpredictable rebound. Open your blade slightly and keep it firm at contact. Too soft and the puck dies on your stick, too angled and you miss the puck entirely. Position your blade roughly six to eighteen inches from the anticipated puck path and time your movement so the blade meets the puck at the moment of arrival. The goal isn’t to wind up or stickhandle. It’s to present a firm, angled surface that redirects energy toward the net.
Soft redirects use a slightly open blade with minimal follow through to subtly change the puck’s direction. These work well on hard point shots when you want to take speed off the puck and alter the angle just enough to fool the goalie. Firm redirects involve a one time contact with a locked blade and immediate follow through toward your target. Use firm redirects when you have time to read the puck’s path and want to drive it toward a specific corner or opening. On backhands, cup the puck slightly and use your bottom hand to guide the redirect. Backhand tips are harder for goalies to read because the release point and angle are less predictable.
Distance management and timing require spatial awareness and puck tracking. If you’re too close to the shooter, the puck arrives too fast to adjust. If you’re too far, you lose the ability to alter its path meaningfully. The ideal deflection distance is roughly twelve to eighteen inches from the puck lane, giving you enough time to read the puck and enough proximity to make clean contact. Track the puck all the way to your blade. Don’t guess where it’ll be. Adjust your stick position in small increments as the puck travels, then commit to the redirect at the last possible moment.
Key principles of elite deflections:
- Blade angle: slightly open, firm at contact, no excessive wrist movement.
- Distance: 6–18 inches from puck path for optimal timing and control.
- Tracking: eyes on the puck through contact, no guessing.
- Follow through: minimal on soft tips, full extension on firm redirects.
- Target selection: aim for openings based on goalie position and movement, not random hope.
Battling Defensemen While Screening in Tight Spaces

Hand fights and leverage start the moment you enter the net front area. Defenders will try to tie up your stick, push your hands down, or hook your arms to prevent deflections. Counter by keeping your hands separated on your stick and using short, controlled movements to free your blade. If a defender grabs your top hand, use your bottom hand to push their stick away or rotate your blade free. Maintain a low center of gravity by sinking your hips and widening your stance. This makes it harder for defenders to move you and gives you a stable base to fight from. Legal leverage means using your body position and mass without grabbing, holding, or hooking back.
Seal and pivot mechanics keep you in front of the net even when defenders try to push you out. Establish inside position first. Get between the defender and the goal line. Once inside, use your hips and shoulder to create a barrier that forces the defender to go around you rather than through you. If the defender tries to push from behind, pivot slightly to redirect their force past you instead of absorbing it head on. Keep your stick blade on the ice and ready. Even while battling, you need to be available for a deflection or rebound. Quick pivots also help you find shooting lanes when the puck moves laterally or when traffic shifts.
Post switching strategy under pressure is simple. When you’re tied up and can’t get free, pivot to the far post to create a new angle and force the defender to readjust. This movement opens up space for a cross crease pass or a rebound opportunity on the weak side. Use the post as an anchor to regain balance and separation. If the defender follows you to the far post, you’ve successfully pulled them out of the high danger zone and created room for a teammate. If they don’t follow, you now have a clean look at any puck that comes across the crease. Stay active, stay moving, use the post to reset your positioning when the battle gets too tight.
Screening Tactics for Power Plays and Even-Strength Situations
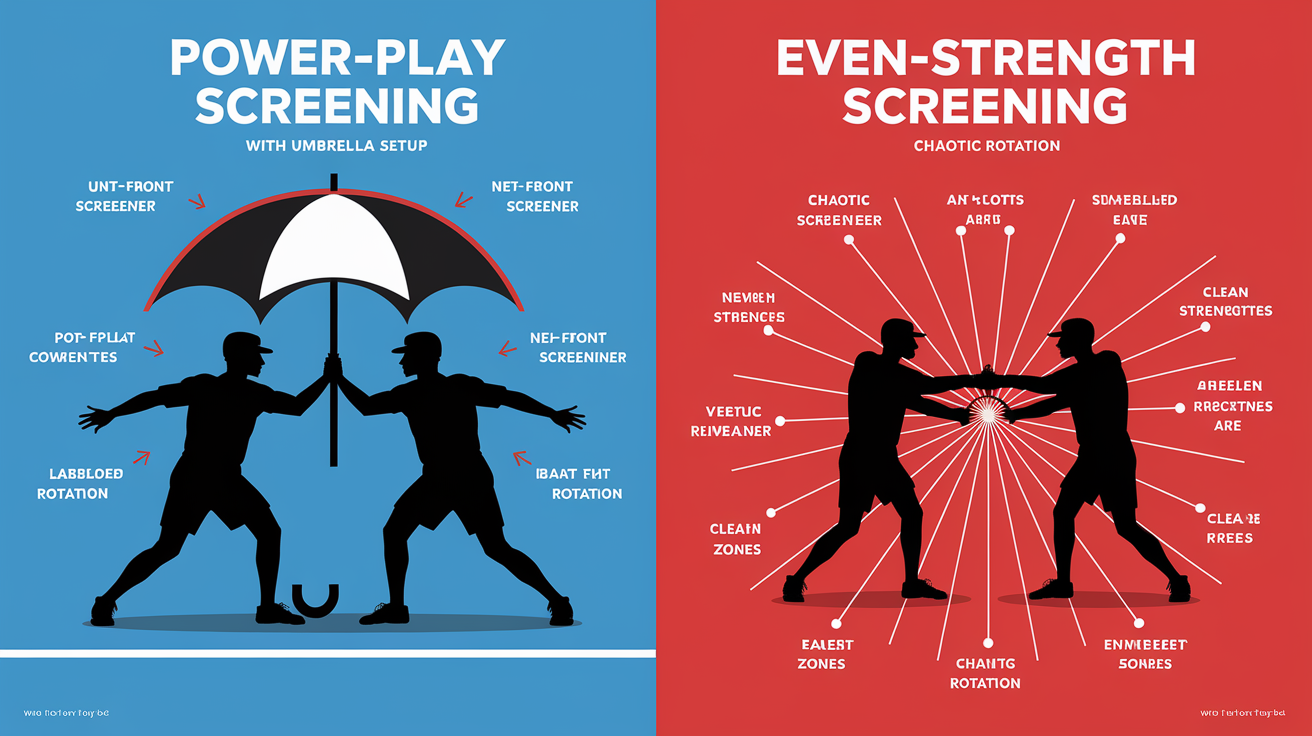
Power play screening roles are more structured and predictable because the puck movement follows set patterns. Most power plays use an umbrella or overload setup with a designated net front player. Your job is to occupy the low slot or crease adjacent zone and create a consistent visual obstruction for the goalie. On umbrella setups, you stand in the middle of the low slot and screen the point shooter while staying ready for deflections and rebounds. On overload setups, you shift toward the strong side post and create traffic for one timer opportunities from the half wall. Power play screens allow you to establish position early because the puck cycles through predictable zones. Use this time to get inside position on the defender and hold your ground.
Even strength movement cues require more dynamic entries and slot chaos because the puck moves faster and less predictably. Instead of camping in one spot, you enter the net front area as the puck enters the offensive zone and adjust your position based on where the next shot is likely to come from. On odd man rushes, drive to the net and create a screen for the trailing shooter. On sustained offensive zone pressure, rotate between low slot and crease adjacent positions to stay in shooting lanes while avoiding prolonged crease occupation that draws interference calls. Even strength screens demand quicker reads and more lateral movement because defenders have more help and can pressure you harder without worrying about penalty kill responsibilities.
Key differences between power play and even strength screens:
- Power play screens: static positioning, predictable puck movement, more time to establish inside position, higher shooting volume from set plays.
- Even strength screens: dynamic entries, faster puck movement, more defensive pressure, need for quick repositioning and lateral adjustments.
- Power play focus: hold position and obstruct sightline for known shooting lanes.
- Even strength focus: enter high danger areas quickly, create chaos, rotate between zones to avoid prolonged crease occupation.
Coaching and Practice Drills for Developing Elite Net-Front Screens
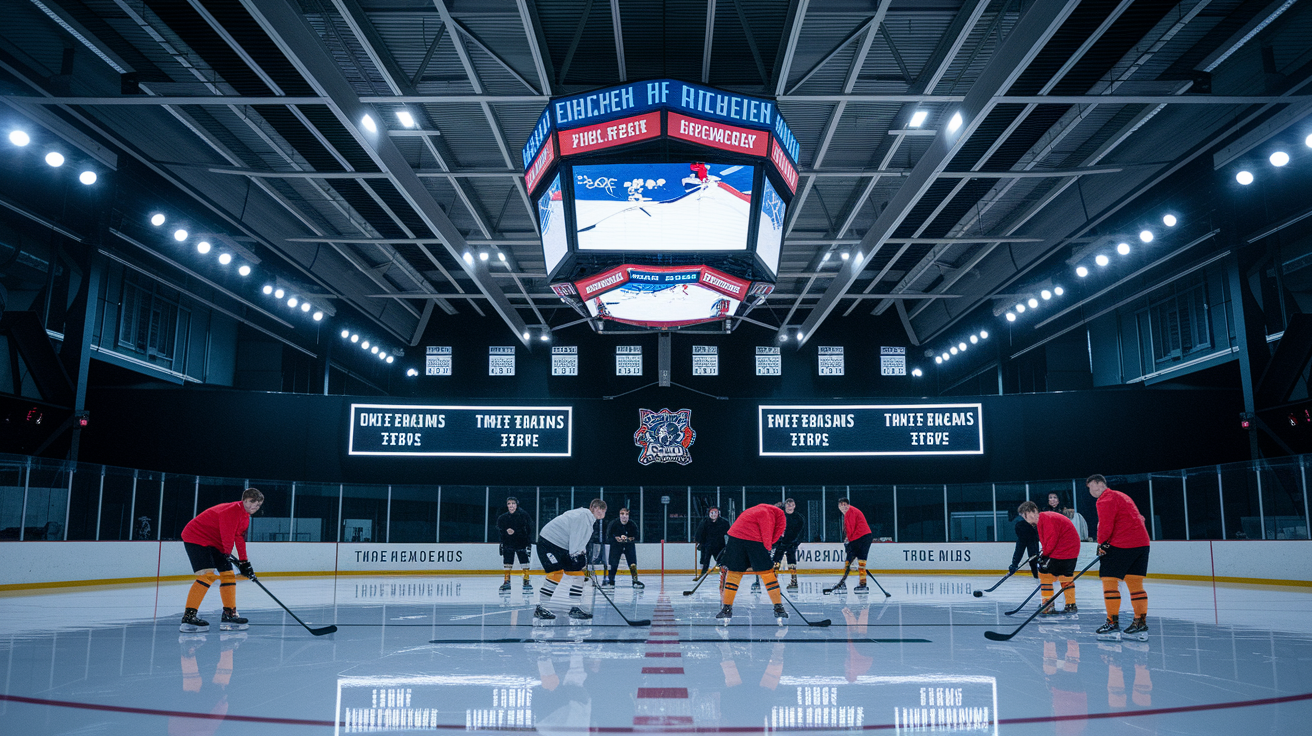
Effective practice regimens require volume and repetition. Target two hundred to three hundred net front attempts per week split across multiple practice sessions. This volume builds instincts for timing, positioning, and puck tracking under pressure. Consistency matters more than intensity. Five focused ten minute sessions beat one exhausting hour long block. Track your attempts and outcomes to measure progress. Aim for a seventy percent success rate on screening drills (defined as generating a shot on goal, a deflection, or a recovered rebound) before increasing complexity or defensive pressure.
Timing and movement drills focus on syncing your screen with the shooter’s release. Set up a station with a point shooter and a screener in the low slot. The shooter alternates between quick release and delayed release shots while the screener practices arriving and planting half a second before each release. Run four sets of eight repetitions with one minute of rest between sets. This drill trains cadence recognition and timing windows. Add a second station where the screener moves laterally across the crease one to two seconds before the shot to trigger goalie adjustments. Film these drills from behind the net to review screen positioning and timing accuracy.
Competitive battle drills simulate game pressure and defensive resistance. Run a three on two net front battle drill with offense focused on occupying the crease and converting rebounds while defense works to clear the crease and prevent second chances. Set a six minute shift timer and rotate teams. Offense should generate a shot on goal rate of fifty percent or higher to simulate effective net front pressure. Track goals scored from deflections, screens, and rebounds separately to identify skill gaps. Another effective drill is the static screen and one timer station: a screener sets inside one to two feet of the crease while a point shooter takes eight to ten one timers from the blue line. Run three sets of ten repetitions with sixty seconds of rest between sets. This builds comfort with staying still under shot pressure and holding position through traffic.
Five drill descriptions with rep counts and timing blocks:
- Static Screen and One Timer Drill: Screener plants 1–2 feet from crease, point shooter fires 8–10 one timers, 3 sets of 10 reps, 60 seconds rest between sets, total time 12 minutes.
- Moving Screen and Release Timing Drill: Screener moves laterally 1–2 seconds before shot, shooter alternates quick and slow releases, 4 sets of 8 reps, 10 minute block, film from behind net for review.
- Deflection and Redirect Station: Pucks rimmed or passed across slot, screeners practice redirecting from 6–12 inches off puck lane, 5 minute rounds, 3 rounds, focus on blade angle and firm contact.
- 3v2 Net Front Battle Drill: Offense occupies crease and converts rebounds, defense clears crease, 6 minute shifts, rotate teams, target 50%+ shot on goal rate, track deflection and rebound goals separately.
- Post Anchored Wrap Drill: Screener anchors at near post during behind the net cycles, puck carrier attempts wraps and cross crease passes, screener tips or scores on backdoor chances, 8–10 reps per side, 8 minute total block.
Final Words
Start in the action: this post broke down what a screen is, where to stand, how to use your body, when to set it, how to read goalies, stay legal, and finish with tips for deflections and drills.
Put it together: focus on torso in the shot line, upright posture, short shuffles, timing the 0.5 to 1.5 second window, and practiced deflection angles to convert chances.
Train specific net-front screening tactics to score more goals with reps, timed one-timers, battle drills, and targeted deflection work, and track small gains. Do that and goals follow.
FAQ
Q: What is a net-front screen and why does it increase scoring?
A: A net-front screen is standing between shooter and goalie to block the goalie’s sightline, increasing scoring by forcing saves to be guesswork, creating rebound and tip chances from obstructed vision.
Q: What immediate screening habits should players use?
A: Immediate screening habits are staying upright, keeping your stick ready, using hips to block view, avoiding excessive movement, and aligning chest-to-puck so the shooter’s lane stays obstructed and consistent.
Q: Where should forwards position themselves for the most reliable screens?
A: Forwards should position in high-danger zones: low slot inside the dots (3–6 ft), a secondary lane just outside the crease (1–2 ft), or anchor near the post for rebound and tip chances.
Q: How should players use body positioning to maximize screen effectiveness?
A: Body positioning to maximize screens means squaring your chest to the puck, staying vertical, keeping your stick low, and using hips and shoulders to seal defenders without initiating illegal contact.
Q: What is the ideal timing window for setting a screen with shots?
A: The ideal timing window for setting a screen is roughly 0.5–1.5 seconds before shot release, with one-timer screens set about 0.5 seconds before puck arrival to force goalie depth errors.
Q: How do you read goalie tendencies to improve screen success?
A: Reading goalie tendencies means noting depth and movement: aggressive goalies who step out open lateral space, deeper goalies give low-slot rebounds, and glove/pad bias tells you whether to aim high or low for redirects.
Q: How can you screen without drawing penalties?
A: Screening without penalties means occupying space without initiating contact, avoiding staying inside the crease or pushing the goalie, and redirecting shots legally while maintaining position and visible intent to play the puck.
Q: What stick and deflection mechanics turn screens into goals?
A: Deflection mechanics that work are angling the blade 10–30 degrees, keeping a firm but controlled tip, meeting the puck 6–18 inches from the puck lane, and using small directional adjustments to redirect shots.
Q: How do you maintain a screening position when defenders fight you for space?
A: Maintaining position versus defenders requires short shuffles, pivots, seals, hip rotation, hand fights to create separation, and pivoting to the far post when tied up to open new redirect angles.
Q: How do screening tactics differ on power plays versus even strength?
A: Screening on power plays uses predictable puck movement and timed umbrella or overload screens; even strength needs dynamic entries, constant slot chaos, and more movement to create screening opportunities.
Q: What practice drills build elite net-front screening skills?
A: Practice drills to build screens include 8–10 shot sequences, 3×10 rep sets, 10-minute timing blocks, deflection stations targeting 6–12 inch contact points, and competitive 3v2 net-front battles with volume goals (200–300 attempts weekly).