
Think static stretching before games helps kids?
Research shows it can lower strength, agility, and power.
Non-contact lower-limb injuries, like groin pulls, hamstring strains, ankle sprains and ACL tears, happen when players cut, land, or decelerate faster than their muscles can handle.
A short, progressive warm-up plus a 5 to 10 minute cooldown lowers that risk, improves performance, and fits into any youth schedule.
Read on for simple, on-ice and off-ice routines you can use today.
Immediate Evidence-Based Protocols to Reduce Injuries Through Youth Hockey Warm-Ups and Cooldowns

Non-contact lower-limb injuries in youth hockey happen when players cut, land, decelerate, or change direction faster than their muscles and joints can handle. Groin pulls, hamstring strains, ankle sprains, and ACL tears account for most missed ice time. A dynamic warm-up prepares muscles through progressive movement and activation, raising body temperature and neural drive without the performance-reducing effects of static stretching. Research shows that static stretching before high-intensity play can reduce strength, agility, balance, and power output. A structured cooldown lowers injury risk by addressing delayed-onset muscle soreness, flushing metabolic waste, and restoring tissue length after repeated explosive movements.
Youth hockey warm-ups need 5–15 minutes depending on age and setting. Pre-game on-ice routines typically run 5–10 minutes for younger players and extend to 8–15 minutes for bantam-age skaters who can handle higher intensity and volume. Cooldowns require 5–10 minutes: 3–5 minutes of light skating or movement, 20–30 second static holds for each major muscle group, and 2–5 minutes of foam rolling when available. Both protocols fit into existing practice and game schedules without adding time, because they replace less effective jog-and-stretch routines and deliver neuromuscular activation, mobility, and injury-prevention content within the same window.
A complete pre-game warm-up follows a progressive sequence that prepares the body for hockey-specific movement and game intensity:
Light skating and progressive speed (2 minutes) – Forward skating, backward skating, and crossovers at gradually increasing pace to raise heart rate and body temperature.
Dynamic mobility on ice (2 minutes) – 10 leg swings per side (forward/back, side-to-side) and 8 hip circles per side to expand joint range of motion.
Activation of key lower-limb muscles (1 minute) – Mini-band walks, calf raises, and glute bridges targeting calves, hamstrings, and gluteals before explosive work.
Core stability and balance (1 minute) – Single-leg balance holds (15 seconds each side) and plank variations to engage stabilizers.
Edgework drills and transitions (2 minutes) – 4 × 20–30 second sets of tight-turn edge work, inside/outside edges, and quick direction changes.
Puck control at increasing intensity (1 minute) – 2 × 30-second sequences of stickhandling and passing at game pace.
High-intensity skating intervals (1 minute) – 2 × 15–20 second near-game-pace sprints with full recovery between efforts.
Game-like finishing activity (2–3 minutes) – Small-area game or competitive drill combining tactical decisions, puck movement, and intensity to bridge warm-up and play.
Science-Backed Warm-Up Principles for Youth Hockey Injury Reduction

Effective warm-ups use the RAMP framework: Raise, Activate, Mobilise, Potentiate. Raise increases body temperature and heart rate through light movement. Activate engages specific muscles that stabilize joints and produce force during skating, such as glutes, hamstrings, calves, and core muscles. Mobilise expands joint range of motion in the hips, knees, and shoulders through dynamic patterns that mimic skating and stickhandling. Potentiate introduces high-velocity movements like sprints and explosive direction changes to prepare the nervous system for game-speed demands. Sports-science testing confirms that RAMP-based protocols improve muscle activation patterns, reduce injury-risk movement mechanics (for example, valgus knee collapse during cutting), and maintain or improve performance measures like sprint speed and agility.
Hockey requires multi-directional movement through full hip and knee range of motion. Flexion, extension, abduction, adduction, internal rotation, and external rotation all happen in a single shift. The shoulder complex must move freely for stickhandling, shooting, and checking, while the core transfers force between upper and lower body during skating strides and contact. High-velocity acceleration, deceleration, and change of direction load muscles eccentrically (lengthening under tension), which is when most non-contact soft-tissue injuries occur. Hip and groin musculature are particularly vulnerable in hockey because the skating stride demands extreme abduction, internal rotation, and rapid eccentric control during stops and cuts.
Youth players suffer most injuries through predictable mechanisms:
- Unanticipated change of direction while skating at high speed (ACL, ankle, groin).
- Poor landing mechanics after a jump or collision (ankle, knee).
- Sudden deceleration or stopping with inadequate eccentric hamstring control (hamstring strain).
- Cutting or pivoting with the knee collapsing inward (ACL, MCL).
- Explosive starts without adequate glute and hip flexor activation (hip flexor strain, sports hernia).
Applying the Dynamic Warm-Up: On-Ice and Off-Ice Variations for Different Settings
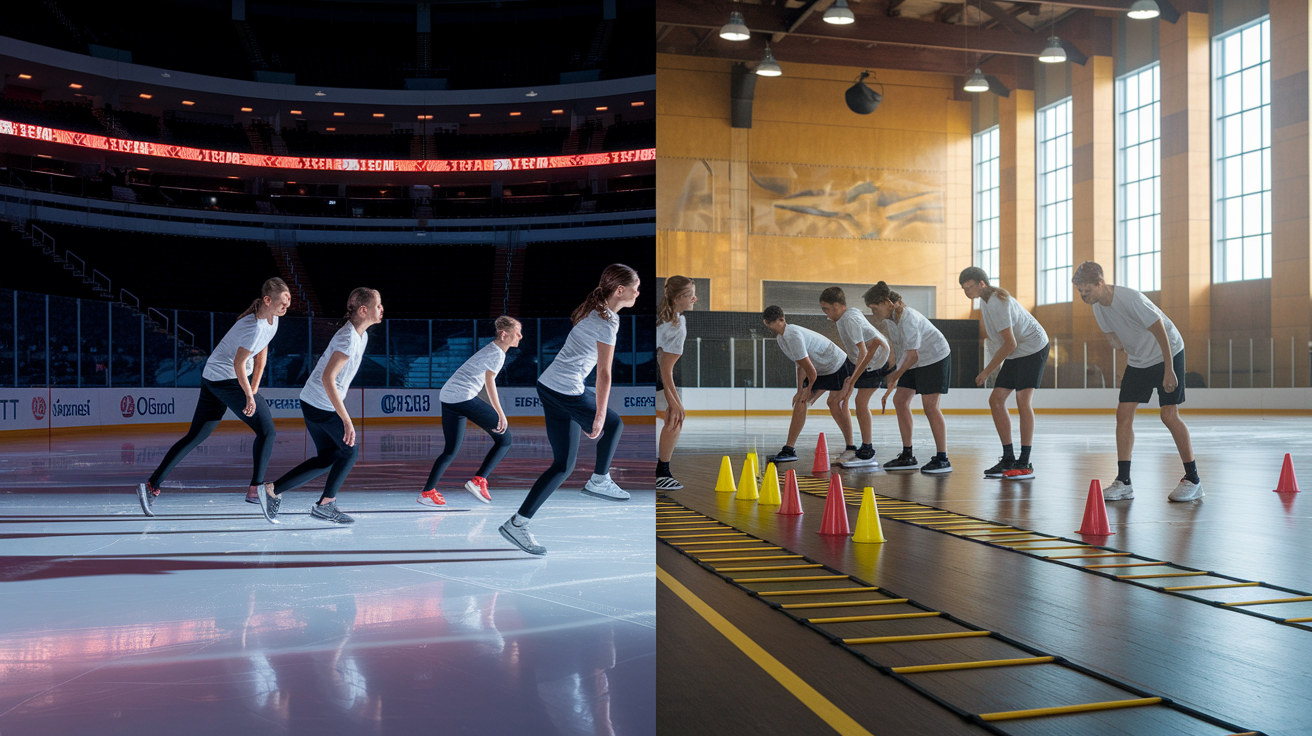
The master warm-up from Section 1 adapts to different environments without losing effectiveness. On game days with limited ice access, shorten the pulse-raising phase to 90 seconds and combine mobility with edgework in a single 2-minute block. At tournaments where teams warm up in small locker-room hallways, use off-ice activation and mobility, then compress the on-ice sequence into 5 minutes of skating, edgework, and one high-intensity interval. During regular practices with full ice time, expand the routine to 10–12 minutes and add small-area game elements or breakout patterns to the finishing activity. The principle stays constant: raise intensity progressively, activate key muscles, move through full joint range, and finish with game-speed work.
When ice isn’t available or is too expensive, off-ice warm-ups deliver the same neuromuscular benefits using dryland movement patterns. Replace skating strides with walking lunges, side shuffles, and cariocas. Substitute edgework with agility ladder sequences or cone drills that demand quick lateral cuts and crossover steps. Add push-up-start sprints at 50 percent and 75 percent effort to simulate acceleration from a stopped position. The distances and progressions mirror on-ice work: most drills cover approximately 15 yards, intensity builds from controlled mobility to explosive speed, and the session ends with a game-related task like a small-sided tag game or relay that combines movement quality with competitive engagement.
On-Ice Routine (5–10 Minutes)
On-ice adaptations adjust intensity and volume to fit time and player readiness. Younger or less experienced skaters spend more time on controlled edgework and balance drills, less time on high-intensity sprints. Older or advanced players compress pulse-raising work into 60–90 seconds and allocate more time to potentiation intervals and puck-integration tasks. When ice time is short, combine puck control with the finishing activity rather than isolating it into a separate segment. Spacing adjustments matter: use half-ice for younger groups to keep drills compact and visual, full-ice allows older players to reach higher speeds during sprint intervals and game-like finishes.
Off-Ice Routine (10 Minutes)
Off-ice routines map the same progression onto dryland exercises. Start with 2 minutes of light jogging, backpedaling, and shuffling to raise heart rate. Move into 3 minutes of dynamic mobility: walking knee hugs, overhead lunges, inverted reaches, and straight-leg marches over 15-yard distances. Add 2 minutes of activation work using mini-bands for lateral walks, clamshells, and glute bridges. Progress to 2 minutes of agility and speed drills: side shuffles, cariocas (quick-feet and long-stride variations), and butt-kickers over the same 15-yard distance. Finish with two sprint efforts from a push-up start, one at 50 percent, one at 75 percent, separated by a back-pedal recovery. Close with a 1-minute competitive relay or reaction drill to simulate game decisions under fatigue.
| Exercise | Duration/Distance | Target Muscles |
|---|---|---|
| Walking Knee Hug with High-Knee Hold | 15 yards | Hip flexors, psoas, quadriceps |
| Side Shuffle (both directions) | 15 yards each | Hip abductors, adductors, glutes |
| Carioca (quick-feet emphasis) | 15 yards each direction | Hip rotators, core stabilizers |
| Sprint from Push-Up Start (75% effort) | 20 yards | Glutes, hamstrings, calves, core |
Cooldown and Recovery Protocols for Reducing Youth Hockey Injuries

Cooldowns begin the recovery process immediately after play ends, when muscles are warm and joints are mobile. Start with 3–5 minutes of light skating or easy movement. Slow laps, gentle crossovers, or walking if off-ice all work to lower heart rate gradually and flush lactate and metabolic byproducts from working muscles. Static stretching follows, because holding a stretch when muscles are warm increases tissue length without the performance-reducing effects seen before activity. Hold each major muscle group for 20–30 seconds: quadriceps, hamstrings, hip flexors, groin and adductors, calves, and glutes. Players should feel a gentle pull, not pain, and breathe slowly through each hold.
Soft-tissue work with a foam roller or lacrosse ball takes 2–5 minutes and targets high-tension areas like the IT band, quadriceps, hip flexors, and hips. Roll slowly over each muscle group, pausing on tender spots for 10–15 seconds. This reduces delayed-onset muscle soreness and supports tissue repair between sessions. Hydration and nutrition close the cooldown: players should drink water immediately and consume 20–25 grams of combined carbohydrate and protein within 30–60 minutes post-play to replenish glycogen stores and support muscle recovery. A banana with peanut butter, chocolate milk, or a recovery shake all work.
Static stretches for the cooldown:
Quadriceps stretch – Standing or kneeling, pull heel to glute and hold 20–30 seconds each side.
Hamstring stretch – Seated or standing, reach toward toes with a straight leg, hold 20–30 seconds each side.
Hip flexor stretch – Half-kneeling lunge position, push hips forward gently, hold 20–30 seconds each side.
Groin and adductor stretch – Seated butterfly or wide-stance standing reach, hold 20–30 seconds.
Calf stretch – Standing wall lean with straight back leg, hold 20–30 seconds each side.
Glute stretch – Supine figure-four position, pull knee toward chest, hold 20–30 seconds each side.
Recovery nutrition bridges the gap between cooldown and the next session. Carbohydrate restores muscle glycogen depleted during high-intensity skating, and protein provides amino acids for muscle repair. Aim for a 3:1 or 4:1 carbohydrate-to-protein ratio within the first hour after play. If whole food isn’t available immediately, a simple recovery drink or bar works, followed by a balanced meal within two hours. Consistent post-activity fueling reduces fatigue, supports growth in developing athletes, and shortens recovery time between games or practices.
Age-Appropriate Warm-Up and Cooldown Scaling for Mini-Mite Through Bantam
Younger players need shorter, simpler warm-ups with lower intensity and fewer repetitions. Mini-mite skaters (typically 4–6 years old) benefit from 4–6 minute routines that emphasize fun, basic mobility, and skating fundamentals. Keep drills to 1–2 repetitions, avoid complex instructions, and integrate games or relays to maintain engagement. Focus on body control, balance, and simple movement patterns like forward skating, backward skating, and gentle leg swings. Skip high-intensity sprints and limit agility drills to basic shuffles and crossovers.
Atom-age players (7–9 years) can handle 5–8 minute warm-ups with slightly higher volume, 2–3 repetitions per drill, and the addition of basic puck-handling tasks. Introduce controlled edgework, single-leg balance holds, and low-intensity acceleration drills. Peewee skaters (10–12 years) progress to 7–10 minute routines with 3–4 repetitions per drill, more complex agility patterns, and higher-intensity sprint efforts. Add decision-making elements like passing under pressure or small-area games to blend warm-up and skill work. Bantam players (13–15 years) use the full 8–15 minute protocol with 3–5 high-intensity efforts, advanced puck integration, and game-specific finishing activities that mirror competition demands.
Cooldowns scale similarly. Mini-mite and atom players need only 3–5 minutes of light movement and 3–4 simple stretches held for 15–20 seconds. Peewee and bantam skaters should complete the full 5–10 minute cooldown with all six static stretches, foam rolling when available, and structured recovery nutrition. Coaches can adjust based on individual maturity and training age, but the principle remains: younger players get shorter, simpler routines, older players get longer, more intense, and more comprehensive protocols.
| Age Group | Warm-Up Time | Key Focus |
|---|---|---|
| Mini-Mite (4–6 years) | 4–6 minutes | Fun, basic mobility, balance, 1–2 reps per drill |
| Atom (7–9 years) | 5–8 minutes | Controlled edgework, basic puck work, 2–3 reps per drill |
| Peewee (10–12 years) | 7–10 minutes | Higher intensity, agility, decision-making, 3–4 reps per drill |
| Bantam (13–15 years) | 8–15 minutes | Full RAMP progression, game-speed sprints, tactical finishing, 3–5 high-intensity efforts |
Targeting High-Risk Areas: Hip, Groin, Hamstrings, Ankles, and Core

Groin and adductor strains are the most common non-contact injury in youth hockey, caused by the extreme abduction and eccentric loading during skating strides, stops, and lateral cuts. Hip flexor strains and sports hernias follow similar mechanisms, driven by explosive starts and rapid deceleration. Hamstring injuries occur when players sprint or stop without adequate eccentric strength to control the lengthening muscle. Ankle sprains happen during uncontrolled landings, tight turns, or collisions, and ACL tears result from valgus knee collapse during cutting or pivoting. Core instability amplifies all of these risks by reducing force transfer and joint control during high-speed movement.
Targeted micro-protocols isolate and strengthen these high-risk areas without adding significant time to the warm-up. Embed 30–60 second activation sets into the mobility or activation phase of the main routine. For example, after dynamic leg swings, add a mini-band lateral walk for 10 steps each direction to activate hip abductors and stabilize the pelvis. Before edgework drills, perform single-leg balance holds on each leg to engage ankle stabilizers and improve proprioception. During the activation block, include eccentric hamstring slides or partner-resisted hamstring curls to build eccentric strength and reduce strain risk.
These micro-sets take minimal time but deliver measurable injury-reduction benefits:
- Mini-band lateral walks – 10 steps each direction to activate hip abductors and glute medius.
- Single-leg balance holds – 15 seconds each leg to improve ankle stability and proprioception.
- Eccentric hamstring slides – 5–8 reps per leg, slow and controlled, to build eccentric hamstring strength.
- Copenhagen adductor plank – 10–15 second hold each side to strengthen groin and adductor complex.
- Dead-bug core activation – 6–8 reps per side to engage deep core stabilizers before explosive movement.
Coaches can rotate these micro-sets throughout the week rather than cramming all five into every session. Monday’s warm-up might include mini-band walks and single-leg balance, Wednesday adds eccentric hamstring slides and dead bugs. This approach maintains variety, keeps warm-ups efficient, and systematically addresses all high-risk areas over the course of a training week.
Integrating Sport-Specific Warm-Up Elements (Puck Handling, Edgework, Decision-Making)
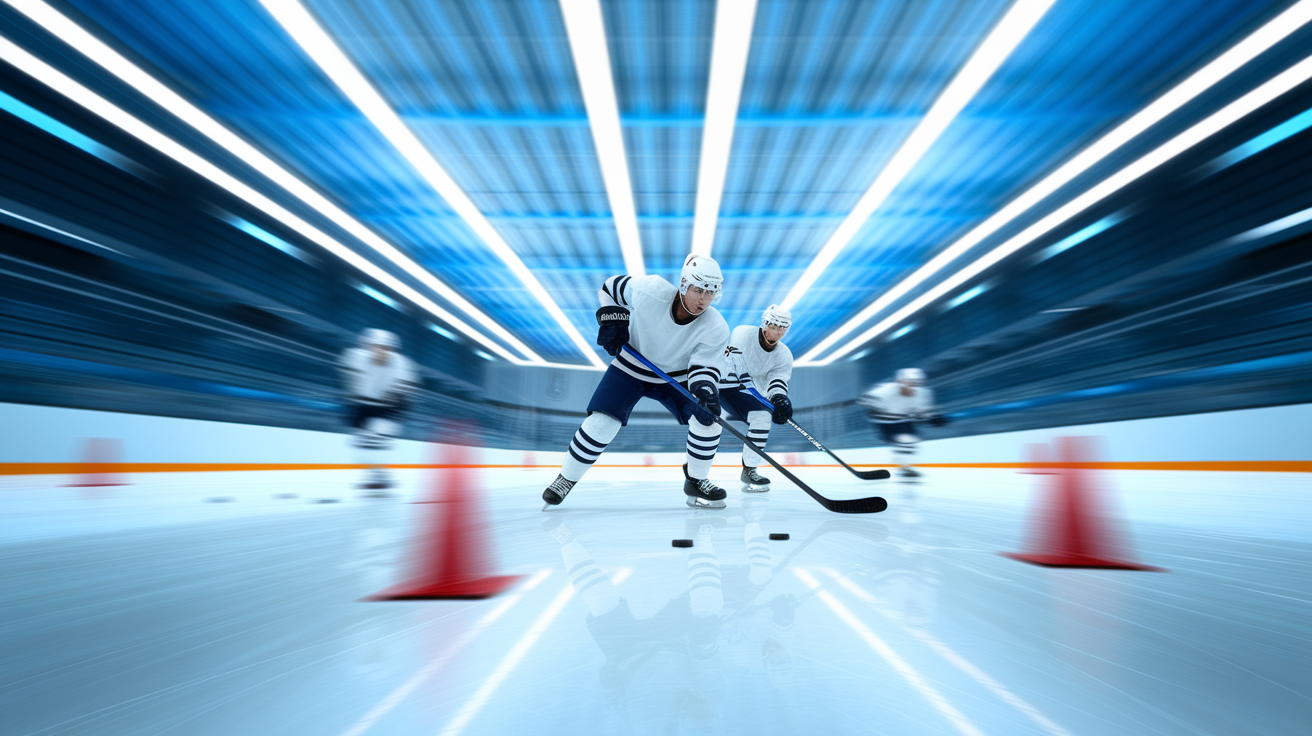
A complete warm-up prepares the body and the brain for hockey. Adding puck-handling, edgework, and decision-making drills during the final minutes of the warm-up activates the cognitive and technical systems players will use in competition. Instead of separating “warm-up” from “skill work,” blend them into a single progressive sequence. After completing mobility and activation drills, transition into edgework patterns that require quick adjustments, tight turns, and crossover steps. Add a puck to the final minute of edgework so players handle, pass, and shoot while executing movement patterns at increasing intensity.
Decision-making under fatigue is a critical skill in hockey, and the warm-up is an ideal time to introduce it. After high-intensity sprint intervals, insert a 2-on-1 or 3-on-2 small-area game that forces players to read defensive positioning, make quick passes, and shoot under pressure. This game-like finishing activity serves as both the potentiation phase of the RAMP warm-up and a tactical primer for the session ahead. Players leave the warm-up physically prepared, technically engaged, and mentally sharp.
Sport-specific add-ons to integrate into the final 3–5 minutes of the warm-up:
Stickhandling through cones at progressive speed – Start at 50 percent effort, increase to 75 percent, finish at game pace.
Edgework with puck control – Tight turns, inside/outside edges, crossovers while carrying the puck.
2-on-1 or 3-on-2 small-area game – 2–3 minutes of competitive play to combine tactical decisions, passing, and shooting under game-like intensity.
Breakout pattern rehearsal – 2–3 reps of the team’s primary breakout at increasing speed, finishing with a shot on net.
Warm-Up and Cooldown Adaptations for Goalies
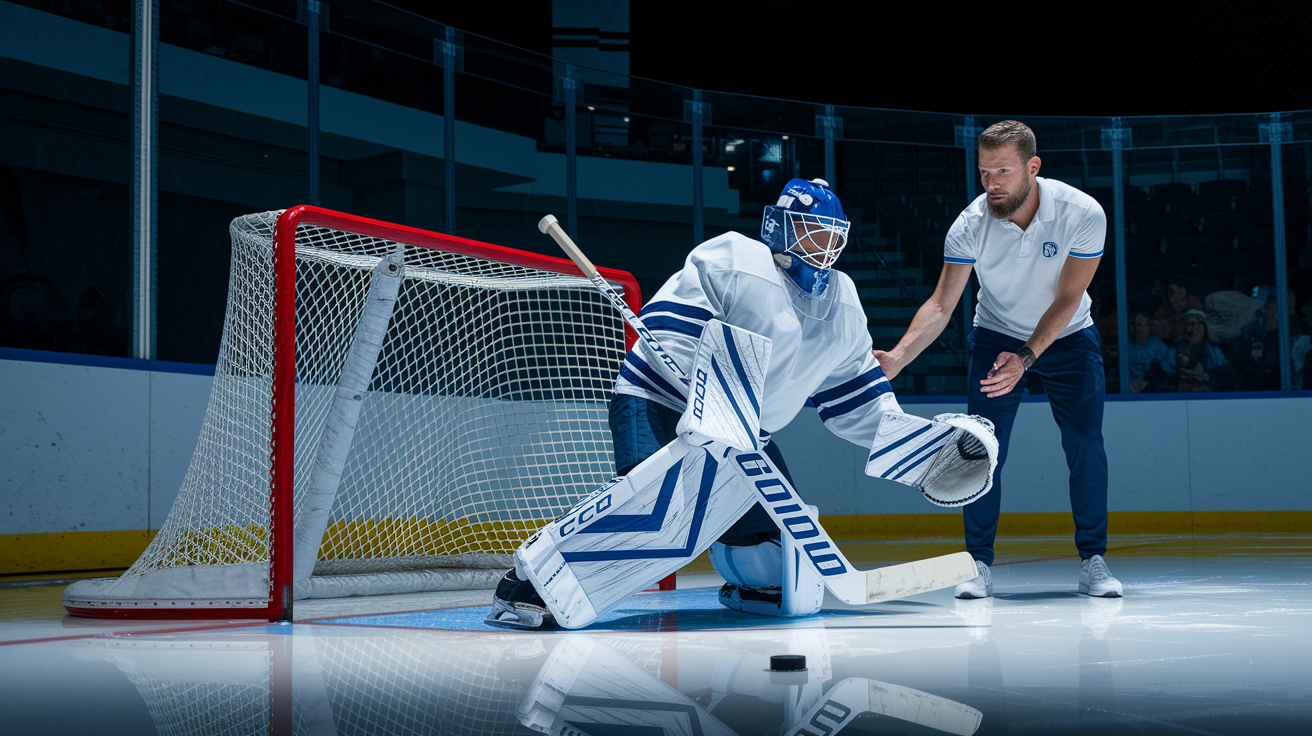
Goalies face different injury risks and movement demands than skaters. Shoulder injuries, hip and groin strains, and lower-back pain are common in goaltenders due to the repetitive butterfly motion, rapid lateral pushes, and overhead reaching required for glove saves. A goalie-specific warm-up emphasizes shoulder range of motion, thoracic spine mobility, hip flexor and adductor activation, and controlled butterfly-pattern repetitions before facing live shots.
Start with 2 minutes of light skating and shuffling to raise body temperature, then move into shoulder circles, arm swings, and thoracic rotations to prepare the upper body. Add hip mobility drills like walking lunges with a twist, leg swings, and deep squat holds to expand hip range and activate the groin and adductors. Progress to controlled butterfly drops and recoveries, 5–8 reps at 50 percent speed, focusing on smooth descent and explosive recovery without knee or hip pain. Finish with light lateral movement drills and a few easy shots to calibrate tracking and hand-eye coordination before game-speed work begins.
Goalie cooldown should include specific attention to shoulders, hips, and core:
Shoulder and pec stretches – Cross-body arm pulls and doorway pec stretches, 20–30 seconds each side.
Hip flexor and groin static stretches – Half-kneeling hip flexor stretch and seated butterfly, 20–30 seconds each.
Thoracic spine foam rolling – 2–3 minutes on upper back to release tension from repetitive rotation and extension.
Warm-Up Organization, Time Management, and Implementation for Coaches
Coaches reported that traditional jog-and-stretch warm-ups felt too short, lacked intensity, and missed sport-specific preparation. RAMP-based systems like Hockey Ready answered that feedback by delivering neuromuscular activation, balance training, hamstring strength, and game-like finishing activities within the same 20–25 minute window teams already allocated to warm-ups. The key is organization: assign station leaders, prep equipment in advance, and script the sequence so players know what comes next without waiting for instructions.
Pre-practice and pre-game warm-ups require different time and equipment setups. Before practice, use the full 10–15 minute protocol with all activation, mobility, and potentiation elements. Before games, especially on the road or at tournaments, compress the routine into 5–8 minutes by combining phases. For example, integrate mobility into the pulse-raising skate and merge edgework with puck control. Keep equipment simple: mini-bands, foam rollers, and cones pack easily and set up in seconds. At home rinks, assign assistant coaches or senior players to lead activation stations while the head coach oversees puck-integration and game-like finishing drills.
For detailed guidance on implementing a RAMP-based warm-up structure designed specifically for hockey, review Hockey Ready – a warmup to reduce injury.
Coach checklist for smooth warm-up implementation:
Assign station leaders – Designate assistant coaches or senior players to run mobility, activation, and edgework stations.
Prep equipment in advance – Lay out mini-bands, cones, and foam rollers before players arrive.
Script the sequence – Write the warm-up order on a whiteboard or card so players move through phases without waiting for instructions.
Time each phase – Use a stopwatch or phone timer to keep the routine on schedule.
Rotate micro-sets weekly – Vary hamstring, core, and balance drills to maintain engagement and address all high-risk areas over time.
Adjust for travel and tournaments – Compress the routine to 5–8 minutes when ice time or space is limited, prioritize activation and one high-intensity interval.
Assessing and Tracking Warm-Up Effectiveness for Injury Reduction

Sports-science testing demonstrates that dynamic warm-ups increase muscle activation, improve movement mechanics, and maintain or enhance performance measures like sprint speed, agility, and power output. Coaches can track similar outcomes using simple field-based assessments. Measure sprint times from a standing start before and after implementing the new warm-up protocol. Improvements or maintenance of speed confirm that the routine doesn’t fatigue players. Record the number and type of injuries each month, comparing pre- and post-implementation periods to identify trends in groin strains, hamstring pulls, and ankle sprains.
Mobility improvements are another useful marker. At the start of the season, assess hip internal rotation, hip flexor length, and hamstring flexibility using simple range-of-motion tests. Repeat every four to six weeks. Players who consistently complete the warm-up and cooldown should show gradual improvements in joint range and reduced muscle tightness. Subjective feedback also matters: ask players how they feel before games, whether they notice fewer pulled muscles or sore joints, and if they feel more prepared to skate at game speed from the opening shift.
| Metric | How to Measure | Frequency |
|---|---|---|
| Sprint speed | Timed 20-yard sprint from standing start | Bi-weekly |
| Injury count and type | Log all injuries by type (groin, hamstring, ankle, etc.) | Monthly |
| Hip and hamstring mobility | Hip internal rotation and sit-and-reach tests | Every 4–6 weeks |
| Player readiness feedback | Brief post-warm-up survey or verbal check-in | Weekly |
Final Words
In the action, we mapped a compact, evidence-based warm-up and cooldown that targets groin, hamstring, ankle and ACL risks. You saw the science behind RAMP-style activation and why dynamic work beats pre-game static stretches. You also got clear timeframes and age-specific tweaks.
Keep it simple. Pick a routine, coach it often, and track movement and injuries.
Using warm-up and cooldown protocols to reduce injuries in youth hockey teams is practical and proven. Start small and expect more players available and fewer soft-tissue issues.
FAQ
Q: What is the ideal warm-up duration before play for youth hockey?
A: The ideal warm-up duration before play for youth hockey is 5–15 minutes, with younger players near 5 and older youth toward 15, balancing activation, mobility, and sport-specific prep without overdoing reps.
Q: What is the ideal cooldown duration after play?
A: The ideal cooldown duration after play is 5–10 minutes, including 3–5 minutes light movement, 20–30 second static holds per muscle group, and 2–5 minutes of soft-tissue work like foam rolling.
Q: How do dynamic warm-ups reduce injuries in youth hockey?
A: Dynamic warm-ups reduce injuries by raising body temperature, increasing neural drive, activating key muscles, and improving movement patterns—helping players handle quick direction changes and deceleration safely.
Q: Which injuries do these warm-up and cooldown protocols primarily target?
A: These protocols primarily target groin/adductor, hamstring, ankle, and ACL problems by improving landing control, hip and knee range of motion, and strength around vulnerable joints during quick stops and cuts.
Q: What are the essential steps in a complete pre-game routine?
A: A complete pre-game routine includes pulse raising, glute/hamstring/calf activation, joint mobility, edgework, skating-stride activation, puck control, short high-intensity intervals, and a final game-specific rehearsal of roles.
Q: What is RAMP and why use it for youth hockey warm-ups?
A: RAMP stands for Raise, Activate, Mobilise, Potentiate and is used because it systematically improves muscle activation and movement patterns while preserving or boosting on-ice performance.
Q: How do on-ice and off-ice warm-ups differ and adapt to limited space or time?
A: On-ice and off-ice warm-ups differ by movement medium; adapt by shortening distances, swapping skate drills for dryland analogs, focusing intensity on key targets, and keeping decision-making or puck work in small spaces.
Q: What does an on-ice routine look like for 5–10 minutes?
A: An on-ice routine for 5–10 minutes typically includes 2 minutes light skating, 2 minutes mobility, 2 minutes edgework, about 1 minute sprint work, and ~1 minute puck handling, scaled to age and ice availability.
Q: How can coaches scale warm-ups by age from Mini-Mite to Bantam?
A: Coaches should scale warm-ups: Mini-mite 4–6 minutes (low reps, fun), Atom 5–8, Peewee 7–10, Bantam 8–15 (more sprints, puck work, and change-of-direction drills).
Q: What are key cooldown stretches to use after games?
A: Key cooldown stretches after games include quad, hamstring, hip flexor, groin, calf, and glute holds for 20–30 seconds each, combined with light movement and brief soft-tissue release.
Q: What should players eat and when after games for recovery?
A: Players should eat about 20–25 grams of carbohydrate plus protein within 30–60 minutes after play to support muscle repair and refuel for recovery.
Q: What goalie-specific warm-up and cooldown elements are important?
A: Goalie-specific warm-ups and cooldowns should include shoulder ROM, thoracic mobility, hip mobility, core and balance work, controlled butterfly reps, and gentle post-game soft-tissue work.
Q: How do coaches assess and track warm-up effectiveness for injury reduction?
A: Coaches assess effectiveness by tracking sprint and skating times, mobility screen scores, readiness measures, and injury incidence over the season, testing regularly to spot trends and adjust routines.