
Blaming your hands for sloppy puck control is lazy.
Gear often does the work for you.
Sticks, tape, and pucks change how the puck sits, spins, and leaves the blade.
Flex, curve, lie, blade stiffness, taping pattern, and puck temperature or wear all affect feel and timing.
Read on to learn which small swaps give the biggest control gains and how to test them in practice.
We’ll cover stick specs, taping methods, and puck prep so your next drill actually matches game feel.
How Stick Construction and Specifications Influence Puck Control
Flex rating controls how much the shaft bends under pressure, and that bend changes everything about loading and releasing the puck. A softer flex compresses easier during stickhandling. You’ll feel more give when you’re cradling the puck, pulling it tight, or making quick touch passes. That extra whip helps with shot velocity, but there’s less stiffness to push against when you’re controlling a bouncing puck or taking a hard pass. A stiffer flex gives you more resistance and feedback. A lot of players find that helpful for precision handling and stability in traffic. If you’re a smaller forward who counts on quick hands, a 75 flex might load smoothly and let you feel every puck movement. A bigger defenseman using an 85 or 95 flex gets a firmer platform that holds up better battling along the boards or absorbing rim passes.
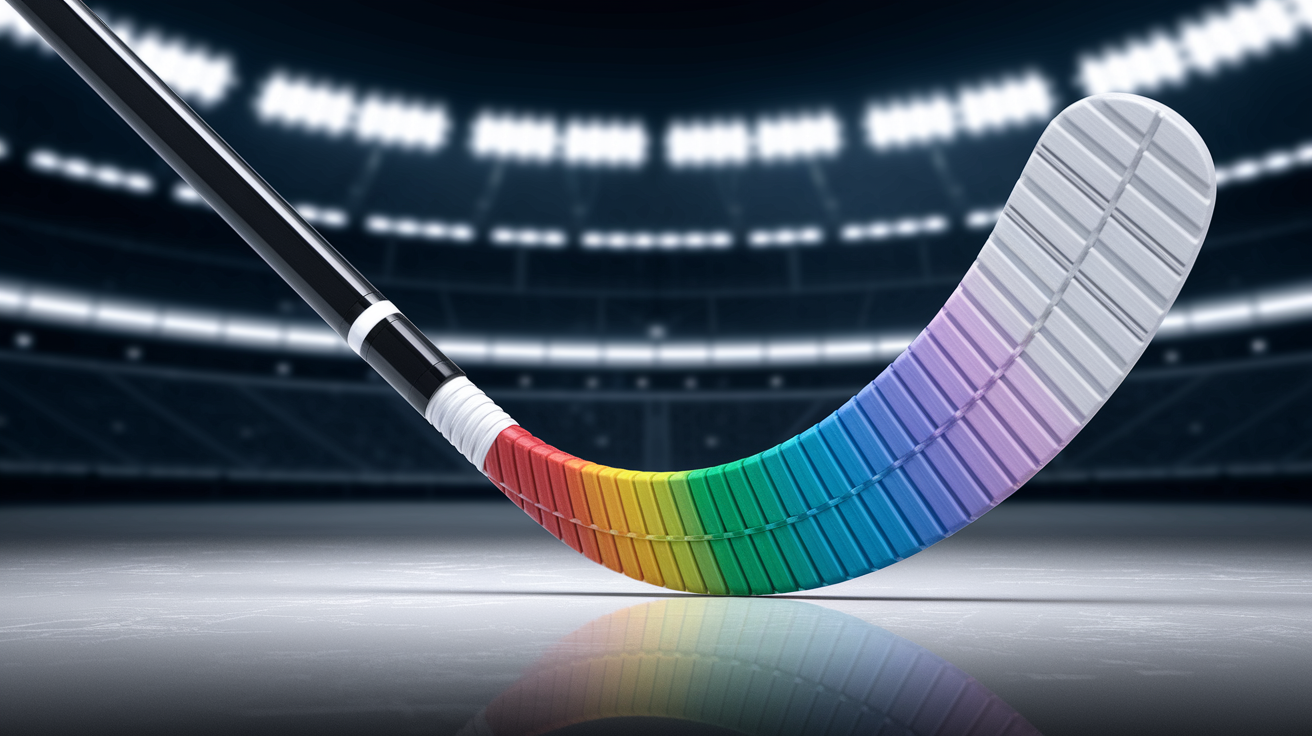
Blade curve and pattern change where the puck sits on your stick and how it spins off the blade. A mild curve keeps the puck flatter and closer to center. Easier to control on your forehand and backhand without fighting the toe or heel. A deeper curve cradles the puck better on the forehand but makes backhand control harder because the blade naturally cups the puck toward one side. Toe curve patterns help with quick releases and tight deking since the puck rides near the tip, but they need more precise hand positioning. Mid curves offer balance. They’re the most common choice for all-around handling. Lie, the angle between the blade and shaft, determines how much of your blade sits flat on the ice when you’re in your normal skating posture. If the lie’s too upright, only the heel touches. You lose control on the toe side. Too flat, and the toe digs in while the heel lifts. Harder to cradle smoothly or execute clean saucer passes.
Composite sticks run modern hockey because they’re lighter and more consistent with energy transfer than wood. The carbon fiber layup in a composite stick reduces weight and dampens vibration differently than wood grain. You get quicker response when you shift the puck from forehand to backhand. Wood sticks offer more natural flex patterns and a softer, damped feel that some players still prefer for pure touch. But they’re heavier and less consistent shaft to shaft. Composite blades can be tuned for specific stiffness zones. Manufacturers can build a toe that’s slightly softer for better puck cushioning or a stiffer heel for more powerful snap shots. That tunability matters because small changes in blade stiffness affect how the puck sits, spins, and releases during tight handling sequences.
Players evaluating stick setup for better puck control should focus on these six variables:
Flex rating matched to body weight and shooting style, typically 50 percent of body weight in pounds for forwards, slightly higher for defensemen. Blade curve depth and location, mild to moderate curves for balanced forehand and backhand work. Lie angle that keeps the full blade flat during your natural skating stride. Blade stiffness or dampening characteristics, stiffer for board battles, slightly softer for receiving hard passes. Shaft kick point, low kick for quick release handling, mid kick for more stable loading during longer stickhandling sequences. Overall stick length, cut to chin or nose height when standing on skates, shorter for tighter control, longer for reach and poke checking.
Effects of Tape Type, Texture, and Taping Methods on Puck Feel
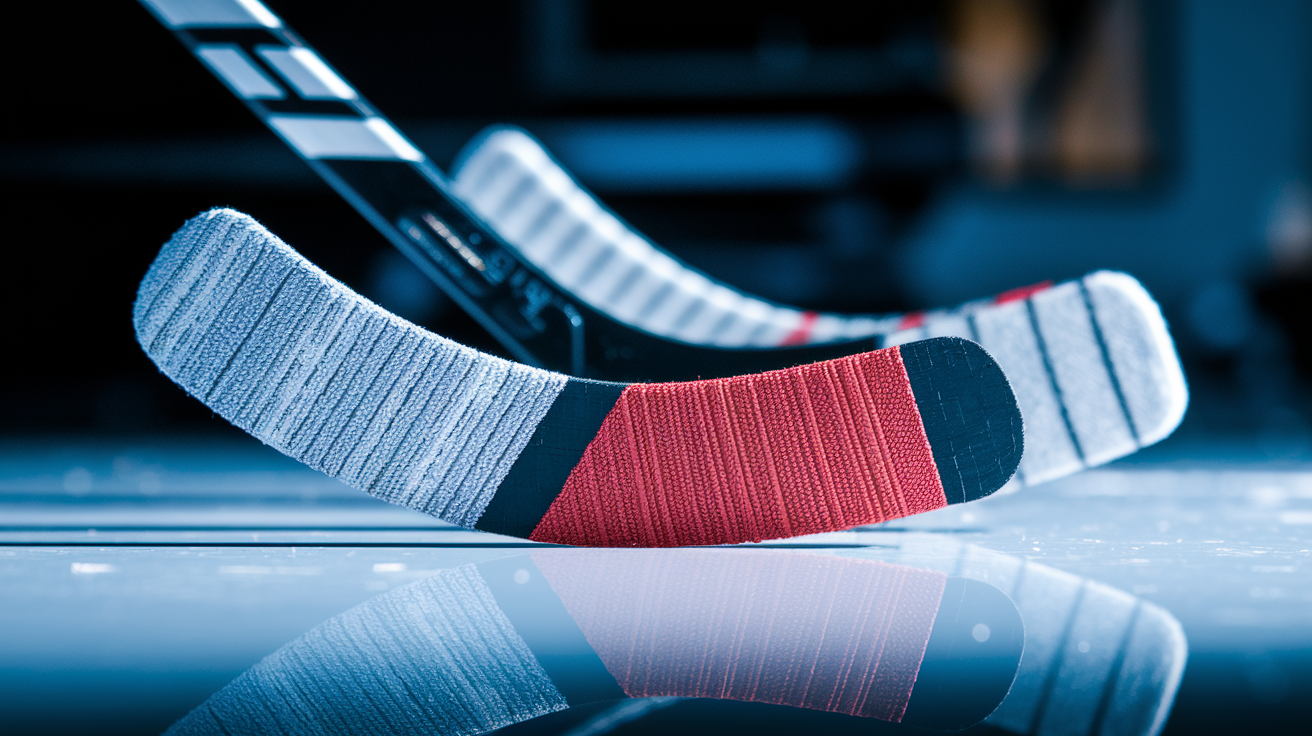
Cloth tape’s the standard because it’s affordable, available, and gives you a consistent friction surface that grips the puck without being sticky. It absorbs some moisture, which helps in humid rinks or when the ice surface is wet. Friction-enhanced tapes add texture or a rubberized coating that increases grab. Easier to cradle and control the puck during dekes or in tight space. These tapes can feel heavier and sometimes create too much drag for players who count on quick puck touches and fast releases. Specialized grip tapes often include wax coatings or raised patterns designed for spin control and minimizing ice buildup. The trade-off is durability and cost. Grip tapes wear faster and usually cost more per roll than standard cloth options.
Taping patterns change how much blade surface contacts the puck and where friction happens during handling. A full heel-to-toe wrap covers the entire blade and gives you uniform grip across all contact points. That helps with consistency but adds weight and can dull the feel of the puck on your stick. Toe-only wraps keep the tip protected and add just enough friction where most deking and quick shots happen, leaving the rest of the blade exposed for a lighter, more responsive feel. Partial coverage patterns, like taping only the bottom inch of the blade or skipping the heel, let players customize grip zones based on their stickhandling style.
How tight you pull the tape matters too. Looser wraps create a slightly cushioned surface that dampens hard passes. Tight wraps firm up the blade and increase responsiveness during fast puck movement.
Five variables show how tape changes puck control performance:
Tape material composition, cloth vs. friction-enhanced vs. wax-coated grip styles. Coverage pattern, full blade vs. partial vs. toe-focused application. Tape tension during application, tight for firmness, loose for slight cushioning. Number of layers applied, single layer for light feel, double or triple for added grip and protection. Frequency of retaping, fresh tape grips better, worn tape loses friction and collects debris.
Puck Variables That Change Handling and Stability

Regulation pucks weigh six ounces and measure three inches in diameter and one inch thick, but not every puck you handle will be standard. Heavier pucks, sometimes used in training to build strength, need more force to move. They change how quickly you can pull the puck in or push it out during deking sequences. Lighter pucks, common in some street hockey or practice settings, glide faster and feel less stable on the blade. Harder to cradle smoothly or control during tight turns.
Temperature changes rubber hardness, and that affects how the puck behaves on your stick. A frozen puck straight from the cooler is rock hard, bounces more, and slides faster with less friction against the blade. If you’re practicing with a warm puck or one that’s been sitting in a bag, the rubber softens. Increases grip but also makes the puck feel sluggish and less predictable on quick touch passes. Cold pucks are standard for games because they glide consistently on ice. But if you practice with warm pucks and then play with frozen ones, your touch changes.
Surface condition matters more than most players realize. A puck with nicks, chips, or flat spots doesn’t roll cleanly. It wobbles or catches on the blade in ways that mess with timing and control. New pucks have a smooth, uniform edge that glides predictably, but after a few sessions, wear creates inconsistencies. If you’re training for precision stickhandling, rotating through pucks and checking for damage keeps your practice realistic.
Four puck condition issues that meaningfully influence handling quality:
Edge wear or flat spots from repeated impact with boards or posts. Surface chips or gouges that create uneven friction during blade contact. Temperature inconsistency between practice and game pucks. Dirt, tape residue, or debris buildup that reduces smoothness and predictability.
Optimizing Equipment Setup for Maximum Puck Control
Tuning your gear setup takes less time than most players think, but it needs intentional testing and adjustment. Start by matching your stick flex to your strength and shot style, then fine-tune blade curve and lie based on how you naturally hold the puck during stickhandling drills.
Stick customization begins with flex selection. If you’re loading the puck for wrist shots and finding that the shaft barely bends, drop five to ten flex points and test again. If the stick feels whippy and unstable when you’re trying to receive hard passes or protect the puck in traffic, go stiffer. Blade curve and lie work together to control how much blade surface sits flat on the ice. If you’re losing puck control on your backhand or fighting to keep the puck centered on your blade, try a milder curve with a lie that matches your skating posture. Most players skate with a slight forward lean, so a lie between 5 and 6 keeps the blade flat without forcing you to adjust your hands or stance.
Tape setup and maintenance make a real difference in how the puck feels. Retape your blade every few sessions or whenever you notice the tape fraying, getting slick, or collecting debris. Test different taping patterns during practice to see what gives you the best combination of grip and responsiveness. If you count on quick releases, a lighter tape job with partial coverage might improve your feel. If you play a grinding style with lots of board work and puck protection, a full wrap with friction tape adds durability and consistent grip.
Puck preparation is simple but often ignored. Store game pucks in a cooler or cold space before practice to simulate real conditions, and rotate out any pucks with visible damage or uneven edges. Practicing with the same puck condition you’ll face in games keeps your hands sharp and your timing consistent.
Six steps outlining a practical equipment-tuning routine:
Test your current stick flex by taking ten wrist shots and ten snap shots. If the shaft isn’t visibly flexing or feels too loose, adjust up or down by five to ten flex points. Evaluate blade lie by stickhandling in your normal skating stance, check if the full blade sits flat on the ice without tilting toward toe or heel. Experiment with blade curve depth during practice. Try one session with a mild curve and one with a moderate curve to feel the difference in backhand and forehand control. Retape your blade with a fresh, consistent pattern before every third or fourth ice session, track how tape wear affects puck feel over time. Inspect practice pucks weekly for chips, flat spots, or surface damage. Replace or rotate out any pucks that don’t roll smoothly. Store game pucks in a cold environment at least two hours before practice or games to match regulation hardness and glide characteristics.
Final Words
In the action, you saw how stick construction, tape choices, and puck condition each change touch, spin, and predictability. We covered flex, curve, blade pattern, tape types and taping patterns, plus puck weight, temperature, and wear, then tied it together with a simple setup routine you can use.
Test one change at a time on the ice, keep notes, and favor what boosts control in real play.
Keep tuning equipment factors that affect puck control including sticks tape and pucks, and you’ll feel the difference shift to shift.
FAQ
Q: What equipment do I need for stick and puck?
A: The equipment you need for stick and puck includes skates, a hockey stick, helmet with cage, gloves, shin and elbow protection, mouthguard and cup. Bring tape, a spare stick, and a practice puck.
Q: Why can’t you wear 69 in hockey?
A: The reason you can’t wear 69 in hockey is most leagues ban it for its sexual connotation; teams or leagues often reject offensive or provocative numbers and will ask players to pick an alternate number.
Q: How to improve puck control?
A: To improve puck control, practice soft hands with stationary and moving puck drills, use toe-drag and tight-space wall work, train with varied pucks and tape, and do off-ice stickhandling daily.
Q: What are the equipment used in hockey?
A: The equipment used in hockey includes skates, a stick, helmet with cage or visor, gloves, shoulder and elbow pads, shin guards, protective pants, mouthguard and cup; socks, jersey and tape finish the setup.