
If you lose every board battle, your team spends the whole period chasing the puck.
Board battles decide tempo. Holding the puck two or three extra seconds turns chaos into control.
Hold the puck two or three extra seconds and your team can regroup, the defense can join the rush, and you can wait for the best pass.
Here’s the point. Board protection is a short, repeatable sequence of body angles, stick placement, and edge work.
I’ll show the exact hip, foot, and hand positions plus simple drills so your hips and hands do the work without thinking.
How to Shield the Puck Along the Boards: Quick Steps

Board battles decide tempo. Hold the puck for two or three extra seconds under pressure and your team gets time to reorganize. Your D can join the rush. You can wait for the best pass. Lose it fast and everyone’s scrambling. A repeatable protection sequence turns chaos into control.
-
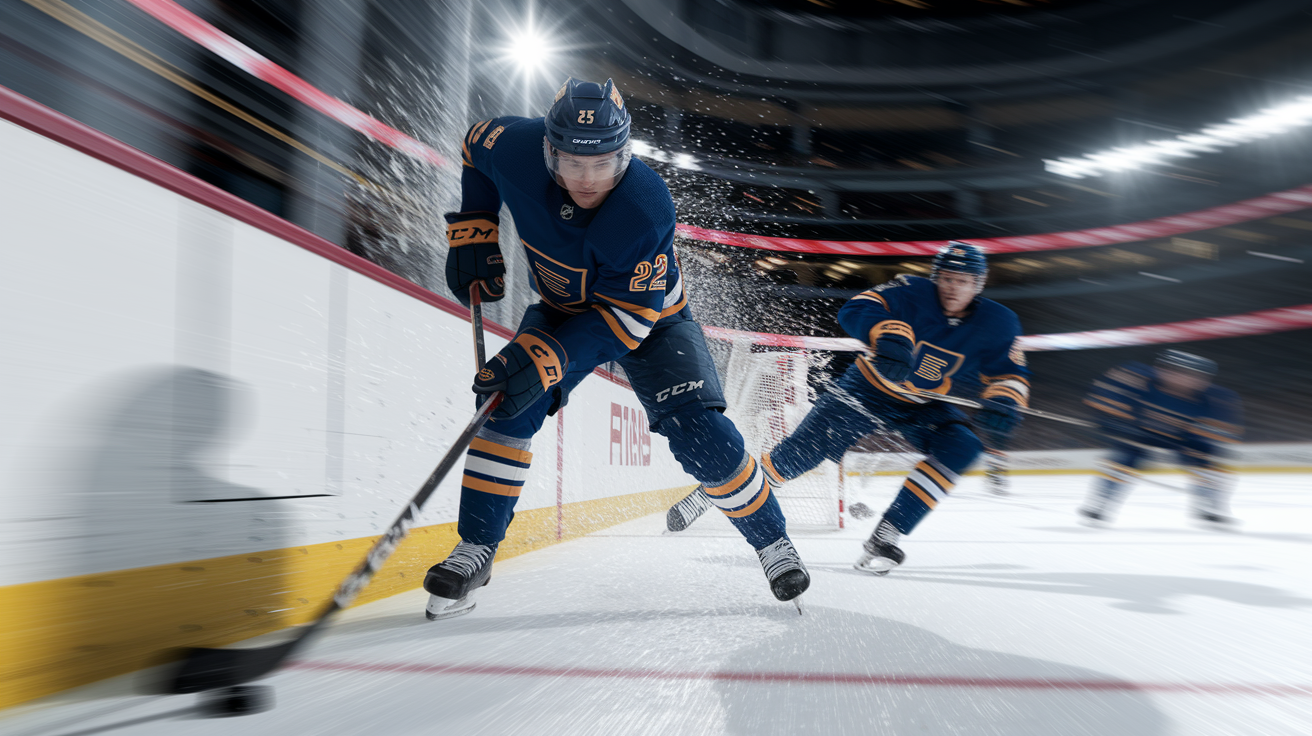
Angle your body as you approach the boards. Keep your inside shoulder (closer to the boards) slightly forward. Turn your hips so your back angles toward the defender. Your chest should face the boards at roughly 15 degrees. This blocks the direct line to the puck.
-
Drop your center of gravity. Bend your knees 20 to 30 degrees from standing. You should feel your weight settle through your hips and thighs. A lower stance makes it harder for anyone to move you off the puck.
-
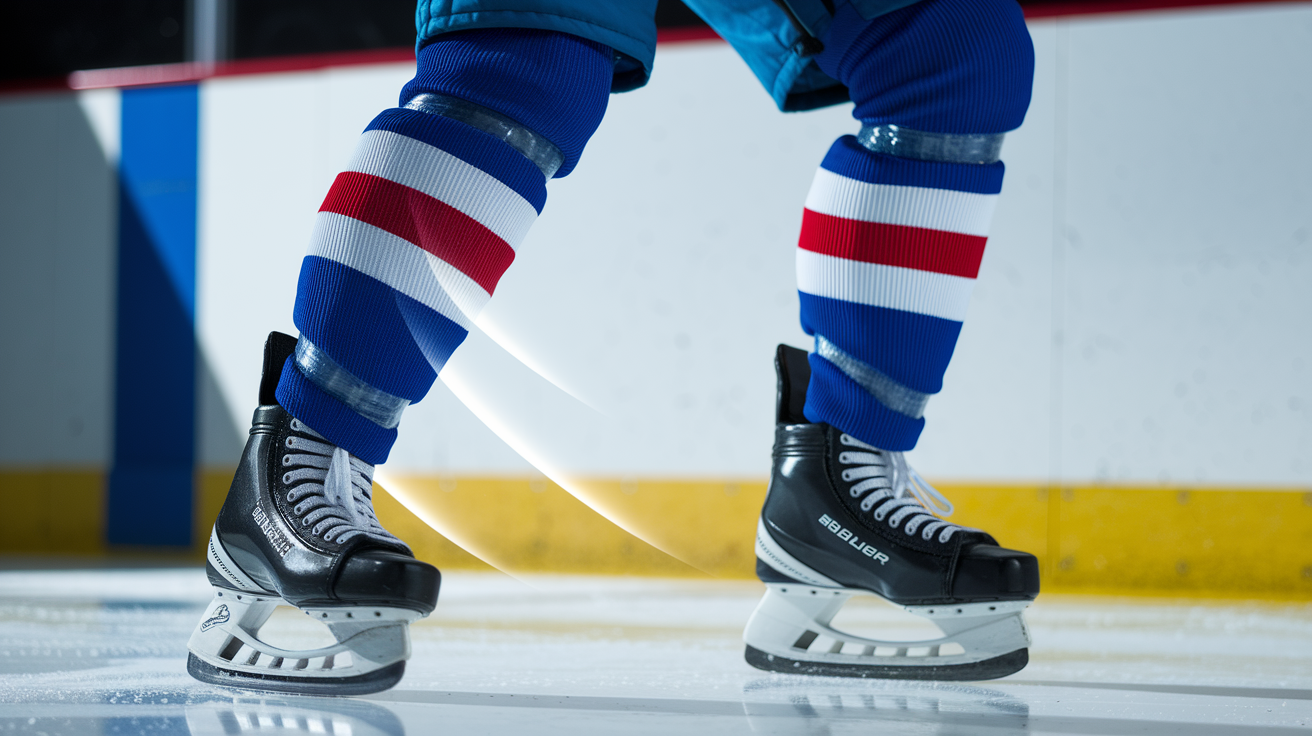
Place your inside skate 6 to 12 inches from the boards. Your outside skate stays slightly wider for balance. Keep your feet moving with short, choppy steps. Static feet make you easy to pin.
-
Position your stick blade between the defender and the puck. Angle the blade 30 to 45 degrees toward the boards. Keep your top hand 6 to 8 inches from the butt end. Bottom hand sits 12 to 16 inches down the shaft. This gives you leverage without reaching.
-
Use your inside hip and forearm to create a barrier. Press your hip toward the boards and extend your inside forearm (legally) to create separation. Drive through contact with your legs. Don’t lift your elbow or cross-check.
-
Keep your head up and feel the pressure. Don’t stare at the defender. Scan for support, read the next passing lane, sense where the pressure’s coming from. Adjust your angle as the checker moves.
These six steps work together like a system. Your body blocks access. Your stick guards the puck. Your edges keep you mobile. Your awareness tells you when to hold or when to move. Practice the sequence slowly at first, then add speed and contact. After a few hundred reps, your hands and hips will do the work without conscious thought.
Core Body Positioning Principles for Strong Board Protection
Your body is the first line of defense. Before your stick does anything, your hips, shoulders, and legs determine whether you keep the puck or lose it. A defender can poke around a weak stance, but a solid base with the right angles makes it nearly impossible to separate you from the puck.
Start with a wide stance. Your feet should be shoulder width or slightly wider, toes pointed slightly outward. Bend your knees so your hips drop 3 to 6 inches lower than a normal stride. This lowers your center of gravity and increases your ability to absorb contact. If your knees are locked or only slightly bent, you’ll get pushed off balance with minimal pressure.
Your hips do most of the shielding work. Rotate them so your inside hip (the one near the boards) is slightly ahead of your outside hip. This rotation creates a physical barrier between the defender and the puck. Your shoulders follow the same angle, chest turned toward the boards at about 15 degrees. This positioning keeps the puck tight to your body on the protected side while blocking the checker’s direct path.
Weight distribution matters. Keep 55 to 65 percent of your weight on your inside leg (closest to the boards) when stationary. When you pivot or move, shift to your outside edge for explosive pushes. A balanced stance allows quick adjustments. Standing upright or leaning back opens gaps for poke checks and makes you easier to lean on or lift.
Stick Positioning and Hand Control for Effective Puck Protection

Your stick is a second wall. Body position keeps the defender at a distance, but stick placement stops poke checks and creates options for quick releases. Without active stick control, even a strong body shield can fail when a checker slides their blade under yours.
Before contact arrives, assess where the puck sits relative to your body. The safest spot is on your forehand or backhand side, tucked within 2 to 4 inches of your skates and close to the boards. Keep the blade flat on the ice or within 2 inches of the surface. A lifted blade invites easy poke checks.
Blade angle toward the boards. Position your blade at 30 to 45 degrees so it acts as a ramp that deflects incoming sticks away from the puck. A flat blade parallel to the boards leaves gaps.
Top hand control near the butt end. Keep your top hand 6 to 8 inches from the top of the shaft. This range gives you enough extension to guard the puck without losing leverage. Gripping at the very end reduces your ability to pull the puck in quickly.
Bottom hand spacing for power. Your bottom hand should sit 12 to 16 inches down the shaft. This spacing lets you use your forearm and wrist to absorb stick checks and rotate the blade quickly for backhand or forehand releases.
Active pressure through the lower hand. Press down through your bottom hand to pin the puck against the ice when needed. Light pressure keeps the puck mobile for quick moves. Heavy pressure locks it in place when you need to stall for support.
Hand placement isn’t static. As pressure shifts, slide your top hand slightly forward or back to adjust your reach. If a defender applies pressure from below, pull the puck in tighter and rotate your blade to seal the gap. If they reach from above, extend slightly and use your stick shaft to block their angle. The blade stays between the checker and the puck at all times.
Strong lower hand pressure combined with an angled blade makes it almost impossible for a defender to lift your stick or slide their blade under yours. Your hands work together. The top hand steers, the bottom hand guards.
Footwork Patterns Used in Board Battles

Your feet keep you alive. Even with perfect body position and stick control, static feet turn you into an easy target. Movement creates angles, breaks pressure, and opens passing lanes. Small, controlled steps matter more than big explosive strides when you’re pinned against the wall.
Short choppy steps let you adjust your position without losing balance. When holding the puck under pressure, take 2 to 4 inch steps with your inside foot (the one closer to the boards) to inch forward or backward along the wall. Your outside foot mirrors the movement but stays slightly wider for stability. This shuffle keeps your hips aligned and your base strong while you wait for support or scan for an outlet pass.
Inside edge pressure is critical when you need to stall. Lean into your inside edge with 20 to 35 percent of your body weight over that skate. This creates friction against the ice and anchors you in place when a defender’s trying to push you off the puck. From this position, you can hold for 2 to 4 seconds while your team reorganizes.
When you’re ready to move, explode off your outside edge. A quick 0.4 to 0.6 second weight transfer from inside to outside edge lets you pivot away from pressure or accelerate up the boards. Push hard through your outside leg with a short 2 to 3 step burst to create separation.
Pivots change the battle. If pressure comes from your left, pivot your hips and feet to rotate your body so the puck moves to your right side, still shielded by your body. The pivot happens in one motion. Inside edge plants, hips rotate 30 to 45 degrees, outside edge drives. Your stick follows your body, blade staying between the checker and the puck throughout the turn.
Practice 3 to 4 quick edge transitions per board battle. Each transition is a micro adjustment that keeps the puck safe and your body in control.
Common Mistakes Players Make During Board Protection

Even experienced players fall into bad habits when fatigue sets in or pressure increases. Recognizing these errors early makes them easier to fix.
Standing too upright. When your knees are straight or only slightly bent, you lose leverage and balance. A defender can push you off the puck with minimal effort. Drop your hips and increase your knee bend to 20 to 30 degrees from full extension.
Holding the puck too far from the boards. If the puck sits 12 inches or more away from the wall, you give the defender space to reach around your body. Keep the puck within 0 to 6 inches of the boards to use the wall as an extra shield.
Reaching with the top hand. Extending your arms away from your body to protect the puck creates weak leverage and opens your core to checks. Keep your elbows tucked and use your hips and legs to create space instead.
Ignoring edge work. Flat footed players get pinned and lose battles. Even small edge adjustments (inside to outside, quick pivots) keep you mobile and harder to contain.
Overusing the stick while neglecting body position. Your stick can guard the puck, but if your body isn’t between the defender and the puck, a strong checker will go through you. Use your body first, stick second.
Fixing these mistakes starts with slow repetition. Practice the correct stance, puck placement, and footwork without a defender first. Add passive pressure, then live contact. Film yourself or ask a coach to watch. The errors show up clearly on video. Hips too high, puck too far out, feet stuck in place.
Correct one mistake at a time. After 3 to 4 focused sessions, the adjustments become automatic.
Drills to Improve Puck Protection Along the Boards

Repetition under controlled pressure builds the muscle memory and confidence needed for live game situations. These drills move from basic technique to full speed contact, allowing players to progress through each stage before adding intensity.
Wall Receive Protect. A coach or partner passes the puck to a player standing 6 inches from the boards. The player receives the puck, immediately pivots to shield it with their body, and holds it against a passive defender for 5 to 10 seconds. Focus on body angle, stick placement, and knee bend. Run 3 sets of 8 reps per side.
1v1 Board Battle. Two players compete for a loose puck dumped along the boards. The player who wins possession must hold it and advance to the blue line under full contact. The defender applies live pressure. Winner keeps the puck. Run 4 sets of 10 reps, rotating players after each set.
Edge Transition Ladder. Set up cones 10 to 15 feet apart along the boards. A player skates down the line, protecting the puck while making quick inside to outside edge transitions at each cone. No defender, just footwork focus. Run 3 sets of 12 transitions, increasing speed each set.
Two Touch Outlet. A player receives a puck along the boards under pressure from one defender. The player must protect the puck for 2 to 3 seconds, then make a clean one touch pass to a coach or teammate positioned at the top of the circle. Run 4 sets of 8 reps, alternating sides.
Drills should follow a three stage progression. Stage 1 is no check technical repetition at low intensity, focusing on body mechanics and stick angles. Stage 2 introduces passive contact at 50 to 70 percent intensity, allowing players to feel pressure without full game speed. Stage 3 is live checking at 80 to 95 percent intensity, replicating real board battles. Move to the next stage only when players can execute the skill consistently at the current level.
Track measurable progress. In Wall Receive Protect, aim for 80 percent of players holding possession for the full 5 to 10 seconds within two sessions. In 1v1 Board Battle, target 70 percent successful puck retention and advancement to the blue line within four weeks. Consistent measurement shows where the group’s improving and where more repetition is needed.
Applying Board Protection in Game Situations
Knowing the technique is one thing. Recognizing when and how to use it during a shift is another. Game situations demand quick reads, and the right protection choice depends on pressure direction, support positioning, and the play you’re trying to make.
In the offensive zone, board protection buys time for the cycle. If you win a puck battle along the half wall and your center’s still skating into position, hold the puck for 2 to 3 seconds using your body and stick to shield it. Keep your head up and scan for the slot. As soon as you see a passing lane open, make a quick wall pass or reverse the puck to your D at the point. If no lane appears, roll off the boards and carry the puck behind the net to reset. The goal is possession with purpose, not just holding for the sake of holding.
On a defensive zone breakout, board protection prevents turnovers in dangerous areas. If you retrieve a dump in along the wall and immediate pressure arrives, use your inside hip to pin the puck and wait for your centerman or far side D to support. Hold for 1 to 2 seconds, then chip the puck up the boards to the nearest outlet or make a short backward pass to your D.
Protecting the puck in your own zone is about location. Never hold it directly in front of your net. If you’re forced to battle low, move the puck toward the corner or half wall as quickly as possible, then shield and pass.
Here’s a real example. You’re a left winger on the penalty kill. The puck is dumped into your corner. You reach it first, but the opposing forward is one stride behind. You angle your body so your right shoulder and hip are between him and the puck. You drop into a low stance, stick blade angled toward the boards at 35 degrees. You feel him arrive and lean into your inside edge to absorb the contact. Your center swings below the goal line to support. You hold for 2 seconds, then slide a short pass to him along the wall. He carries it up ice, and your kill clears the zone.
That 2 second hold bought your team the time to regroup and escape pressure. Without it, the puck likely turns over in front of your net.
Neutral zone board battles often decide possession and transition speed. If you’re forechecking and force a turnover along the wall, immediately shield the puck and look for your trailing forward. A quick 1 to 2 second hold while you scan creates a controlled breakout instead of a wild race for a loose puck. Protection in the neutral zone is about vision and timing. Hold long enough to see your options, then move.
Final Words
In the action we broke board play into clear parts: quick steps to shield the puck, core body positioning, stick and hand control, footwork, common mistakes, drills, and how to read game situations.
Those pieces work together — low base, hips between you and the defender, strong lower-hand pressure, and micro foot adjustments let you keep possession and make the first pass.
Practice the drills and correct the common errors. These puck protection techniques along the boards explained here give simple, trainable next steps. You’ll start winning more board battles.
FAQ
Q: Is number 69 banned in the NHL?
A: The number 69 is not banned in the NHL. The league has no rule against it; players and teams generally avoid it for taste, merchandising, or clubhouse culture rather than official prohibition.
Q: What country loves hockey the most?
A: Canada loves hockey the most. Hockey is a central part of Canadian culture, with high per-capita participation, deep junior systems, and strong fan support from rinks to the NHL.
Q: Who is the shortest active NHL player?
A: The shortest active NHL player varies by season. Most recent rosters show the shortest skaters around 5’6″–5’8″; check current team rosters for the exact player’s name this season.
Q: What is the Gretzky rule in hockey?
A: The Gretzky rule in hockey is the NHL’s league-wide retirement of Wayne Gretzky’s No. 99, meaning no player can wear number 99 in NHL games.