
If you still judge a youth hockey game by goals and “hustle” notes, you’re missing what actually develops players.
This one-page postgame statistical checklist turns guesswork into numbers, skating, edge control, passing accuracy, gap control (how close a defender stays to the puck carrier), so coaches and parents can spot trends instead of trading opinions.
Use it after every game, record 12 observable skills, and you get clear practice priorities and measurable progress beyond the scoreboard.
Core Postgame Evaluation Checklist

This is your single-page template for after every game. Print it, hand it to your bench coach or a parent with a clipboard, and track what actually matters for development. It replaces the “he played great” or “tough night” guesswork with real, consistent numbers that help you spot patterns across weeks and months. Every row tracks observable skill execution, not just effort or hustle.
| Skill Area | Metric | Rating (1–5) | Notes |
|---|---|---|---|
| Skating Speed | Top-end speed in open ice | ||
| Edge Control | Crossovers, pivots, transitions | ||
| Acceleration | First three strides out of corners | ||
| Puck Handling | Head up, tight control under pressure | ||
| Passing Accuracy | Tape-to-tape passes, weight & timing | ||
| Receiving Passes | Stick position, soft hands, no bobbles | ||
| Shooting Accuracy | On net vs. wide or high | ||
| Defensive Coverage | Gap control, stick on puck | ||
| Forechecking | Pressure timing, stick checks, body position | ||
| Backchecking | Lane coverage, hustle from offensive zone | ||
| On-Ice Awareness | Head position, sees open teammates/threats | ||
| Effort Level | Compete every shift, battles for pucks |
Rate each skill on a 1 to 5 scale where 1 means rarely demonstrates, 3 meets age-appropriate expectation, and 5 is standout execution that period. Mark the number in real time or right after the game, then add one short phrase in Notes only when you see something specific worth remembering (like “Lost gap on entry twice in P2” or “Three tape-to-tape saucer passes”). Keep notes short so you finish the sheet before you leave the rink.
How to Record and Track Player Metrics

Start with a simple three-ring binder or a shared team spreadsheet. You don’t need complexity. You need consistency. After every game, enter the date, opponent, and the 12 ratings from your checklist. If you’re using paper, hole-punch the completed sheets and file them in order. Digital? Copy the checklist into Google Sheets or Excel and add one row per game. Both work fine. The real key is doing it every single game so you have enough data to spot trends after eight to ten outings.
Manual tracking with a clipboard is fast and low-tech. You mark ratings during the game or between periods, then transcribe them into your binder that night. Digital tracking lets you run quick averages and build trend charts without pulling out a calculator, but it requires someone comfortable entering numbers on a phone or tablet right after the final buzzer. Most youth programs land somewhere in the middle: paper at the rink, transfer to a spreadsheet once a week, review the numbers before practice planning.
Log these six data points every time:
Game date (use YYYY-MM-DD so sorting stays clean). Opponent name or jersey color if it’s a tournament. Total minutes played and which line or defensive pairing. Role for that game (top line, penalty kill, power play, fourth line). One standout strength that showed up multiple shifts. One primary improvement area to address in the next practice block.
Save those six fields in the same order every time. When you need to prepare feedback for a parent meeting or build a development plan, pull up the last ten games and scan the improvement column. If “gap control” appears six times, you know exactly what to drill.
Age-Appropriate Benchmarks for Skill Development
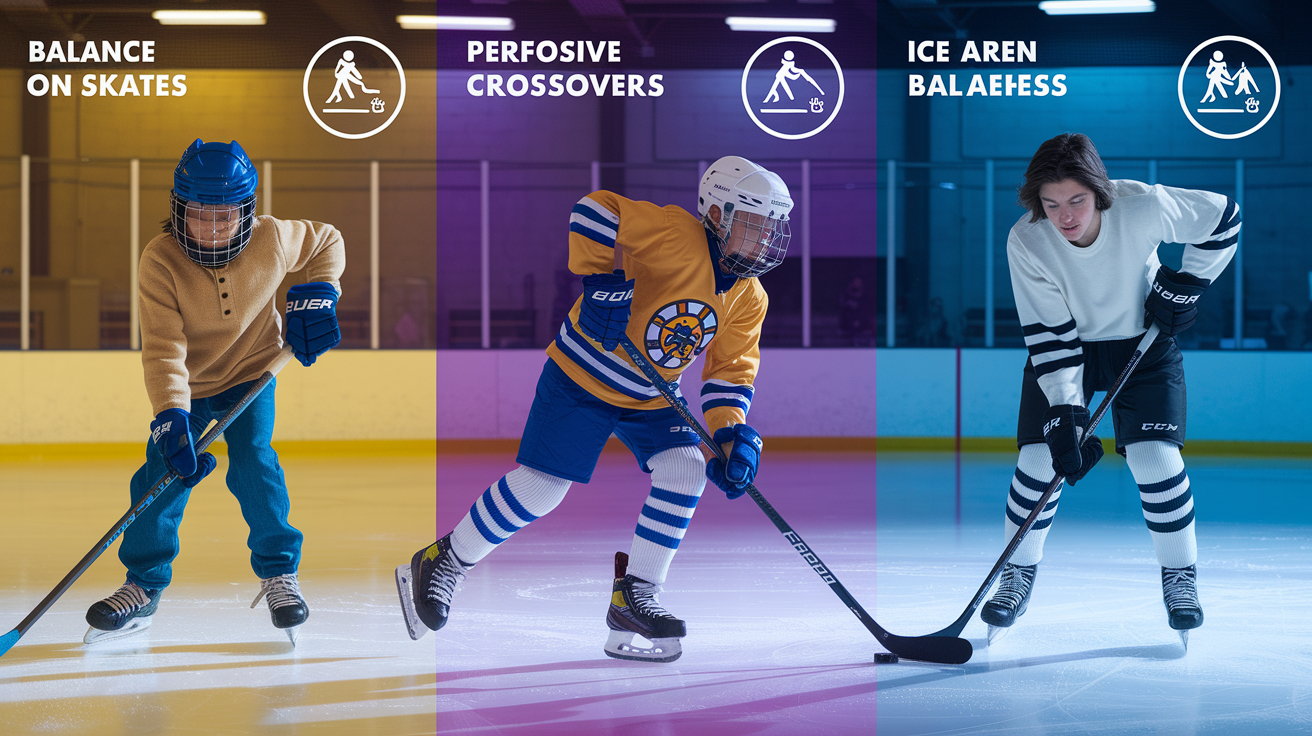
For players aged 6 to 8, the checklist focuses on balance, basic coordination, and whether they can move with the puck without staring down at it constantly. At this stage, a 3 rating in skating speed means the player can cross the blue line under control without falling. A 3 in puck handling? They keep the puck on their stick for three or four strides before it rolls away. Effort and on-ice awareness are tough to separate from excitement and distractions, so a 2 or 3 is normal. A 4 means the player is starting to track where teammates are during a shift. Passing and receiving are still new concepts. If a 7-year-old can complete two or three tape-to-tape passes in a game, that’s a 4 or 5. The goal at this age is building comfort on skates and learning to look up.
Players aged 9 to 12 should be refining mechanics and starting to read the game one play ahead. A 3 rating in skating speed now means the player can keep pace with the play in transition and doesn’t get stuck trailing the rush. Edge work and acceleration become measurable: can they crossover through a turn without losing speed, and do their first three strides out of a corner look explosive or labored? Puck skills should be cleaner. A 3 in passing accuracy means most attempts hit the tape. A 4 or 5 means the player adjusts pass weight for distance and reads when to saucer over a stick. Defensive metrics matter more now. Gap control, backchecking, stick position… these start separating players who think ahead from players who just chase. Awareness climbs when they can call for the puck, find the open man, and recognize a 2-on-1 before it develops.
From 13 to 15, the benchmarks shift toward situational decisions and consistency under pressure. Skating ratings now compare players to their peers: a 3 means middle-of-the-pack speed, a 5 means they’re one of the fastest skaters on the ice in any game. Puck handling and passing are expected to be reliable, so a 3 rating assumes the player can handle tight-gap pressure, make the first pass out of the zone clean, and receive hard passes without bobbling. Shooting accuracy, forechecking timing, defensive coverage… these become the separation points. A 4 or 5 in on-ice awareness at this level means the player sees the back-door play developing, communicates assignments on the penalty kill, and adjusts positioning when the puck changes hands. Effort is baseline. If it’s below a 4 consistently, that’s a bigger red flag than any skill gap.
Sample Completed Evaluation Sheet
Here’s what a finished checklist looks like for one game. This example uses a 10-year-old right wing playing in a house-league game on March 22, 2026. The notes column captures exactly what the evaluator saw, so the coach has context for the number.
| Skill Area | Example Rating | Notes |
|---|---|---|
| Skating Speed | 4 | Beat two defenders wide in P1, kept pace on odd-man rush P3. |
| Edge Control | 3 | Crossovers solid on right side, wider on left turns. |
| Acceleration | 3 | Good first step, loses power after stride 4. |
| Puck Handling | 4 | Head up most shifts, one turnover under forecheck P2. |
| Passing Accuracy | 3 | Hit tape 6 of 9 attempts, two saucers too high. |
| Receiving Passes | 4 | Soft hands, caught hard pass in slot, no bobbles. |
| Shooting Accuracy | 2 | Three shots, one on net. Missed wide twice from slot. |
| Defensive Coverage | 3 | Stayed with man in D-zone, lost gap once on blue line. |
| Forechecking | 4 | Pressured puck carrier twice, forced turnover P1. |
| Backchecking | 2 | Late getting back twice, took wide lane instead of middle. |
| On-Ice Awareness | 3 | Called for puck, saw open D once, missed back-door option P2. |
| Effort Level | 5 | Battled every shift, won two wall battles, full effort all three periods. |
When you read down the Notes column, you see the player’s skating and compete level are strengths. Shooting accuracy and backchecking are the two clear development priorities. After five or six games, if shooting accuracy stays at 2 and backchecking stays at 2 or 3, you know where to spend extra practice time. If those numbers climb to 3 or 4 over the next eight games, you have proof the training worked.
Delivering Constructive Postgame Feedback
The evaluation sheet is data. The conversation is where development happens. Keep feedback short, specific, tied to one strength and one action item. Long speeches get forgotten before the kid reaches the car. Two minutes of clear direction sticks.
Start by naming one thing they did well and give the exact example from the sheet. “Your forechecking in the first period forced a turnover that led to our second goal. That pressure on the puck carrier is exactly what we want.” Then identify the improvement area with the same level of detail. “Your backchecking showed up late twice. When we turn the puck over in their zone, you need to sprint the middle lane, not coast the wall.” Offer one specific drill or focus for the next practice: “We’ll work on transition skating this week so your first three strides back are automatic.” Set a measurable next-game objective so they know what success looks like: “Next game, I want to see you in the middle lane on every backcheck, even if you don’t touch the puck.” Close by confirming they understand the task, then move on.
The five-step sequence every time. Identify one strength with a game example. Give the specific moment (period, situation, outcome). Highlight one improvement area with the same specificity. Assign one drill or practice focus to address it. Set a clear, observable next-game objective.
If parents want more detail, hand them a copy of the completed checklist and walk through the ratings. The notes column gives you the backup. If a parent disagrees with a rating, ask them what they saw and adjust your observation method for the next game, but don’t argue numbers in the parking lot. The sheet is a tool, not a report card. Use it to build the plan, get back on the ice, and run the plan.
Final Words
In the action, this post gives you a ready-to-use postgame statistical checklist for youth hockey development: the 12-item skill table, how to record metrics (manual vs digital), age benchmarks, a sample sheet, and a simple feedback method.
Use the checklist to log games, spot trends, and turn one clear improvement into a focused drill. Start with one player or a line, track consistently, and review before the next practice. Using this postgame statistical checklist for youth hockey development makes progress visible and keeps development moving forward.
FAQ
Q: What is the hardest position in hockey youth?
A: The hardest position in youth hockey is often defense. Defenders must skate well, read developing plays, make safe first passes, and manage gap control and pinches under pressure.
Q: Where do you put your weakest player in hockey?
A: You should place your weakest player in a sheltered role — lower line, limited minutes, away from net-front defensive assignments, and paired with stronger teammates so they can learn without high-risk responsibilities.
Q: What are the 5 basic skills in hockey?
A: The five basic hockey skills are skating, puck handling, passing, receiving, and shooting. These cover movement, control, and finishing and are the foundation before tactical or contact work.
Q: How many calories should a 12 year old hockey player eat?
A: A 12-year-old hockey player should eat about 1,800 to 2,800 calories daily depending on size and activity. Prioritize carbs for energy, protein for recovery, and small snacks around practices.